1
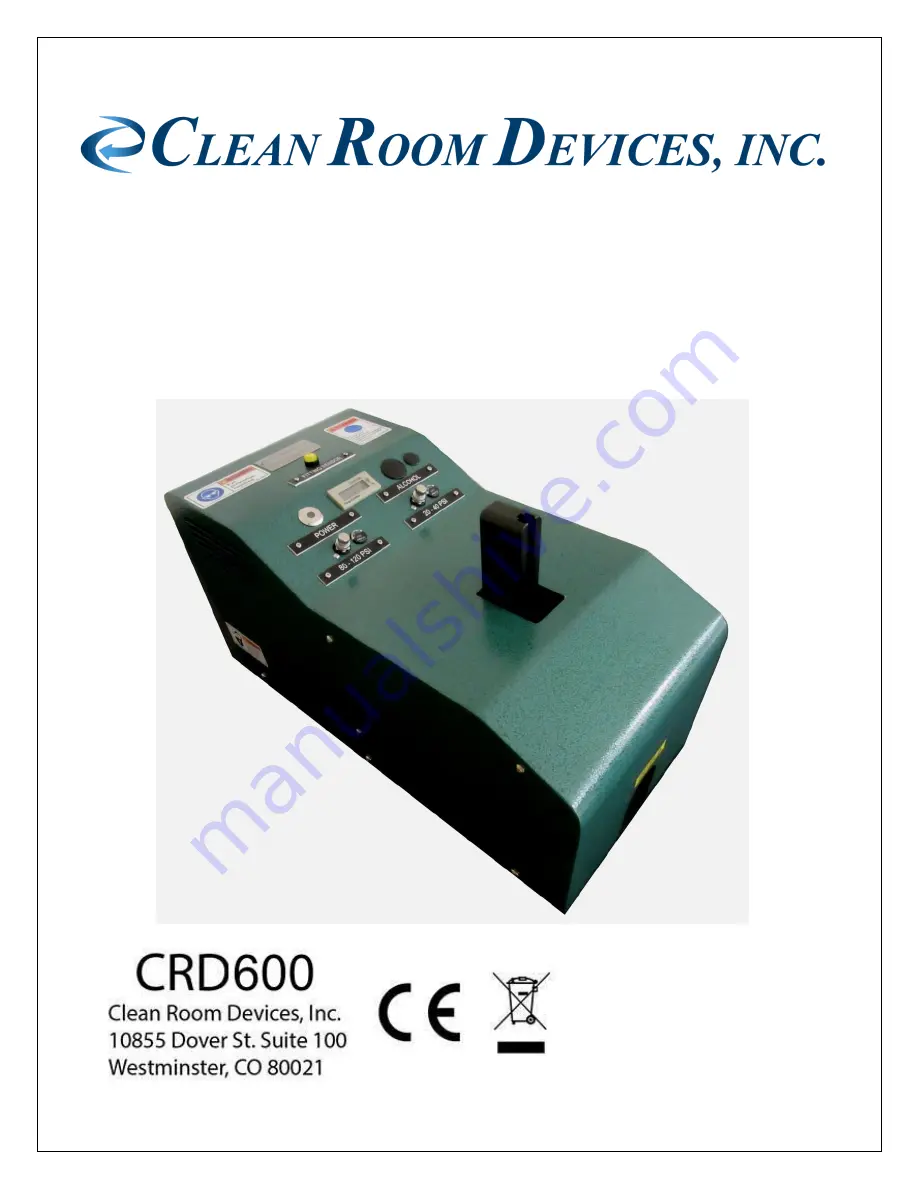
CRD600 Automatic Fitting Inserter
OPERATIONS MANUAL
ORIGINAL INSTRUCTIONS
VERSION 2.8
LAST EDITED 10.17.2019
cleanroomdevices.com
Page 1: ...1 CRD600 Automatic Fitting Inserter OPERATIONS MANUAL ORIGINAL INSTRUCTIONS VERSION 2 8 LAST EDITED 10 17 2019 cleanroomdevices com ...
Page 2: ... 4 Jaw Set Installation 2 5 Adjusting the stop gate 2 6 Magazine Installation 3 0 Operation 13 3 1 Loading magazine and jaws 3 2 Fitting sensor lamp 4 0 Maintenance 13 4 1 Daily 4 2 Every three months 5 0 Recommended Spare Parts 14 6 0 Product Specifications 14 7 0 Trouble Shooting 14 8 0 Durometer Scale 15 9 0 Electrical and Pneumatic Diagrams 16 10 0 Alcohol Dispenser Option 19 11 0 Parts List 2...
Page 3: ...3 1 0 General Product Safety Information Figure 1 ...
Page 4: ...pply line prior to the unit to preserve the life expectancy of the air components CRD600 AUTOMATIC FITTING INSERTER SAFETY NOTICE PLEASE READ CAREFULLY BEFORE CONTINUING Warning The fitting inserter should only be operated by trained qualified personnel who have read and understand this manual The owner of this CRD600 is responsible for training all personnel to properly operate this unit Failure ...
Page 5: ... applying air pressure to the unit 2 1 Electrical Supply Plug the electrical connector into the back of the fitting inserter and plug the 24VDC power supply into a 110V outlet 220V for European power supplies The smart relay inside the machine may have as much as an eight 8 second power up time before the fitting inserter becomes fully operational ...
Page 6: ...ll valve is recommended Figure 2 1 1 The air supply will need to be off or disconnected when manually cycling the pin set actuation air cylinder Safety Note Keep hands clear of moving parts when connecting or disconnecting the air supply The jaws may move suddenly Failure to do so may result in serious injury Ensure that the High Pressure Regulator is set between 80 120 psi shown in Figure 2 2 Ens...
Page 7: ...yout 1 Power On Off Switch 2 Alcohol Dispenser On Off Switch 3 Alcohol Primer On Off Switch 4 Low Pressure Regulator Gauge 5 High Pressure Regulator Gauge 6 Magazine 7 Operational Counter with reset 8 Fitting Sensor 1 2 3 4 5 6 7 8 ...
Page 8: ...0 Shown in figure 3 below Push the pin toward the back of the unit until the threaded end reaches the threaded cylinder rod Turn the pin clockwise to tighten Ensure both threaded parts are clear of any sand or other particulates as a crooked pin can cause severe damage to the CRD600 Once the pin is hand tightened pull the pin forward exposing the cylinder Shown in figure 4 below Place a wrench on ...
Page 9: ...9 2 4 Jaw Set Installation Air supply must be disconnected With the cover off loosen the four 5mm screws holding the jaws into the block Remove the jaws and replace with new set ...
Page 10: ...the Pin Set Assembly is bad and another must be used 2 5 Adjusting the Stop Gate The distance between the end of the jaw set and the stop gate may need to be adjusted according to what fitting is being used This distance to adjust the stop gate is determined by the gap between the fitting flange and the end of the tubing Sliding the stop gate away from the front of the unit will insert the fitting...
Page 11: ...rbed end the end you will insert into the tube is protruding Put enough parts into the magazine to fill it Always have at least five fittings in the magazine or a jam may occur Place the magazine into the magazine rack with the parts facing the jaw set Check to see that the fittings have fully settled into the magazine With the air turned off pull the pin forward and verify the pin set enters the ...
Page 12: ...out fittings Figure 8 Sensor with Fittings Adjusting Last Fitting Sensor Position By adjusting the sensor up or down you can position the sensor properly Using five 5 thin strips of paper make a spacing gauge for the Last Fitting Sensor Figure 9 Figure 9 Unit with 5 strips of paper Figure 9 1 Verifying LFS light ON When four 4 strips of paper are inserted between the magazine and the top of the ma...
Page 13: ... Adjustment Screw Detail After verifying that the Last Fitting Sensor light is lit with four 4 pieces of paper add the fifth strip of paper between the magazine and the top of the magazine rack Figure 9 4 The Last Fitting Sensor light should go out If the light goes out press firmly on the top of the magazine as shown Figure 9 5 to check if the light will come back on Figure 9 4 Five strips of pap...
Page 14: ... fitting into tube and then dropping the assembly down 3 2 Fitting Sensor Lamp Yellow lamp is always on when machine is operating If lamp is out it indicates that the magazine is empty of fittings or the fitting is not all the way down in the proper position in the magazine 4 0 Maintenance 4 1 Daily Once each day the pin set should be retightened onto the air cylinder Loose pin sets can result in ...
Page 15: ...omponents on hand to minimize downtime should a component wear out or break 1 additional Pin Set Assembly 1 additional Magazine 1 additional Jaw Set 6 0 Product Specifications Unit Weight 37 LBS 17 KG Overall Dimensions 19 25 in 48 9cm lg x 9 15 in 23 2cm w x 10 3 in 26 2cm ht Minimum Maximum PSI 80 PSI 100 PSI 7 0 Trouble Shooting Operating Error Action Unit does not operate 1 Check the facility ...
Page 16: ...16 8 0 Durometer Scale Note Tubing durometer range 50 100 Shore A Contact the manufacturer for applications outside this range ...
Page 17: ...17 9 0 Electrical Pneumatic Diagrams Note Schematic drawings are provided for troubleshooting only not for modifying the machine in any way ...
Page 18: ...18 Note Schematic drawings are provided for troubleshooting only not for modifying the machine in any way ...
Page 19: ...the barb directly allowing for a more reliable fitting insertion process Shown are both the assembly instructions as well as how to fill and refill the reservoirs IMPORTANT READ BEFORE OPERATING ALCOHOL DISPENSER Attaching Alcohol Reservoir to CRD600 Air into Vessel Fluid return from Vessel ...
Page 20: ...disconnect Step 6 Prime alcohol system by pressing the red button switch on the CRD600 cover Use adjustment knob on regulator to set pressure to 20 40 psi for the CRD600 unit The alcohol is controlled by the low pressure regulator The low pressure regulator must be kept set to 20 40 psi whether or not alcohol is being used or the unit will not operate properly Step 4 Step 1 Step 2 Step 3 Step 5 St...
Page 21: ...g DO NOT BYPASS RELIEF VALVE Alcohol Dispenser Relief Valve Aiming the Alcohol Dispenser Nozzle Accurate aiming of the dispenser nozzle is critical to ensuring proper performance Adjust the alcohol dispenser nozzle 1 16 1 8 of an inch in from the front of the barb and at an oblique angle as shown in the diagram below This alignment will ensure that alcohol will flow around both sides of the barb ...
Page 22: ...pressurization and functionality of alcohol dispenser WARNING Failure to lock reservoir can result in malfunction of equipment and personal injury Reservoir in locked position Reservoir in unlocked position Attach large reservoir to CRD600 by following the same instructions for the small capacity reservoir as shown above on page 15 ...
Page 23: ...r System Components Number CRD Part Name 1 P00169 Viton Valve 2 P00168 Solenoid Air Valve 3 TS00136 Nozzle Assembly Bracket 4 P00178 Barrel Adapter Assembly 5 P00177 Alcohol Reservoir 6 P00176 Dispenser Stand 2 1 3 4 5 6 ...
Page 24: ...24 11 0 Parts List ...
Page 25: ...ive Arm 19 P00212 Air Cylinder 20 CD006 024 Jaw Wedge 21 CD006 023 Drive Rod Wedge 22 P00258 Bearing 23 P00026 Rubber Foot 24 CD006 006 Side Support Gripper Right 25 CD006 007 Side Support Gripper Left 26 P00011 SWITCH MINATURE SNAPPING ACTING 27 P00105 Gripper 28 CD006 008 Upper Jaw Mount Right 29 CD006 009 Upper Jaw Mount Left 30 CD006 010 Cross Beam 31 P00011 SWITCH MINATURE SNAPPING ACTING 32 ...
Page 26: ...CKET STOP GATE BUTTON 42 CD006 015 Sensor Button 43 P00011 SWITCH MINATURE SNAPPING ACTING 44 TS00137 Last fitting Sensor 45 CD006 029 BASE SENSOR BRACKET 45 CD006 030 SLIDER SENSOR BRACKET 46 CD006 011 ACTUATOR DRIVE ARM ...
Page 27: ...ny buyer of the manufacturer s product The maximum damages liability for the manufacturer is the original purchase price of the product or part THE FOREGOING WARRANTY IS EXCLUSIVE AND IN LIEU OF ALL OTHER WARRANTIES WHETHER WRITTEN ORAL OR STATUTORY AND IS EXPRESSLY IN LIEU OF THE IMPLIED WARRANTY OF MERCHANTABILITY AND THE IMPLIED WARRANTY OF FITNESS FOR A PARTICULAR PURPOSE THE MANUFACTURER SHAL...