40
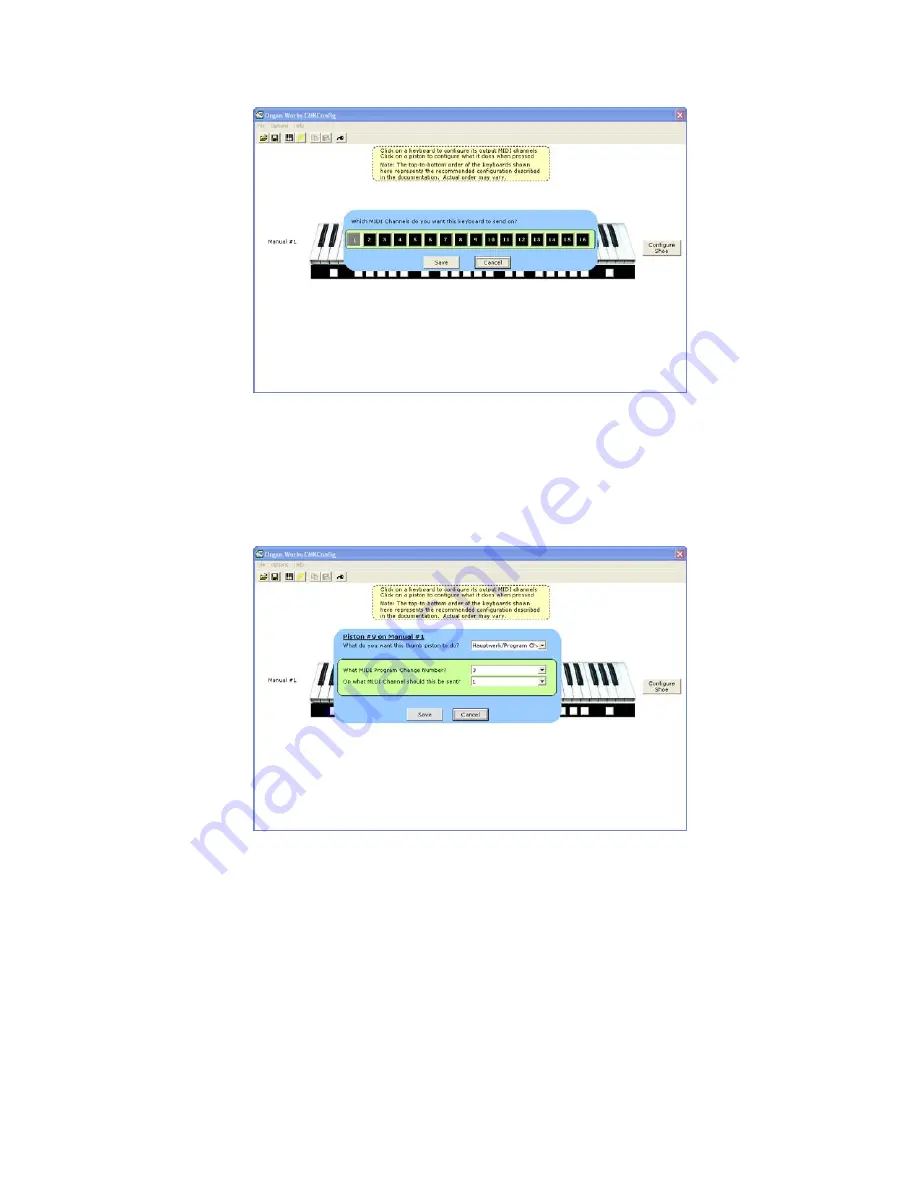
Figure 36: Clicking on the keys of the keyboard invokes a MIDI Channel select menu
.
•
Piston Function
– Each piston can be configured for a particular function. To select these functions
from a menu, click on any one of the twenty piston buttons and navigate through the resulting drop-
down menus.
Figure 37: Clicking on an individual piston invokes the Piston function select drop-down menu.
Note that configuring these pistons in software does
not
affect the use of the two end buttons to set keyboard hardware
parameters as discussed on page 29.
Three drop-down menus enable the user to select the MIDI device being controlled, specific functions of these devices,
and the MIDI output channel for the command.
Summary of Contents for CMK-2
Page 6: ......
Page 8: ......
Page 11: ...11 Figure 2 CMK 2 connections...
Page 29: ...29 Figure 13 Confirmation window Figure 14 Setup progress window...
Page 30: ...30 Figure 15 Confirms installation was successful...
Page 46: ......
Page 54: ......
Page 56: ...56 Figure 40 CMK 2A Classic MIDI Keyboard Circuit Board Schematic...
Page 57: ...57 Figure 41 CMK 2 PR S SSC v 1 Classic Midi Keyboard Piston Rail Silk Screen...
Page 58: ...58 Figure 42 CMK 2 PR S S v 1 Classic MIDI Keyboard Piston Rail Schematic...
Page 59: ...59 CLASSIC MIDI KEYBOARD CMK 2 APPENDIX D MECHANICAL DRAWINGS...
Page 60: ...60 Figure 43 CMK 2 Piston Rail Front Panel Mechanical Drawing...
Page 63: ...63 Figure 46 Mating the Small and large Brackets Figure 47 Connecting Two Brackets...
Page 64: ...64 Figure 48 Brackets mated and closed Figure 49 A Four Manual Stack Open...
Page 65: ...65 Figure 50 A Four Manual Stack Closed Figure 51 A Completed Four Manual Stack...


