Clarion PSW-D-DGIG Owner'S Manual Download Page 4

4

V.

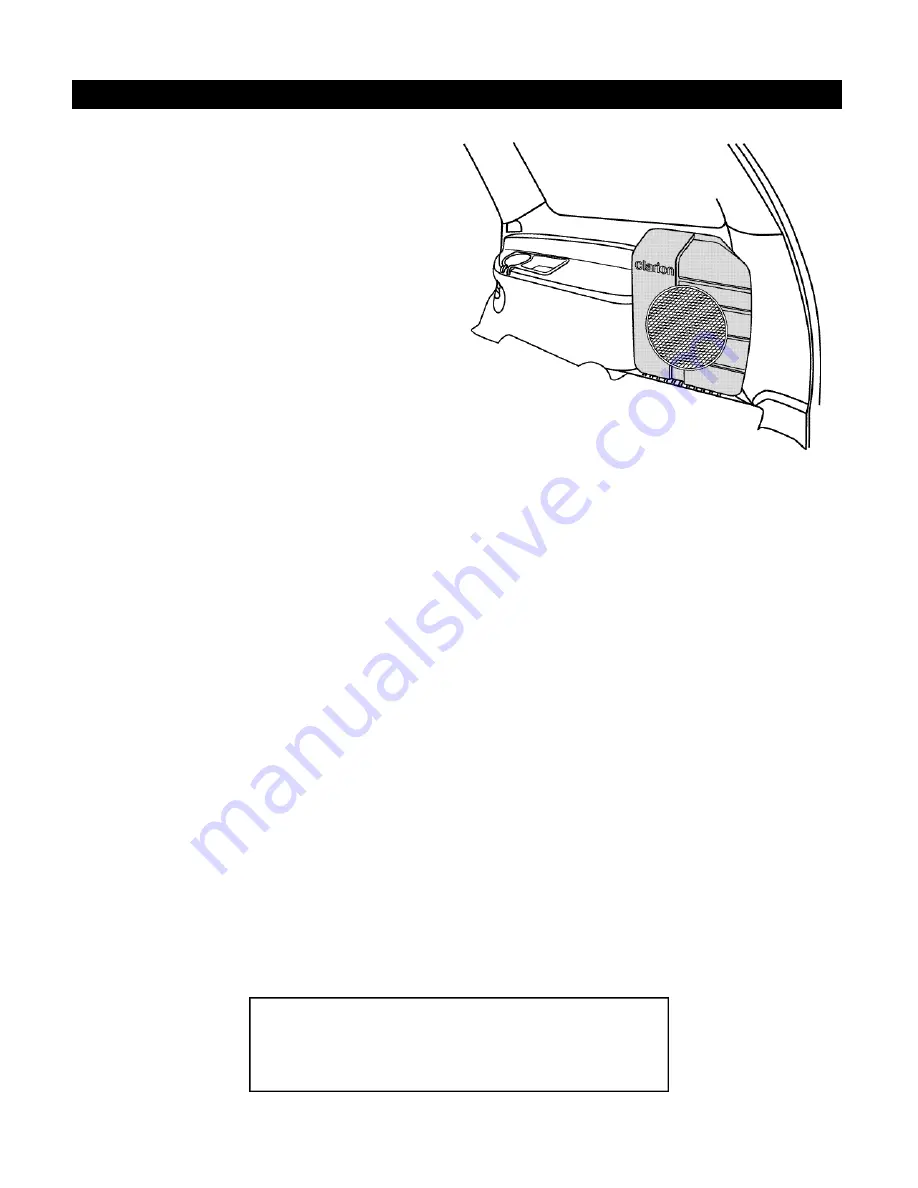
REASSEMBLE THE VEHICLE

A. Make sure all the wires are hidden. Then do the process in

reverse order.

Clarion Corporation of America 

661 West Redondo Beach Blvd  Gardena, CA 90247

800-Go-Clarion

www.clarion-usa.com © 2000 Clarion Corporation, Gardena, CA

10 - PSWDDG Rev. 1 (04/00

)

Summary of Contents for PSW-D-DGIG

Page 1: ...ated imped ance of 2 ohms and therefore is not considered a standard woofer Replacing the woofer with any driver having an impedance greater than 2 ohms will yield lower power output from the amplifier and is not recommended PROCEDURE Proper installation of this product requires proper tools and knowledge of car audio principles If you are not comfortable performing any of the outlined tasks below...

Page 2: ... product to the vehicle Please refer to section Ia and Ib for each Ib WIRING USING THE SUPPLIED HARNESS STEP 1 Remove the Radio STEP2 Connect the wires Yellow Connect to Constant 12V Power Black Connect to Radio Ground or Chassis Blue Connect to Amp Antenna Turn on Lead Green Connect to Left Rear Speaker Positive Lead Green Black Connect to Left Rear Speaker Negative Lead Violet Connect to Right R...

Page 3: ...fer enclosure gain pod is located on the ampli fier next to the wire harness connector and is adjustable with a Phillips screw driver IV ATTACH THE ENCLOSURE TO THE REAR QUARTER PANEL A Place the enclosure onto the quarter trim panel so that it fits snug to the panel B Install three screws into the enclosure from the rear side of the quarter trim Note Three color matched panel clips have been supp...

Page 4: ...sure all the wires are hidden Then do the process in reverse order Clarion Corporation of America 661 West Redondo Beach Blvd Gardena CA 90247 800 Go Clarion www clarion usa com 2000 Clarion Corporation Gardena CA 10 PSWDDG Rev 1 04 00 ...

Reviews: