6
4
Press the System icon in the bottom of the main screen to access the system
setting menus and the left and right arrows to move between the various menus.
Use the left and right arrows to select the system language from English (ENG),
Spanish (ESP) and French (FRE).
Toggles whether a beep tone is heard when a button is pushed.
Toggles whether the unit will scroll to show complete song/track information when
it is too long to fit on the main screen.
When checked this option keeps the unit ON for 10 minutes after the ACC is
turned from ON to OFF.
When checked this option will allow you to charge your mobile devices (max 1.5
Amp). You will not be able to playback from the device while charging.
Use the left and right arrows to set the volume level at which the radio will start at
whenever the unit is powered on. Values can range from 0 to 40.
Use the left and right arrows to increase or decrease the volume level of attached
external devices. Values can range from 0 to +3.
Use the left and right arrows to increase or decrease the volume level from
external announcement devices. Values can range from -10 to +10.
Use the left and right arrows to choose the volume mode to be used based on the
speed of the vehicle (requires connection to vehicles speed sensor). Values –
OFF, Low, Mid, High.
This allows you to change the order of the widgets on the Home Menu.
.3 SELECTING SYSTEM SETTING
Language Selection
Beep Sound
Text Scroll
Ignition Option
Quick Charge
Initial Volume
Aux Volume Adjustment
Navigation Volume Adjustment
Speed Volume Adjustment
Edit Home Menu
04.- AUDIO SETTINGS (Cont.)
7
05.- RADIO OPERATION
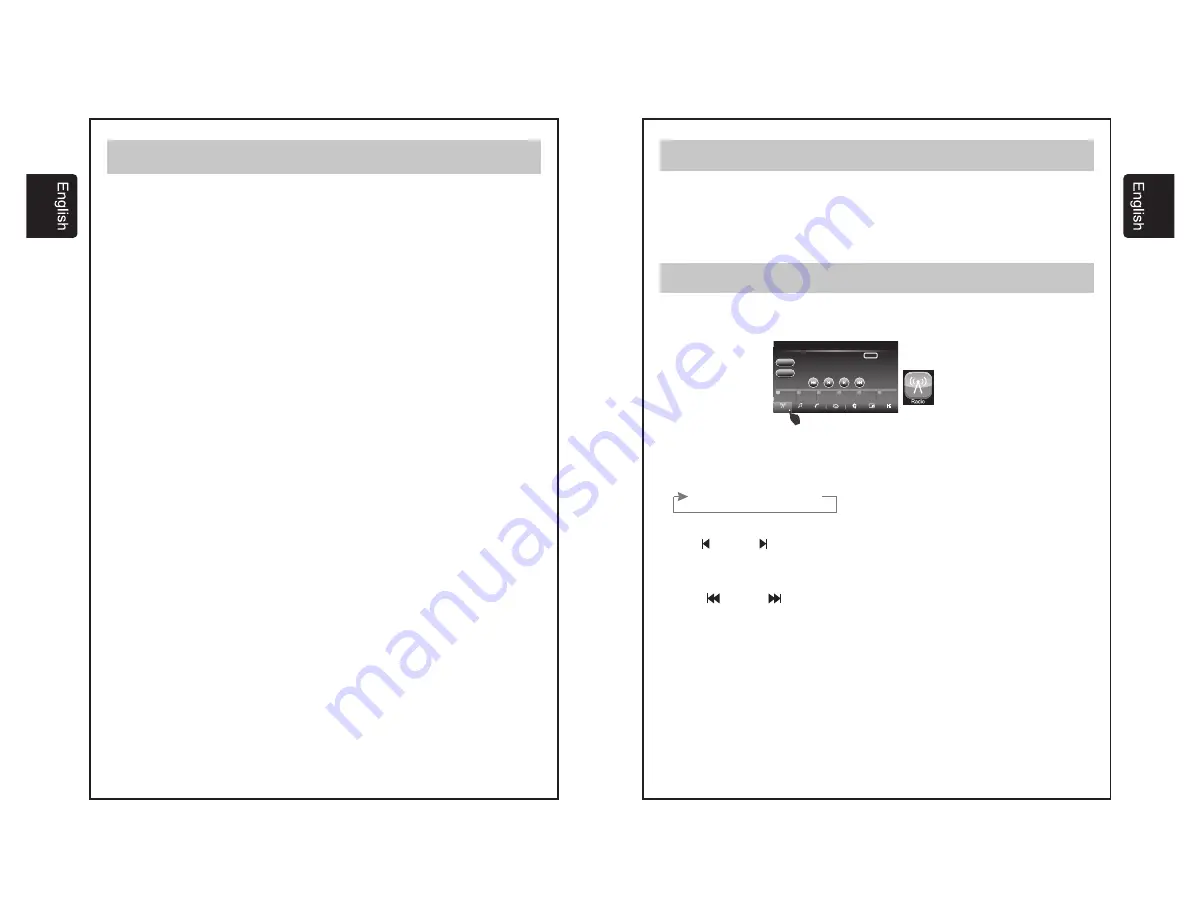
This section describes the operation in Radio Mode.
In Home Menu Press the button Radio or icon Radio.
Enter Radio mode.
AM1-AM2-FM1-FM2-FM3
Clock
Ver.Info
This option in the systems menu allows you to adjust the clock on the main
screen. Hours, Minutes, AM/PM and 12/24H modes can all be selected on this
screen.
This allows you to see the version numbers of the software installed in the unit.
04.- AUDIO SETTINGS (Cont.)
Band Selection
Manual Tuning
Seek Tuning
Scan Tuning
Autoscan Presets
This unit has 2 AM and 3 FM bands each capable of storing up to 6 preset stations. To
change the band, simply tap the band button on screen. Each time it is tapped it will
change the band as indicated below.
Use the
and the
buttons on screen to adjust reception one frequency step up or
down in the current band.
Use the
and the
buttons to activate the seek function of the tuner. The tuner
will automatically search up or down depending on the button pressed and stop at
the first strong signal it finds in the current band.
Push the SCAN button on screen to activate the SCAN function, the SCAN icon on
the screen will flash while scanning and the unit will automatically scan the current
band stopping at each strong signal it finds for 10 seconds before resuming
scanning. Push SCAN again to disable this function.
Push and hold the SCAN button for 3 seconds to activate the AUTOSCAN function.
When activated the unit will automatically scan the band and program the Presets 1
through 6 with the first six strong signals it finds. It will then play each new preset for 5
seconds before returning to preset 1.
i
Media
System
Display
Tone
AM1
AM 09:38
Phone
MENU
BAND
SCAN
530
KHz
SCAN
Radio
600
1000
1400
1600
1710
530
1
1
2
2
3
3
4
4
5
5
6
6


