background image

24

Returns

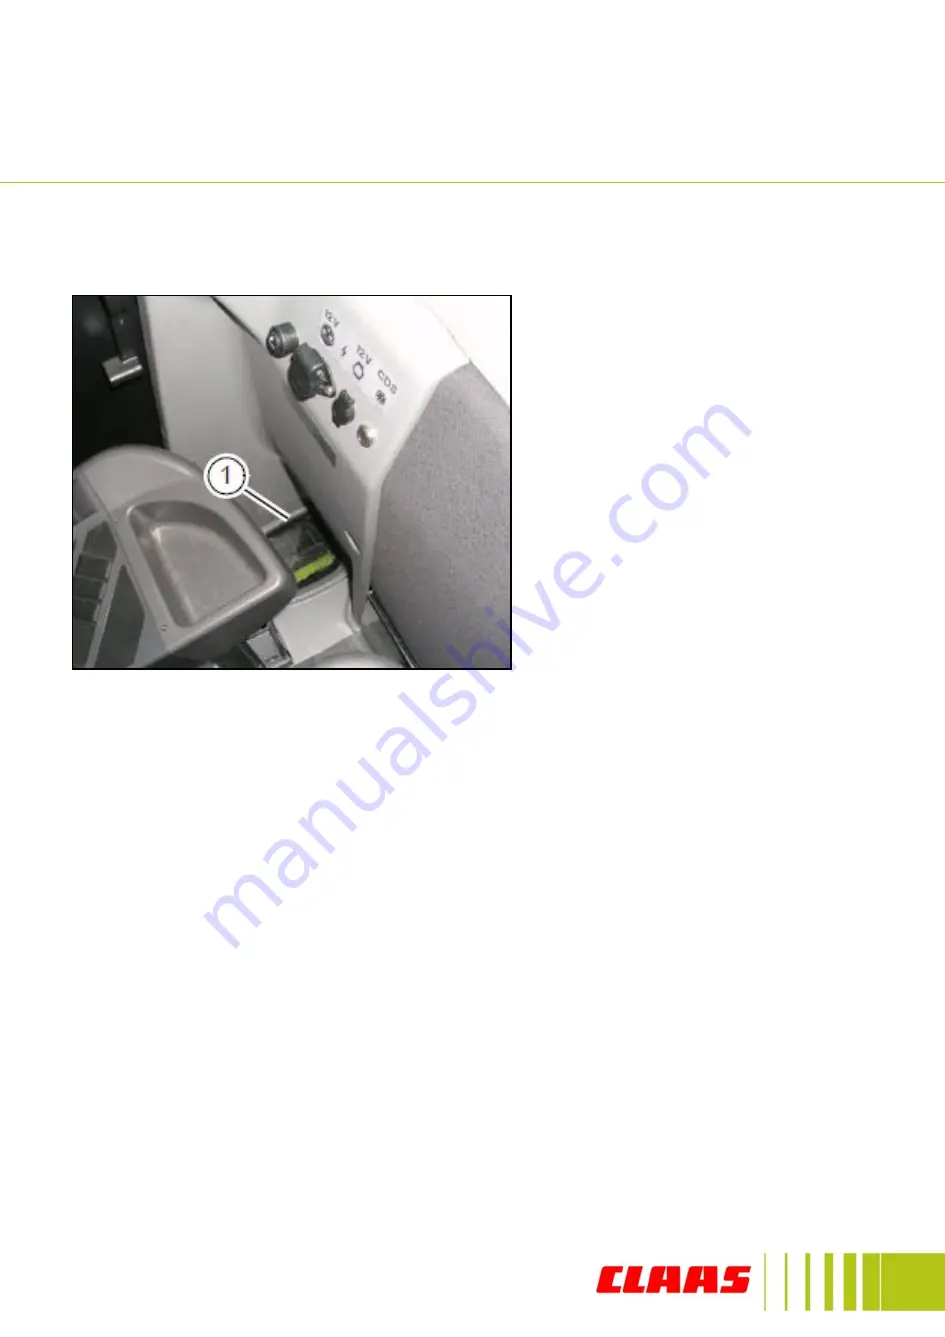
The returns should be monitored 
regularly both in terms of volume 
and composition. By looking 
through the window (1) on the 
lower RHS of the drivers seat, the 
returns can be seen. The centre 
tube of the auger should always 
be visible.

If too much clean grain is present, 
open the bottom sieve one step at 
a time.

If too much chaff is present reduce 
threshing.

If un-threshed heads are present 
increase threshing.

In crops such as oilseed rape 
where excessive trash is a 
problem, it may be beneficial to 
close the back section of the top 
sieve to reduce re-circulation  
through the returns.

Cleaning

Summary of Contents for AVERO

Page 1: ...Information and Basic Field Settings for AVEROVERSION 14...

Page 2: ...3 Overview 4 Cab and controls 5 8 AUTO CONTOUR 19 12 Adjustments 15 Cutterbar 16 18 Threshing 19 Separation 20 21 Cleaning 22 24 Settings aid 25 26 Loss calculations 27 28 Maintenance 29 Useful part...

Page 3: ...e to a minimum it s vital that routine maintenance is not neglected As well as servicing the machine according to the operator s manual a good check of the machine is essential It is false economy to...

Page 4: ...r cutterbar to make adjustments clean concaves preparation pan etc Make sure that the cutterbar lift cylinder lock is in place Some of the maintenance has to be carried out at height please asses the...

Page 5: ...ains 5 Stone trap 6 APS concave 7 APS drum 8 Main drum 9 Impeller 10 Straw walker 11 Intensive separator system 12 Preparation floor 13 Fan 14 Top sieve 15 Bottom sieve 16 Clean grain auger 17 Returns...

Page 6: ...ing 5 Vario in out if fitted 6 Front attachment on off 7 Menu selection switch 9 Menu settings switch 10 Reel speed adjustment 11 Auto reel speed 13 Fan Drum speed selection 14 Drum speed adjustment 1...

Page 7: ...low lower when not threshing out of gear 1d Pre set ground pressure slow raise when threshing not in gear 4a Reel lower 4b Reel raise 4c Reel forward 4d Reel backwards 5 Front attachment stop 6 Grain...

Page 8: ...ed operating hours faults 3 Fuel level 4 Engine coolant temperature 5 Drum speed is displayed 6 Fan speed is displayed 7 Speed gauge for drum fan 8 Cutterbar ground pressure 9 Cutting height 10 Area c...

Page 9: ...tank unloading on 7 Unloading tube out 8 Straw walker blockage 9 Grain tank 70 full 10 Grain tank 100 full 11 Hydraulic oil level 12 Engine air filter blocked 13 Low engine coolant leve 14 Hand brake...

Page 10: ...ght contact with the ground so the sensing bars are fully swung in A Is the ATUO CONTOUR sensitivity which is set at 45 but is fully adjustable 100 maximum sensitivity 0 no response from sensing bars...

Page 11: ...eight stays constant with the machine it measures the position of the trunking and not the Cutterbar sensing bars The cutting height is displayed using black bars between 100 and 0 Numbers are only fo...

Page 12: ...button 1d for 3 seconds and a buzzer will sound The cutterbar height has been saved Saving the pre set cutting height Drive into the crop with the threshing and cutterbar engaged Press button 1c brie...

Page 13: ...buttons 1a 1b to adjust the height and then press and hold button 1d or 1c for 3 seconds and a buzzer will sound to indicate the new value has been saved 2 Using button 9 it is possible to raise or l...

Page 14: ...13 Notes...

Page 15: ...14 Notes...

Page 16: ...justment Actuate switch 1 and make the pre selection for the drum speed display Actuate switch 2 and set the drum speed The drum speed 3 is displayed in the onboard information system Fan speed adjust...

Page 17: ...e that the height of the long divider is set so it does not run on the ground it is recommended that the shoe should be set to the same height as the stubble Lifters It is recommended that lifters sho...

Page 18: ...bar and adjusting the lever with a spanner Use the top holes for short crops and the lower holes for tall crops The 3rd hole from bottom is the standard setting 1 Adjust the stripper plates behind the...

Page 19: ...are lifted right up in abrasive conditions VARIO if fitted VARIO cutterbars allow the operator to vary the position of the knife to suit different crop conditions In short crops the knife can be retra...

Page 20: ...another Only make one adjustment at a time Only do Just Enough to avoid overloading the machine and using power unnecessarily Threshing Prime consideration here is to remove the maximum amount of seed...

Page 21: ...t is recommended that these plates are only engaged when there is a difficulty in threshing These plates can reduce output by up to 30 If plates have been used make sure that the concave is clean Furt...

Page 22: ...esigned to agitate the material and allow the clean grains to fall onto the preparation pan Straw curtain As the crop leaves the beater a straw retarding curtain is fitted to control the throw of the...

Page 23: ...is kept clean to allow this to happen effectively A dirty preparation pan will cause a poor sample and reduce output Cleaning Fan Speed adjustment is carried out via the fan selector switch The speed...

Page 24: ...the returns pass through area 2 Always set the returns sieving area 2 of the upper frogmouth sieve with lever 3 for all crop types wider than the grain sieving 1 Adjust the lower frogmouth sieve with...

Page 25: ...ube of the auger should always be visible If too much clean grain is present open the bottom sieve one step at a time If too much chaff is present reduce threshing If un threshed heads are present inc...

Page 26: ...25 Settings aid...

Page 27: ...26...

Page 28: ...tiplied by 4 to get the grain loss by per 1 meter square The calculated grain compares to the values given in the table chopping or Swathing depending on cutterbar width Average thousand grain weight...

Page 29: ...8 1023 1136 1250 Rye oats 10 36 278 779 905 1031 1136 1263 1389 Rape 2 4 5 333 934 1448 1650 1364 1515 2222 Rape 2 5 4 5 444 1246 1810 2062 1818 2020 2778 Rape 3 4 5 556 1557 2172 2475 2273 2525 3333...

Page 30: ...t tension is achieved when the ends of D are end to end To tension the belt slacken nut K from M and wind M in a clockwise direction until the ends of D are met then re lock nuts M and K If the belt n...

Page 31: ...lt 000 626407 1 Knife section nut 000 626408 0 Retractable finger 000 648068 3 Chopper Standard Revolving knife 000 736872 0 Standard stationary knife 000 060030 0 Kits Knife section replacement kit 0...

Page 32: ...enter the combine in a wet harvest it is vital that the stone trap be emptied at least daily The worse the conditions the more frequently this should be done 6 When emptying the stone trap also check...

Page 33: ...olt on the unloading drive fails this is often the first sign that either the slides in the tank are too high or there is too much dirt in the system or both 12 Chopping wet straw adds an extra load t...

Page 34: ...33 Notes...

Page 35: ...34 Notes...

Page 36: ...CLAAS U K Ltd Saxham Bury St Edmunds Suffolk IP28 6QZ Tel 01284 763100 Fax 01284 769839 www claas co uk...

Reviews: