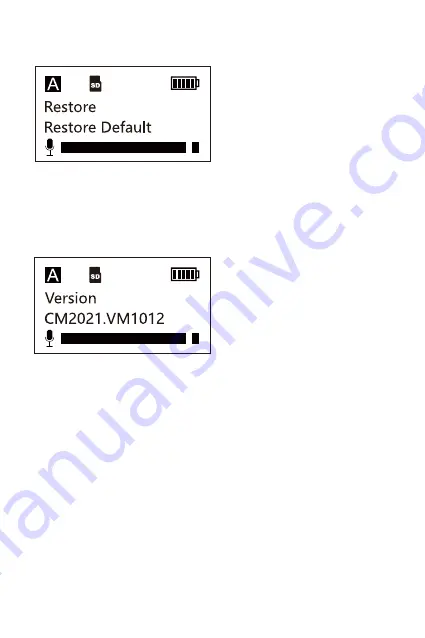
Restore Screen
Yes:
Restore factory default
NO:
Exsit without any operation
Version Screen
Indicates current version
Page 1: ...Vocal M UHF Dual Channel Wireless Microphone System With Independent Audio Recorder UHF User Manual...
Page 2: ...board lock and headphone monitor on both transmitter and receiver Mic Line input switchable local memory recording and EQ setting on transmitter mono stereo switchable on receiver The compact lightwei...
Page 3: ...avoid incompatibility When using auto IR Pairing please stay within one meter otherwise the signal may be too weak and the sync will not be successful When in use or when storing avoid contact with du...
Page 4: ...input switchable Locking 3 5mm TRS real time headphone monitor on receiver Locking 3 5mm TRS real time play back headphone monitor on transmitter Local 3 5mm TRS Mic input jack on receiver Support up...
Page 5: ...cts to the 3 5mm TRS microphone and line level devices 3 3 5mm Headphone Monitor Jack For Real time Play back local memory file 4 MicroSD Card Port 5 Type C Charging Port DC 5V 6 RF Indicator Solid Bl...
Page 6: ...tton to enter the function control interface then short press button to confirm Keypad lock function long press button for 2 seconds 12 Button Short press button to select different function on the di...
Page 7: ...rd Port 5 RF Indicator Solid Blue When paired with receiver Dim Blue When unpaired with receiver 6 Power Indicator Solid Blue The battery is higher than 5 Solid Red The battery is lower than 5 4 Type...
Page 8: ...n short press button to confirm Keypad lock function long press button for 2 seconds 12 Button Short press button to select different function on the display 13 Button Short press button to select dif...
Page 9: ...t cable 3 3 5mm Headphone Monitor Jack For Real time headphone monitor 5 Type C Charging Port DC 5V 6 RF A Indicator Solid Blue When paired with Group A transmitter Dim Blue When unpaired with Group A...
Page 10: ...k Button Set function short press button to enter the function control interface then short press button to confirm Keypad lock function long press button for 2 seconds 12 Button Short press button to...
Page 11: ...the current group Memory Card Display on the screen means that the card has been inserted Keypad Lock Display on the screen means that the keypad lock is open Battery Level Please recharge device whe...
Page 12: ...Dynamic Bar Recording Mode Screen Long press REC button to enter the recording mode short press button to start recording and short press again pause recording long press again exit and save recording...
Page 13: ...roup A Channel Setting Screen Press the SET button to enter the menu use the and to select the channel you need then press the SET button to confirm the default is CH01 IR Pairing Screen Set to pair w...
Page 14: ...ophone gain from 1 to 10 the default is 7 Input Mode Screen Mic input and Line input can be switchable based on you need the default is Mic Input Low Cut Screen Low cut with 4 level OFF 40MHz 80MHz 12...
Page 15: ...is OFF Recording File Playback Screen Press SET button to enter recording folder use the and to choose needed recording file then press SET button to playback recording file via headphone monitor pre...
Page 16: ...Restore Screen Yes Restore factory default NO Exsit without any operation Version Screen Indicates current version...
Page 17: ...n of Transmitter Set microphone gain from 1 to 10 the default is 7 Battery Level of Transmitter Please recharge device when the indicator start flashing for low power Reminding Output Mode The output...
Page 18: ...power reminding Set volume from 1 to 10 the default is 7 Group A Setting Screen Press the SET button to enter the menu use the and to select the channel you need then press the SET button to confirm...
Page 19: ...successful paring it will back to pairing setting screen IR Pairing with Group B Screen Set to pair with the transmitter the screen will display Pairing after successful paring it will back to pairin...
Page 20: ...t Volume Screen Set volume from 1 to 10 the default is 7 Backlight Mode Screen Backlight with 3 level 30s 60s ON the default is 30s Restore Screen Yes Restore factory default NO Exsit without any oper...
Page 21: ...IL 794 125 805 875 MHz JP 806 125 809 75 MHz KR 925 125 937 5 MHz Channel Group A and B 1 4 Detachable Antenna 20Hz to 20kHz Locking 3 5mm TRS Mic Line Input TX Locking 3 pin Female XLR Input TLX Loc...
Page 22: ...1V Pa at 1KHz Omnidirectional MicroSD Up to 32GB Built in Battery or Type C DC 5V 1500mAh 12Hours 2Hours Metal Dimensions 56 80 22mm Vocal M TX 45 5 112 44mm Vocal M TLX 56 80 22mm Vocal M RX Weight 1...
Page 23: ...ng cables 2 Shoe mount adapter 1 Belt clips 2 Antennas 3 Hard suitcase 1 User manual 1 Warranty card 1 Vocal M V2 Body pack transmitters 2 Portable receiver 1 W LM2 omnidirectional lavalier microphone...
Page 24: ...lip 1 Antennas 2 Hard suitcase 1 User manual 1 Warranty card 1 Vocal M V4 Plug on XLR transmitter 1 Body pack transmitter 1 Portable receiver 1 W LM2 omnidirectional lavalier microphone 1 Locking 3 5m...
Page 25: ...enyao Technology Co Ltd CKMOVA is the trademark of Shenzhen Shenyao Technology Co Ltd Add Floor 6 38th Building BaoNan Street LongGang District Shenzhen Guangdong China Email sales ckmova com Web www...