D15327.01 MX800 Dual Replacement Guide, MAY 2015.
www.cisco.com — Copyright © 2015 Cisco Systems, Inc. All rights reserved.
1
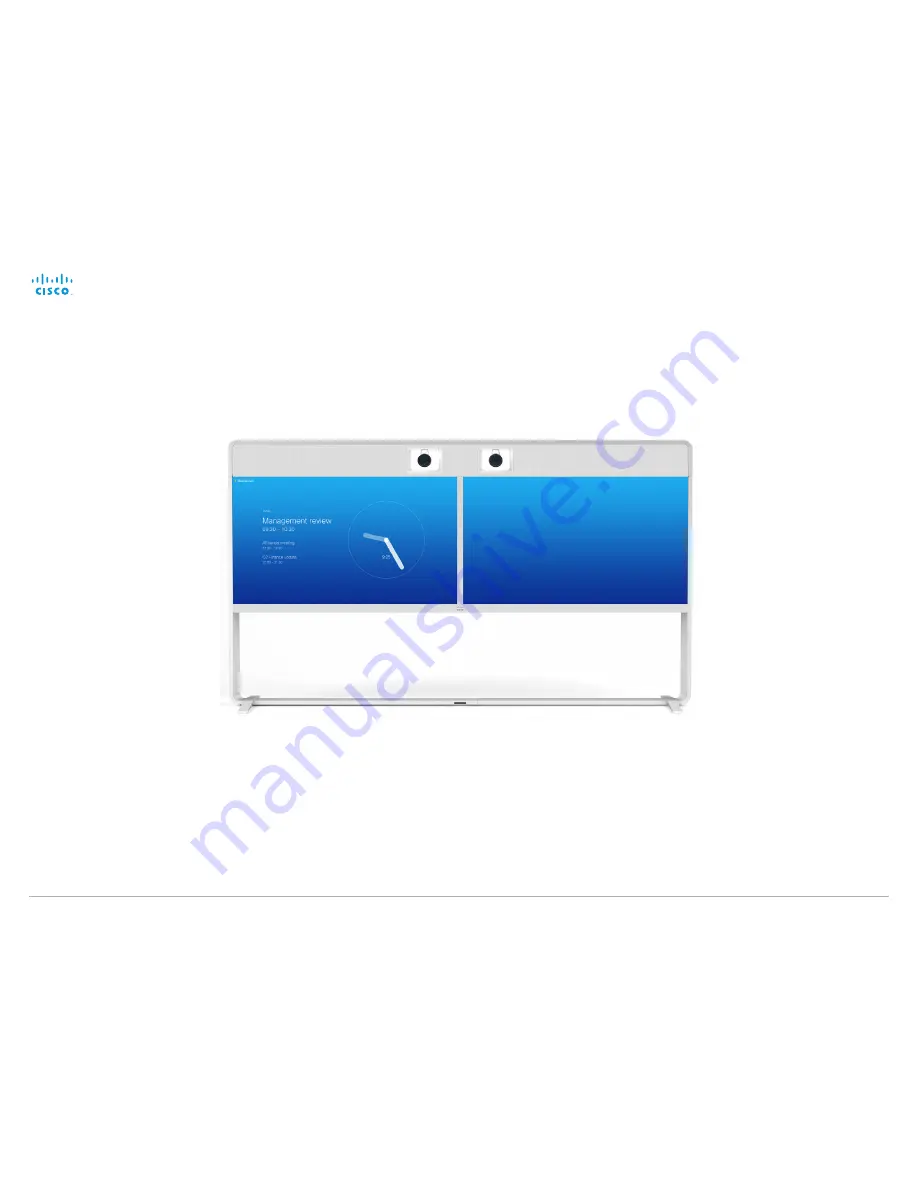
Cisco TelePresence MX800 Dual
Replacement Guide
Replacement guide
for Cisco TelePresence MX800 Dual
Page 1: ...01 MX800 Dual Replacement Guide MAY 2015 www cisco com Copyright 2015 Cisco Systems Inc All rights reserved 1 Cisco TelePresence MX800 Dual Replacement Guide Replacement guide for Cisco TelePresence MX800 Dual ...
Page 2: ...eplace monitor mounted on a stand 30 Replace monitor wall mounted 37 Appendix 45 Part numbers for spare parts 46 Cisco contacts 47 Thank you for choosing Cisco Your Cisco product has been designed to give you many years of safe reliable operation This part of the product documentation describes how to replace spare parts Our main objective is to address your goals and needs Please let us know how ...
Page 3: ...D15327 01 MX800 Dual Replacement Guide MAY 2015 www cisco com Copyright 2015 Cisco Systems Inc All rights reserved 3 Cisco TelePresence MX800 Dual Replacement Guide Introduction ...
Page 4: ...art list Installation guide s These documents are available at the Cisco web site go to http www cisco com go mx docs and select Maintain and Operate Guides or Install and Upgrade Guides Ordering information To place an order please contact your local Cisco representative or Cisco partner and refer to part numbers as listed in this document Cisco Service and Support Cisco and our partners provide ...
Page 5: ... Replacement Guide This procedure applies to the stand options both free standing and secured to the wall This procedure applies to the wall mount option Symbols This guide covers both MX800 Dual mounted on a floor stand and wall mounted The following symbols are used throughout the guide to indicate which mounting option s a procedure applies to ...
Page 6: ...t 2015 Cisco Systems Inc All rights reserved 6 Cisco TelePresence MX800 Dual Replacement Guide Grilles and covers Replace speaker grille and lower grille 7 Replace floor stand covers 8 Replace side covers 9 Replace center top profile camera cover and center back cover 10 ...
Page 7: ...peaker grille and lower grille The grilles are fastened with magnets Pull out gently to remove a grille Spare parts Speaker grille CTS MX800 DDC TGR Lower grille for systems mounted on a stand CTS MX800 D LGR Lower grille for wall mounted systems CTS MX800 DWM LGR Use gloves when handling the textile grilles Re assembly The grilles snap to the magnets when put back in place ...
Page 8: ...ent Guide Spare part CTS MX800 D FSK 1 2 2 Replace floor stand covers The center cover is click fastened Lift up to remove the cover The left and right covers are fastened with magnets Pull out gently to remove the covers Re assembly The left and right covers snap to the magnets when put back in place The center cover click fastens when put back in place ...
Page 9: ... Cisco Systems Inc All rights reserved 9 Cisco TelePresence MX800 Dual Replacement Guide Spare part CTS MX800 MON SCV Replace side covers The covers are fastened with magnets Pull out gently to remove the covers Re assembly The covers snap to the magnets when put back in place ...
Page 10: ...Inc All rights reserved 10 Cisco TelePresence MX800 Dual Replacement Guide Replace center top profile camera cover and center back cover Step 1 Remove the center top profile Spare parts Center back cover kit CTS MX800 D CAMCV The center top cover is click fastened Pull out gently page 1 of 3 ...
Page 11: ...opyright 2015 Cisco Systems Inc All rights reserved 11 Cisco TelePresence MX800 Dual Replacement Guide The camera cover is fastened with magnets Pull up gently Replace center top profile camera cover and center back cover Step 2 Remove the camera cover page 2 of 3 ...
Page 12: ...Presence MX800 Dual Replacement Guide The center back cover is fastened with magnets Tilt the back cover out at the bottom and slide it upward Replace center top profile camera cover and center back cover page 3 of 3 Step 3 Remove the center back cover Re assembly In order to replace the covers follow the steps in reversed order ...
Page 13: ... Replacement Guide MAY 2015 www cisco com Copyright 2015 Cisco Systems Inc All rights reserved 13 Cisco TelePresence MX800 Dual Replacement Guide Speakers and cameras Replace a loudspeaker 14 Replace dual camera module 16 ...
Page 14: ... Inc All rights reserved 14 Cisco TelePresence MX800 Dual Replacement Guide Replace a loudspeaker Step 1 Remove the speaker grille Spare part CTS MX700800 SPKR The speaker grille is fastened with magnets Pull out gently and lay it aside Use gloves when handling the textile grille page 1 of 2 ...
Page 15: ...Guide Replace a loudspeaker page 2 of 2 Step 2 Remove the loudspeaker The same procedure applies for loudspeakers in all positions Re assembly In order to install the new loudspeaker follow the steps in reversed order Pull loudspeaker 10 15 cm 4 6 inch out Unplug the cable from the connector on the back of the loudspeaker Remove screw PT4x10 Torx T20 2a 2b 2c ...
Page 16: ...Presence MX800 Dual Replacement Guide Spare part CTS MXCAM D Replace dual camera module Step 1 Remove speaker grille and center top profile The speaker grille is fastened with magnets and the center top profile is click fastened Pull out the parts gently and lay them aside Use gloves when handling the textile grille page 1 of 7 ...
Page 17: ...procedure is shown for loudspeaker 5 above the left monitor Repeat the procedure for loudspeaker 4 and 6 above the left monitor and 2 and 3 above the right monitor When reconnecting a loudspeaker make sure to connect the correct cable The cables are marked with the loudspeaker s position Loudspeaker cable 1 above the right monitor is not used Loudspeaker positions 1 2 3 4 5 6 4 6 5 Remove screw PT...
Page 18: ...om Copyright 2015 Cisco Systems Inc All rights reserved 18 Cisco TelePresence MX800 Dual Replacement Guide 1 Speaker clip Remove screw Remove speaker clip 1 M4x8 pan Allen key 2 5 mm Replace dual camera module page 3 of 7 Step 3 Remove center speaker clip 3a 3b ...
Page 19: ...nce MX800 Dual Replacement Guide Left camera board 3 DAISY CHAIN VISCA Camera assembly board 2 1 2 1 2 1 2 1 Right camera board 3 DAISY CHAIN VISCA Replace dual camera module page 4 of 7 Step 4 Unplug camera cables Only remove the cables shown here The other cables are internal to the dual camera module and should not be disconnected ...
Page 20: ...2015 Cisco Systems Inc All rights reserved 20 Cisco TelePresence MX800 Dual Replacement Guide Replace dual camera module page 5 of 7 Step 5 Unscrew camera screws 4 M4x8 pan Allen key 2 5 mm Remove 4 screws from the front 2 M4x8 pan Allen key 2 5 mm Remove lower screws 5a 5b ...
Page 21: ... www cisco com Copyright 2015 Cisco Systems Inc All rights reserved 21 Cisco TelePresence MX800 Dual Replacement Guide 4 M4x8 pan Allen key 2 5 mm Remove four screws Remove brackets Replace dual camera module page 6 of 7 Step 6 Remove brackets 6a 6b ...
Page 22: ... 22 Cisco TelePresence MX800 Dual Replacement Guide Replace dual camera module page 7 of 7 Step 7 Pull out camera module Re assembly In order to install the new camera module follow the steps in reversed order Gently pull out the camera module Do not touch the lens Do not apply stress or strain to the camera module ...
Page 23: ... www cisco com Copyright 2015 Cisco Systems Inc All rights reserved 23 Cisco TelePresence MX800 Dual Replacement Guide Codec and monitors Replace codec 24 Replace PoE injector 28 Replace monitor mounted on a stand 30 Replace monitor wall mounted 37 ...
Page 24: ...o com Copyright 2015 Cisco Systems Inc All rights reserved 24 Cisco TelePresence MX800 Dual Replacement Guide Replace codec Step 1 Remove left side cover The side cover is fastened with magnets Pull out gently and set aside Spare part CTS MXCODEC page 1 of 4 ...
Page 25: ... Cisco TelePresence MX800 Dual Replacement Guide Replace codec page 2 of 4 Step 2 Disconnect all cables from codec Make sure to remember the position of the cables Refer to cabling details in the Cable schema and Spare part list on our web site Go to http www cisco com go mx docs and select Maintain and Operate Guides ...
Page 26: ...placement Guide MAY 2015 www cisco com Copyright 2015 Cisco Systems Inc All rights reserved 26 Cisco TelePresence MX800 Dual Replacement Guide 2 M3x8 countersunk Torx T10 Replace codec page 3 of 4 Step 3 Unscrew fixing screws ...
Page 27: ...nc All rights reserved 27 Cisco TelePresence MX800 Dual Replacement Guide Replace codec page 4 of 4 Step 4 Pull out codec using velcro strap at top Re assembly In order to install the new codec follow all the steps in reverse order The codec is mounted in a power dock Pull firmly to get it out ...
Page 28: ...opyright 2015 Cisco Systems Inc All rights reserved 28 Cisco TelePresence MX800 Dual Replacement Guide Replace PoE injector Step 1 Remove right side cover Spare part CTS PWR AIR INJ5 The side cover is fastened with magnets Pull out gently and set aside page 1 of 2 ...
Page 29: ...e MX800 Dual Replacement Guide Replace PoE injector page 2 of 2 Step 2 Remove PoE injector Disconnect cables 1 Power top 2 RJ45 bottom Ethernet and Touch 10 user interface Remove PoE injector Remove screws and washers 2 M3x8 pan Torx T10 Re assembly In order to install the new PoE injector follow all the steps in reverse order 2a 2b 2c ...
Page 30: ...oudspeakers and camera Follow the steps described in Replace dual camera module on page 16 to page 22 Note that you have to remove all loudspeakers that are mounted on the monitor that you are replacing Step 2 left monitor Remove codec Follow the steps described in Replace codec on page 24 to page 27 Step 2 right monitor Remove PoE injector Follow the steps described in Replace PoE injector on pag...
Page 31: ... and left monitor From PoE injector From codec camera loudspeakers and right monitor All cables that were shipped with the system remain in your property and should not be returned to the supplier You will not receive new cables with the replacement part Only remove cables for the monitor that you are replacing For reconnecting the cables refer to cabling details in the Cable schema and Spare part...
Page 32: ...Copyright 2015 Cisco Systems Inc All rights reserved 32 Cisco TelePresence MX800 Dual Replacement Guide Pull up the lever Replace monitor mounted on a stand page 3 of 7 Step 5 Remove joining bracket Remove the joining bracket from the channel 5 M6x12 pan 5a 5b 5c ...
Page 33: ... remove the support handles from your replacement monitor as illustrated Then mount the handles on the monitor you want to replace This is neccessary in order to safely lift the monitor Unscrew the screws 4 M4x8 two on each handle and remove the two support handles from the replacement monitor Unscrew the screws 2 M4x8 one on each bracket and remove the brackets that the support handles were faste...
Page 34: ...l rights reserved 34 Cisco TelePresence MX800 Dual Replacement Guide Replace monitor mounted on a stand page 5 of 7 Step 7 Remove monitor screws and disconnect power cable 4 M6x12 countersunk Allen key 4 mm 4 M6x90 countersunk Allen key 4 mm M6x90 Disconnect the power cable between the two monitors ...
Page 35: ...t lift the inner side Do not let go of the monitor before it is securely placed Before moving the monitor Plan ahead where to put down the monitor Ideally place it in the original shipping packaging Use lifting handles To avoid trapping your fingers use the lifting handles at the bottom of the monitor The monitor is heavy We recommend four people working together to replace the monitor Two people ...
Page 36: ...www cisco com Copyright 2015 Cisco Systems Inc All rights reserved 36 Cisco TelePresence MX800 Dual Replacement Guide Replace monitor mounted on a stand page 7 of 7 Re assembly In order to install the new monitor follow all the steps in reverse order ...
Page 37: ...speakers and camera Follow the steps described in Replace dual camera module on page 16 to page 22 Note that you have to remove all loudspeakers that are mounted on the monitor that you are replacing Step 2 left monitor Remove codec Follow the steps described in Replace codec on page 24 to page 27 Step 2 right monitor Remove PoE injector Follow the steps described in Replace PoE injector on page 2...
Page 38: ...om Copyright 2015 Cisco Systems Inc All rights reserved 38 Cisco TelePresence MX800 Dual Replacement Guide Replace monitor wall mounted page 2 of 8 Step 4 Remove joining bracket Pull up the lever Remove the joining bracket from the channel 5 M6x12 pan 4a 4b 4c ...
Page 39: ...t handles from your replacement monitor as illustrated Then mount the handles on the monitor you want to replace This is neccessary in order to safely lift the monitor Unscrew the screws 4 M4x8 two on each handle and remove the two support handles from the replacement monitor Unscrew the screws 2 M4x8 one on each bracket and remove the brackets that the support handles were fastened to 5a 5b 5c Mo...
Page 40: ...s Inc All rights reserved 40 Cisco TelePresence MX800 Dual Replacement Guide Replace monitor wall mounted page 4 of 8 Step 6 Remove cable bridge and lower profile The cover rests on the bottom frame on one side Hold the cover in place while you remove the screw 2 M6x12 pan 1 M6x12 pan 6a 6b ...
Page 41: ...d left monitor From PoE injector From codec camera loudspeakers and right monitor All cables that were shipped with the system remain in your property and should not be returned to the supplier You will not receive new cables with the replacement part Only remove cables for the monitor that you are replacing For reconnecting the cables refer to cabling details in the Cable schema and Spare part li...
Page 42: ...All rights reserved 42 Cisco TelePresence MX800 Dual Replacement Guide Replace monitor wall mounted page 6 of 8 Step 8 Unscrew monitor screws and disconnect power cable Disconnect the power cable between the two monitors 4 M6x12 countersunk Allen key 4 mm 4 M6x90 countersunk Allen key 4 mm M6x90 ...
Page 43: ...iginal shipping packaging Before moving the monitor Plan ahead where to put down the monitor Ideally place it in the original shipping packaging Use lifting handles To avoid trapping your fingers use the lifting handles at the bottom of the monitor The monitor is heavy We recommend four people working together to replace the monitor Two people should lift the monitor using the handles as described...
Page 44: ...2015 www cisco com Copyright 2015 Cisco Systems Inc All rights reserved 44 Cisco TelePresence MX800 Dual Replacement Guide Replace monitor wall mounted page 8 of 8 Re assembly In order to install the new monitor follow all steps in reverse order ...
Page 45: ...5327 01 MX800 Dual Replacement Guide MAY 2015 www cisco com Copyright 2015 Cisco Systems Inc All rights reserved 45 Cisco TelePresence MX800 Dual Replacement Guide Appendix Part numbers for spare parts 46 ...
Page 46: ... kit CTS MXCAM D Dual camera assembly CTS MXCODEC Codec CTS MX700800 SPKR One loudspeaker fits in all positions CTS PWR AIR INJ5 Power over Ethernet PoE injector without cables CTS MX800 MON L D Left monitor without codec loudspeakers covers and cables CTS MX800 MON R D Right monitor without loudspeakers PoE injector covers and cables CTS MX800 DDC TGR Speaker grille CTS MX800 D LGR Lower grille f...
Page 47: ...ULTS CISCO AND THE ABOVE NAMED SUPPLIERS DISCLAIM ALL WARRANTIES EXPRESSED OR IMPLIED INCLUDING WITHOUT LIMITATION THOSE OF MERCHANTABILITY FITNESS FOR A PARTICULAR PURPOSE AND NONINFRINGEMENT OR ARISING FROM A COURSE OF DEALING USAGE OR TRADE PRACTICE IN NO EVENT SHALL CISCO OR ITS SUPPLIERS BE LIABLE FOR ANY INDIRECT SPECIAL CONSEQUENTIAL OR INCIDENTAL DAMAGES INCLUDING WITHOUT LIMITATION LOST P...