Desktop-Mount the Chassis
You can mount the chassis on a desktop by placing it on a desk in a horizontal position. Make sure there are
no blockages or obstructions within one inch of the top of the chassis or within .5 inches of the sides and back,
so that nothing interferes with cooling. Do not remove the rubber feet included with the chassis. They are also
needed for proper cooling.
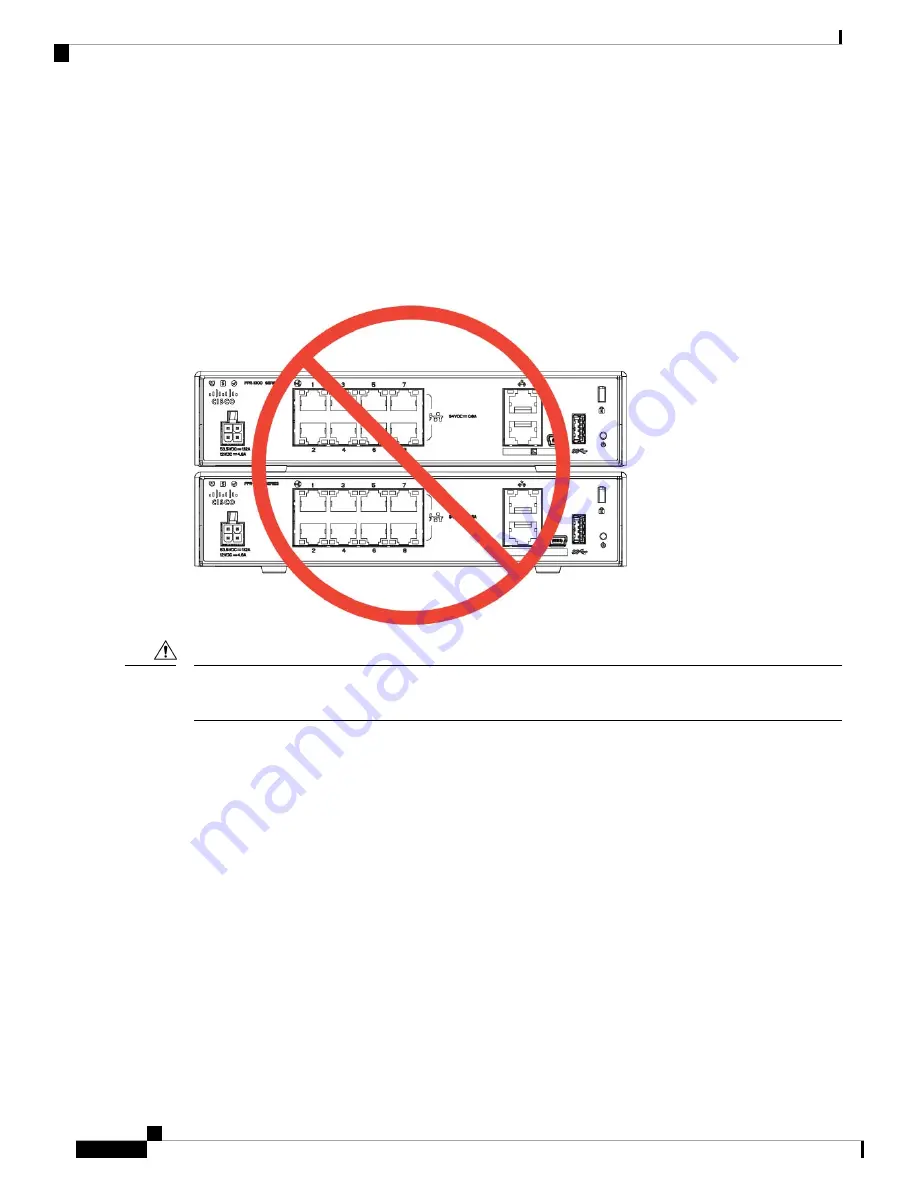
Figure 25: Desk Top Mount the Chassis
Do not stack one chassis on top of another chassis. If you stack the units, they will overheat, which causes
the units to power cycle.
Caution
What to do next
See
Install the FIPS Opacity Shield , on page 41
if you need to install a FIPS opacity shield.
Install the cables according to your default software configuration as described in the
Wall-Mount the Chassis
You can purchase an optional wall-mount kit. You can wall-mount the chassis left-, right-, or rear panel-side
up. You can use the wall-mount bracket to mark the holes for mounting it on the wall. The wall-mount bracket
is 7.682 x 6 inches. You need to make two level marks on the wall where you want to hang the chassis. For
vertical orientation (rear panel up), the holes should be 6.826 inches apart. For side to side orientation, the
holes should be 5.154 inches apart.
The wall-mount kit (part number 69-100647-01) contains the following items:
• Wall-mount bracket (part number 700-118506-01)
Cisco Firepower 1010 Hardware Installation Guide
28
Mount the Chassis
Desktop-Mount the Chassis


