10-8
Cisco Wireless LAN Controller Configuration Guide
OL-17037-01
Chapter 10 Managing User Accounts
Web Authentication Process
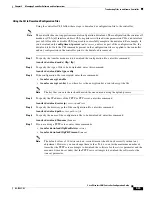
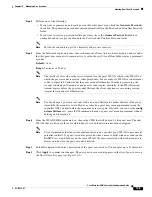
Step 6
Expand the
Trusted Root Certification Authorities
folder and choose
Local Computer
.
Step 7
Click
OK
.
Step 8
Click
Next
>
Finish
.
Step 9
When the “The import was successful” message appears, click
OK
.
Step 10
Because the issuer field is blank on the controller self-signed certificate, open Internet Explorer, click
Tools
>
Internet Options
>
Advanced
, uncheck the
Warn about Invalid Site Certificates
check box
under Security, and click
OK
.
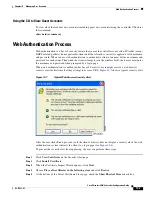
Step 11
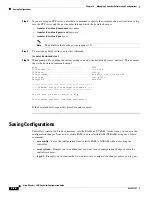
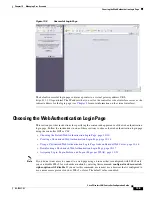
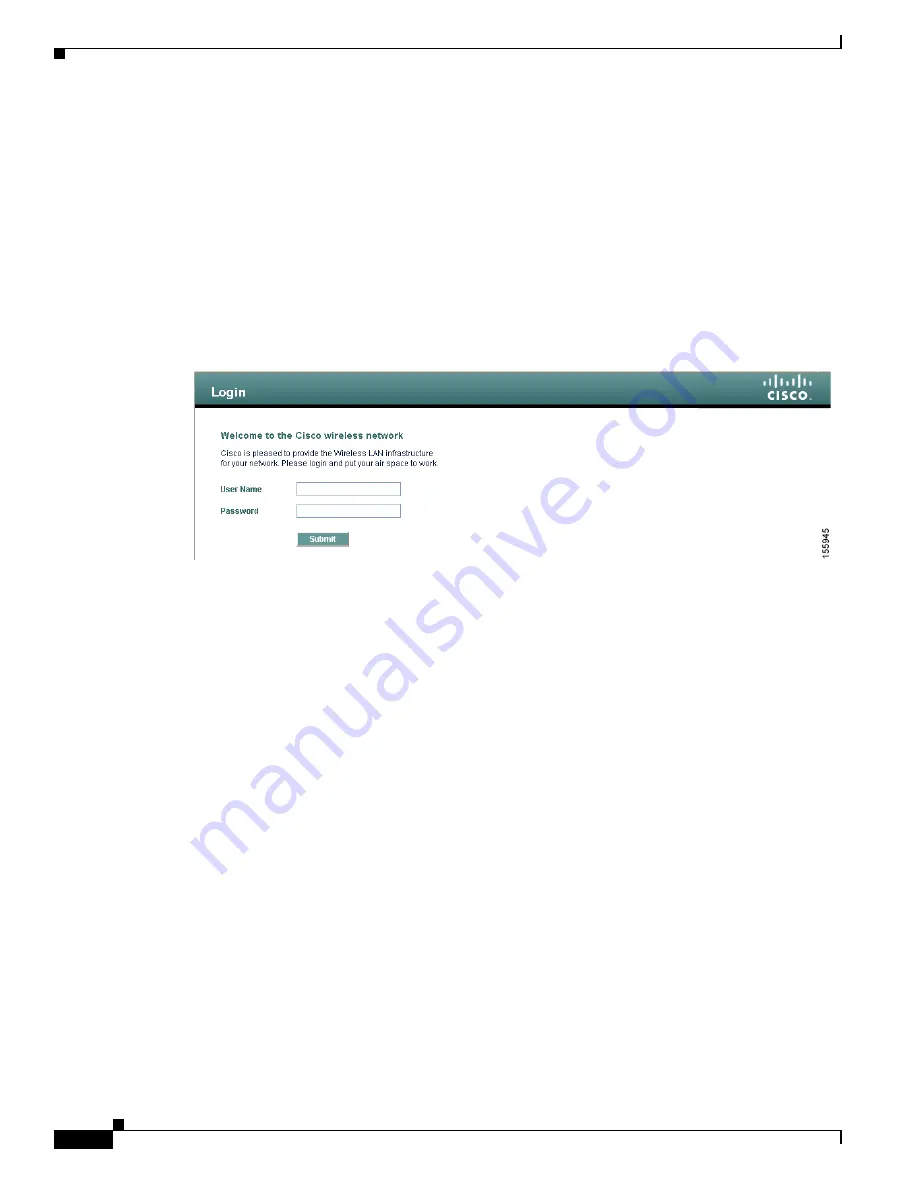
Reboot the PC. On the next web authentication attempt, the login page appears (see
shows the default web authentication login window.
Figure 10-8
Default Web Authentication Login Page
The default login page contains a Cisco logo and Cisco-specific text. You can choose to have the web
authentication system display one of the following:
•
The default login page
•
A modified version of the default login page
•
A customized login page that you configure on an external web server
•
A customized login page that you download to the controller
The
“Choosing the Web Authentication Login Page” section on page 10-9
provides instructions for
choosing how the web authentication login page appears.
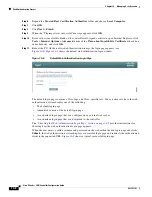
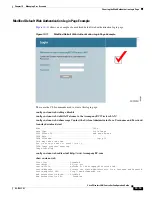
When the user enters a valid username and password on the web authentication login page and clicks
Submit
, the web authentication system displays a successful login page and redirects the authenticated
client to the requested URL.
shows a typical successful login page.


