6-11
Cisco Wireless LAN Controller Configuration Guide
OL-17037-01
Chapter 6 Configuring WLANsWireless Device Access
Configuring WLANs
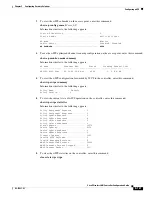
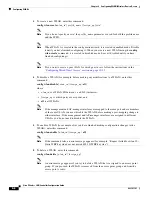
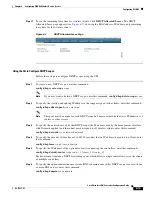
Using the CLI to Debug DHCP
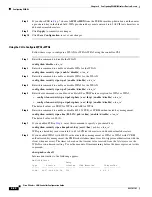
Use these CLI commands to obtain debug information:
•
debug dhcp packet
{
enable
|
disable
}—Enables or disables debugging of DHCP packets.
•
debug dhcp message
{
enable
|
disable
}—Enables or disables debugging of DHCP error messages.
•
debug dhcp service-port
{
enable
|
disable
}—Enables or disables debugging of DHCP packets on
the service port.
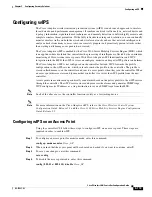
Configuring DHCP Scopes
Controllers have built-in DHCP relay agents. However, when network administrators desire network
segments that do not have a separate DHCP server, the controllers can have built-in DHCP scopes that
assign IP addresses and subnet masks to wireless clients. Typically, one controller can have one or more
DHCP scopes that each provide a range of IP addresses.
DHCP scopes are needed for internal DHCP to work. Once DHCP is defined on the controller, we can
then point the primary DHCP server IP address on the management, AP-manager, and dynamic
interfaces to controller’s management interface. You can configure up to 16 DHCP scopes using the
controller GUI or CLI.
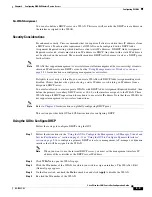
Using the GUI to Configure DHCP Scopes
Follow these steps to configure DHCP scopes using the GUI.
Step 1
Click
Controller
>
Internal DHCP Server
>
DHCP Scope
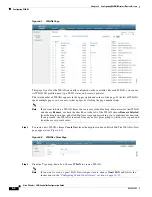
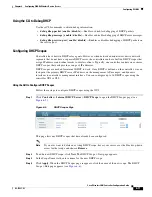
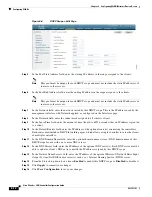
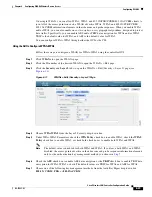
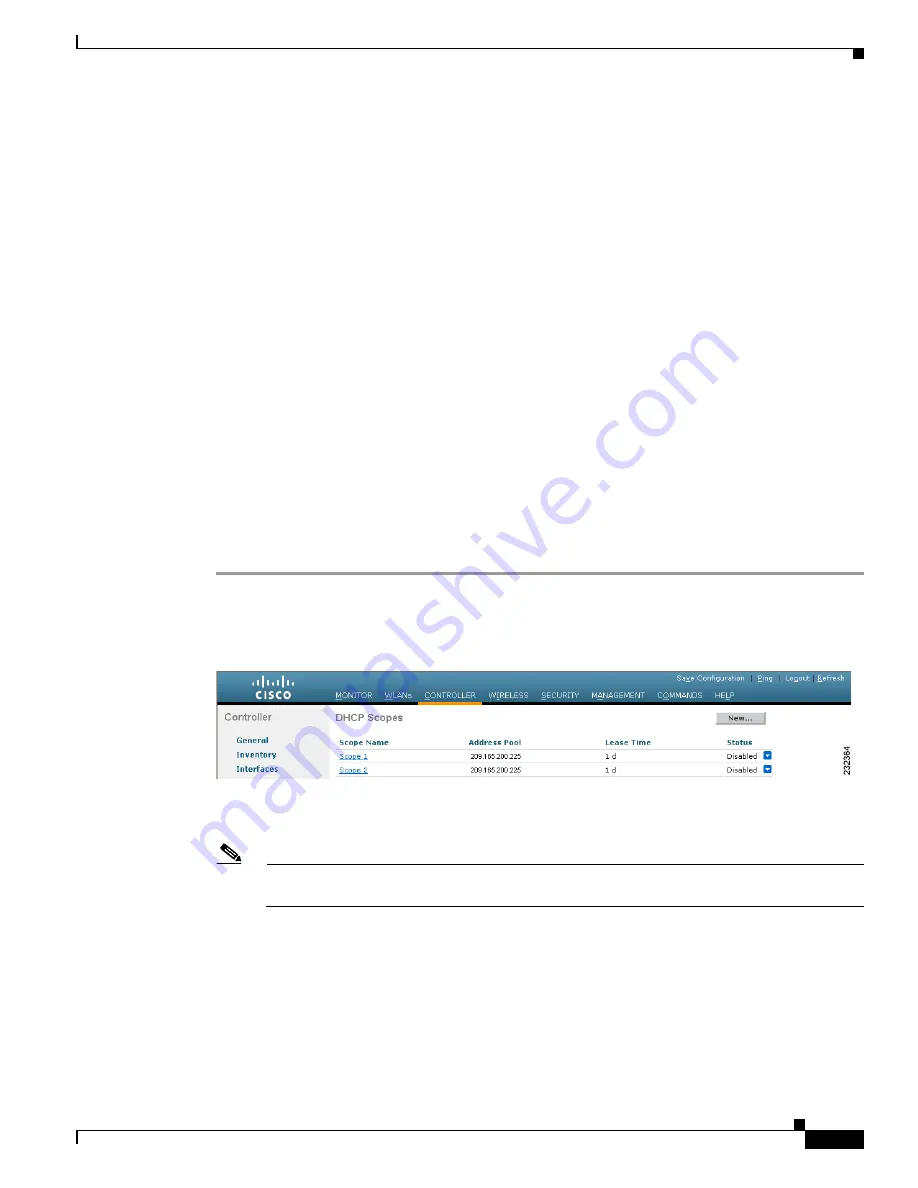
to open the DHCP Scopes page (see
Figure 6-5
DHCP Scopes Page
This page lists any DHCP scopes that have already been configured.
Note
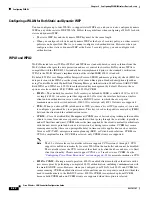
If you ever want to delete an existing DHCP scope, hover your cursor over the blue drop-down
arrow for that scope and choose
Remove
.
Step 2
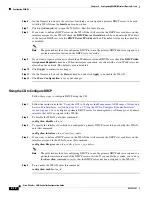
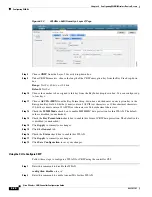
To add a new DHCP scope, click
New
. The DHCP Scope > New page appears.
Step 3
In the Scope Name field, enter a name for the new DHCP scope.
Step 4
Click
Apply
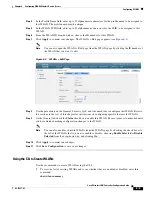
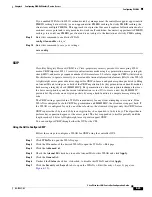
. When the DHCP Scopes page reappears, click the name of the new scope. The DHCP
Scope > Edit page appears (see

