5-110
Cisco Wireless LAN Controller Configuration Guide
OL-17037-01
Chapter 5 Configuring Security Solutions
Configuring IDS
Using the GUI to Upload or Download IDS Signatures
Follow these steps to upload or download IDS signatures using the controller GUI.
Step 1
If desired, create your own custom signature file.
Step 2
Make sure that you have a Trivial File Transfer Protocol (TFTP) server available. Keep these guidelines
in mind when setting up a TFTP server:
•
If you are downloading through the service port, the TFTP server must be on the same subnet as the
service port because the service port is not routable, or you must create static routes on the
controller.
•
If you are downloading through the distribution system network port, the TFTP server can be on the
same or a different subnet because the distribution system port is routable.
•
A third-party TFTP server cannot run on the same computer as the Cisco WCS because the WCS
built-in TFTP server and the third-party TFTP server require the same communication port.
Step 3
If you are downloading a custom signature file (*.sig), copy it to the default directory on your TFTP
server.
Step 4
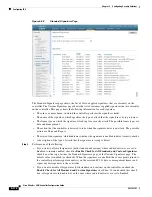
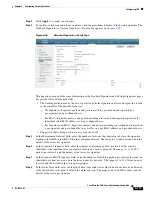
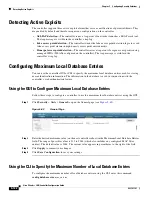
Click
Commands
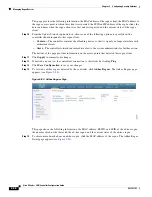
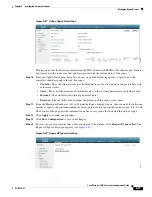
to open the Download File to Controller page (see
Figure 5-57
Download File to Controller Page
Step 5
Perform one of the following:
•
If you want to download a custom signature file to the controller, choose
Signature File
from the
File Type drop-down box on the Download File to Controller page.
•
If you want to upload a standard signature file from the controller, click
Upload File
and then
choose
Signature File
from the File Type drop-down box on the Upload File from Controller page.
Step 6
From the Transfer Mode drop-down box, choose
TFTP
or
FTP
.
Step 7
In the IP Address field, enter the IP address of the TFTP or FTP server.
Step 8
If you are downloading the signature file using a TFTP server, enter the maximum number of times the
controller should attempt to download the signature file in the Maximum Retries field.
Range:
1 to 254
Default:
10

