5-9
Cisco Wireless LAN Controller Configuration Guide
OL-17037-01
Chapter 5 Configuring Security Solutions
Configuring RADIUS
Step 13
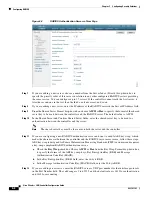
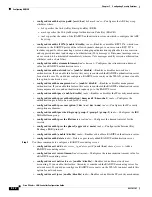
From the Server Status field, choose
Enabled
to enable this RADIUS server or choose
Disabled
to
disable it. The default value is Enabled.
Step 14
If you are configuring a new RADIUS authentication server, choose
Enabled
from the Support for RFC
3576 drop-down box to enable RFC 3576, which is an extension to the RADIUS protocol that allows
dynamic changes to a user session, or choose
Disabled
to disable this feature. The default value is
Enabled. RFC 3576 includes support for disconnecting users and changing authorizations applicable to
a user session and supports disconnect and change-of-authorization (CoA) messages). Disconnect
messages cause a user session to be terminated immediately whereas CoA messages modify session
authorization attributes such as data filters.
Step 15
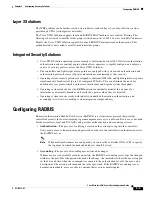
In the Server Timeout field, enter the number of seconds between retransmissions. The valid range is 2
to 30 seconds, and the default value is 2 seconds.
Note
Cisco recommends that you increase the timeout value if you experience repeated
reauthentication attempts or the controller falls back to the backup server when the primary
server is active and reachable.
Step 16
Check the
Network User
check box to enable network user authentication (or accounting), or uncheck
it to disable this feature. The default value is checked. If you enable this feature, this entry is considered
the RADIUS authentication (or accounting) server for network users. If you did not configure a RADIUS
server entry on the WLAN, you must enable this option for network users.
Step 17
If you are configuring a RADIUS authentication server, check the
Management
check box to enable
management authentication, or uncheck it to disable this feature. The default value is checked. If you
enable this feature, this entry is considered the RADIUS authentication server for management users,
and authentication requests go to the RADIUS server.
Step 18
Check the
IPSec
check box to enable the IP security mechanism, or uncheck it to disable this feature.
The default value is unchecked.
Note
The IPSec option appears only if a crypto card is installed in the controller.
Step 19
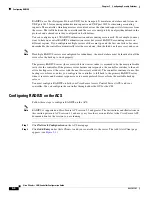
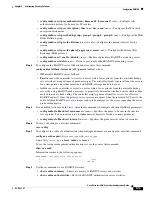
If you enabled IPSec in
, follow these steps to configure additional IPSec parameters:
a.
From the IPSec drop-down box, choose one of the following options as the authentication protocol
to be used for IP security:
HMAC MD5
or
HMAC SHA1
. The default value is HMAC SHA1.
A message authentication code (MAC) is used between two parties that share a secret key to validate
information transmitted between them. HMAC (Hash MAC) is a mechanism based on cryptographic
hash functions. It can be used in combination with any iterated cryptographic hash function. HMAC
MD5 and HMAC SHA1 are two constructs of the HMAC using the MD5 hash function and the
SHA1 hash function. HMAC also uses a secret key for calculation and verification of the message
authentication values.
b.
From the IPSec Encryption drop-down box, choose one of the following options to specify the IP
security encryption mechanism:
•
DES
—Data Encryption Standard is a method of data encryption using a private (secret) key.
DES applies a 56-bit key to each 64-bit block of data.
•
3DES
—Data Encryption Standard that applies three keys in succession. This is the default
value.
•
AES CBS
—Advanced Encryption Standard uses keys with a length of 128, 192, or 256 bits to
encrypt data blocks with a length of 128, 192, or 256 bits. AES 128 CBC uses a 128-bit data
path in Cipher Clock Chaining (CBC) mode.

