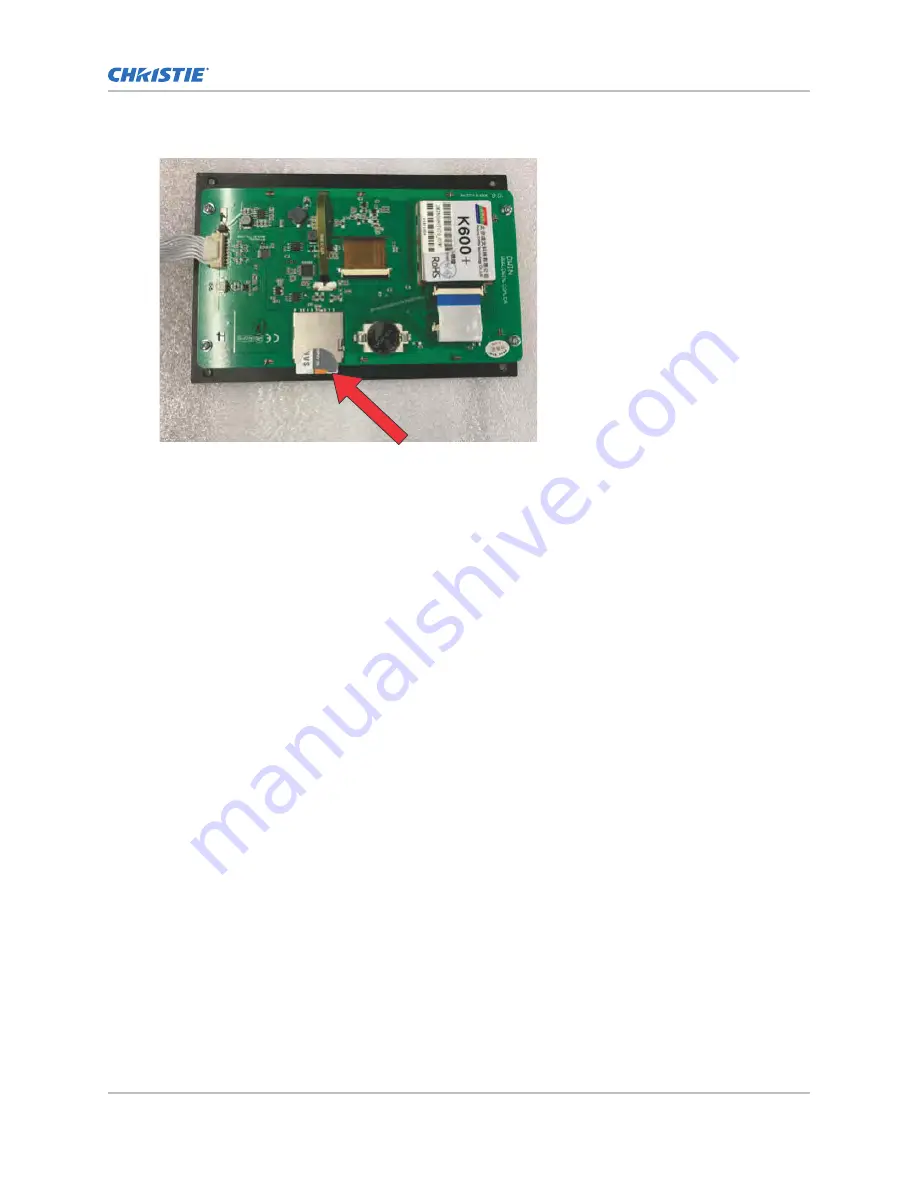
2. Insert the SD card into the user interface panel.
3. Connect the laser touch panel user interface to the projector.
4. Power on the projector.
The screen is blue and each user interface is updated in sequence. It takes approximately 20
seconds before the upgrade completes.
5. Remove the SD card and re-install the top cover of the laser touch panel.
Upgrading the Christie projector software
Follow these steps to upgrade the Christie projector software.
The projector software upgrade must be run twice to make sure the laser firmware is upgraded
properly. The first upgrade updates the software to a version that can support the laser board
firmware upgrade and the second upgrade updates the laser board firmware as part of projector
software upgrade.
1. Plug the USB drive with the software upgrade into the projector.
2. Log into the projector user interface.
The minimum login access for the software upgrade is installer.
3. Christie recommends upgrading only what needs to be upgraded.
The projector automatically reboots when the upgrade completes.
4. Log into the Christie touch panel user interface to repeat the upgrade.
During this upgrade, the projector updates the laser driver board firmware. During the
upgrade, for the CP23xx-RGBe units, you can hear the noise of the fan near the rear cover
during the upgrade and for the CP23xx-RGB/C projectors, you can see the indicator light on
the circuit board flashing quickly.
The projector automatically reboots when the upgrade completes and the upgrade finishes
after the reboot.
Upgrading the CP23xx-RGBe/C laser software
Upgrading the CP23xx-RGBe/C Firmware Instruction Sheet
5
020-103665-01 Rev. 1 (014-2022)
Copyright
©
2022 Christie Digital Systems USA, Inc. All rights reserved.


