Chord Electronics
Hugo TT 2 |
Manual
_
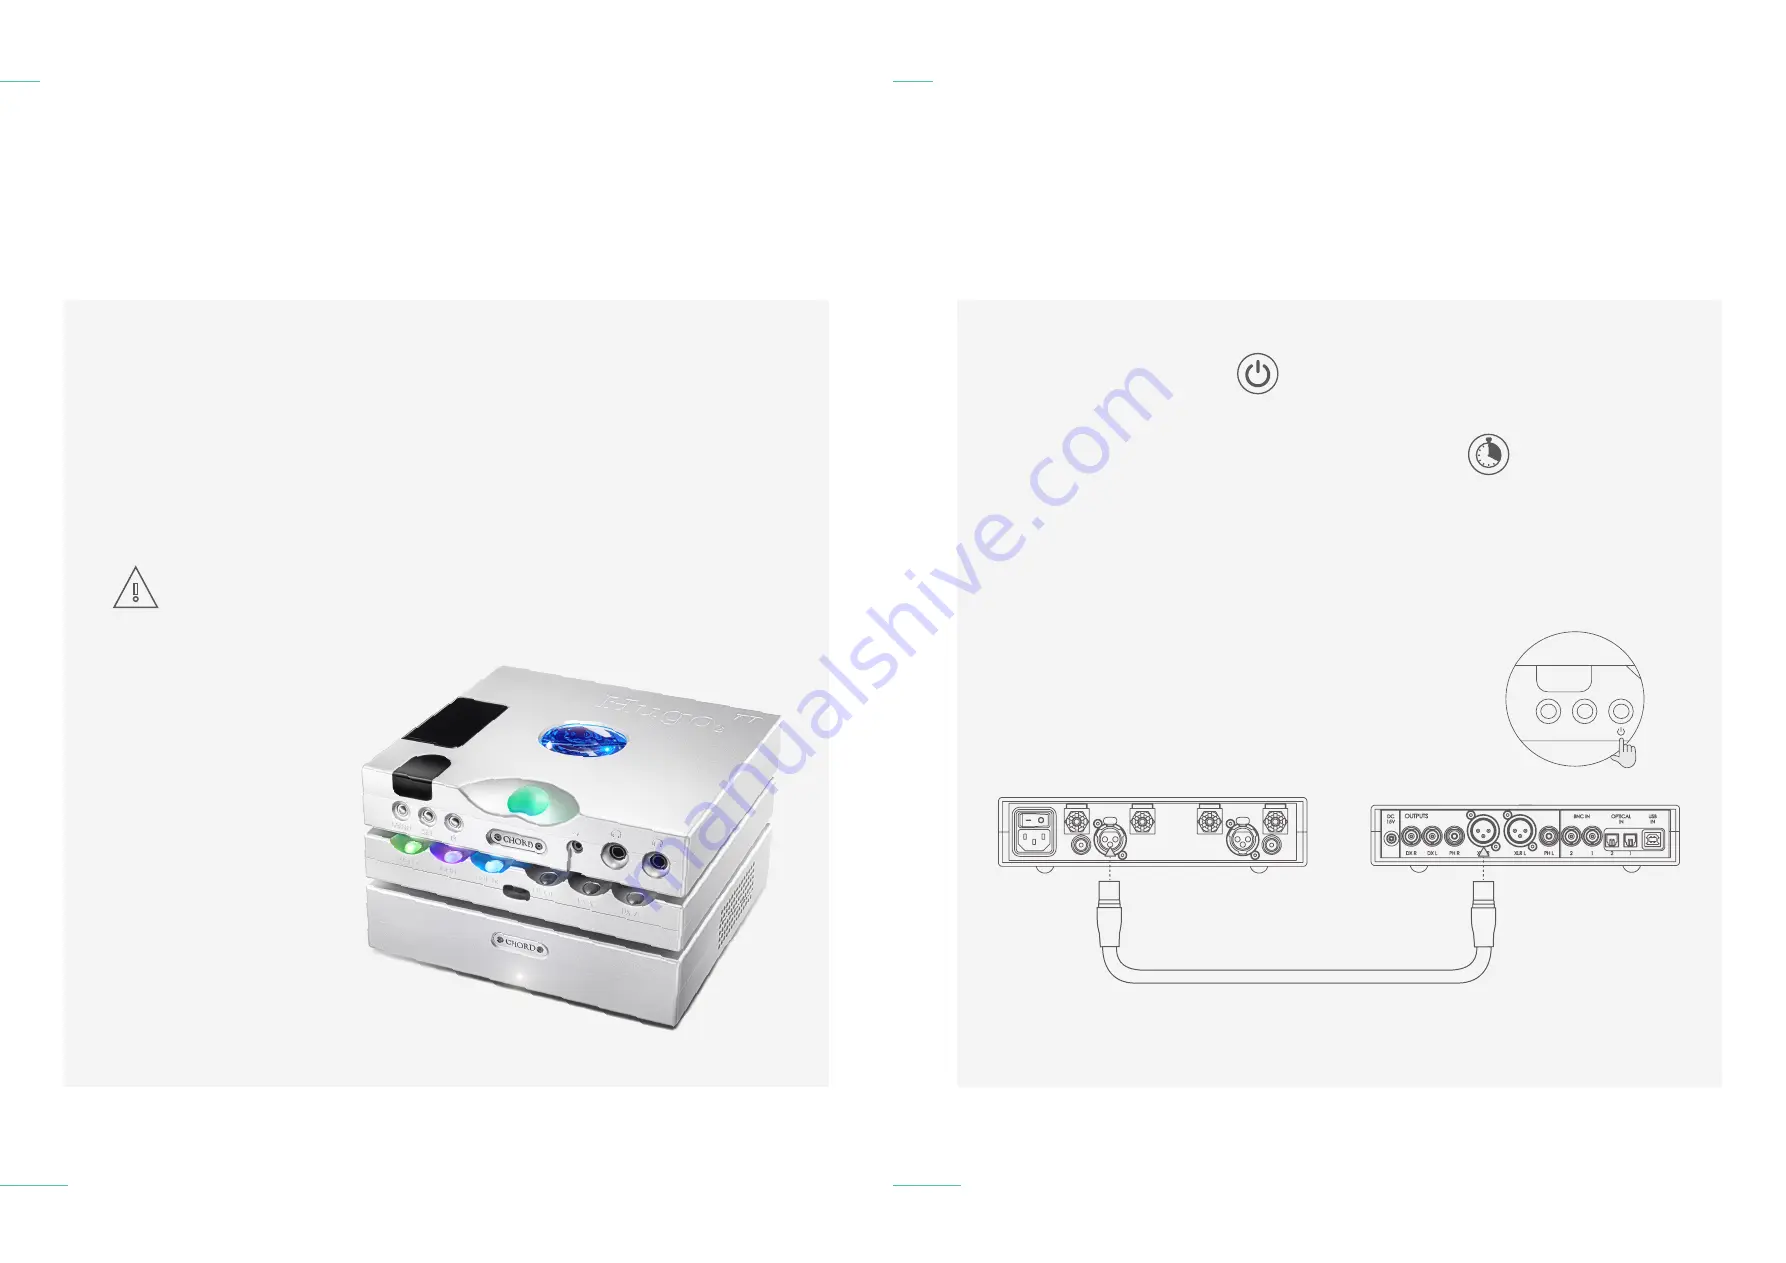
Whilst the Hugo TT 2 will
operate normally within a stack
of other Chord Electronics’
Table Top (TT) components, it is
recommended that the device is
allowed to
‘breathe’.
Allocating 10cm of space around
it to convection-cool during
operation is advised.
As the infra-red remote
control requires a direct
line of sight to the
viewing portal, avoid placing
objects on top of the Hugo TT 2
or placing it within enclosures.
4.1 Placement
4.2 Connecting Hugo TT 2
to equipment & power-on
sequence
Placement
4.1
18 // 35
Chord Electronics
Hugo TT 2 |
Manual
_
When connecting the Hugo TT
2 to equipment within the signal
path, ensure all devices are
switched off.
It is recommended that once
all equipment is properly
connected, that the volume
setting is operated to its lowest
setting.
Then slowly begin raising to
a comfortable listening level.
Always observe partnering
manufacturers’ guidelines.
4.1 Placement
4.2 Connecting Hugo TT 2
to equipment & power-on
sequence
Connecting an input to Hugo M
Scaler & input selection
4.2
19 // 35
POWER ON SEQUENCE:
When switching on
Hugo TT 2, it will initially
charge the super-caps, with the
display showing CHG.
Then it will enter the initialisation
phase, displaying all the settings,
and configuring the analogue
outputs.
Music playback is not available
during initialisation.
During the initialisation phase,
the Hugo TT 2’s sample rate
indicator will cycle through a
series of colours.
During this period,
do not initiate music
playback.
RIGHT
LEFT
XLR
XLR
MENU
SET


