Safety and operating instructions
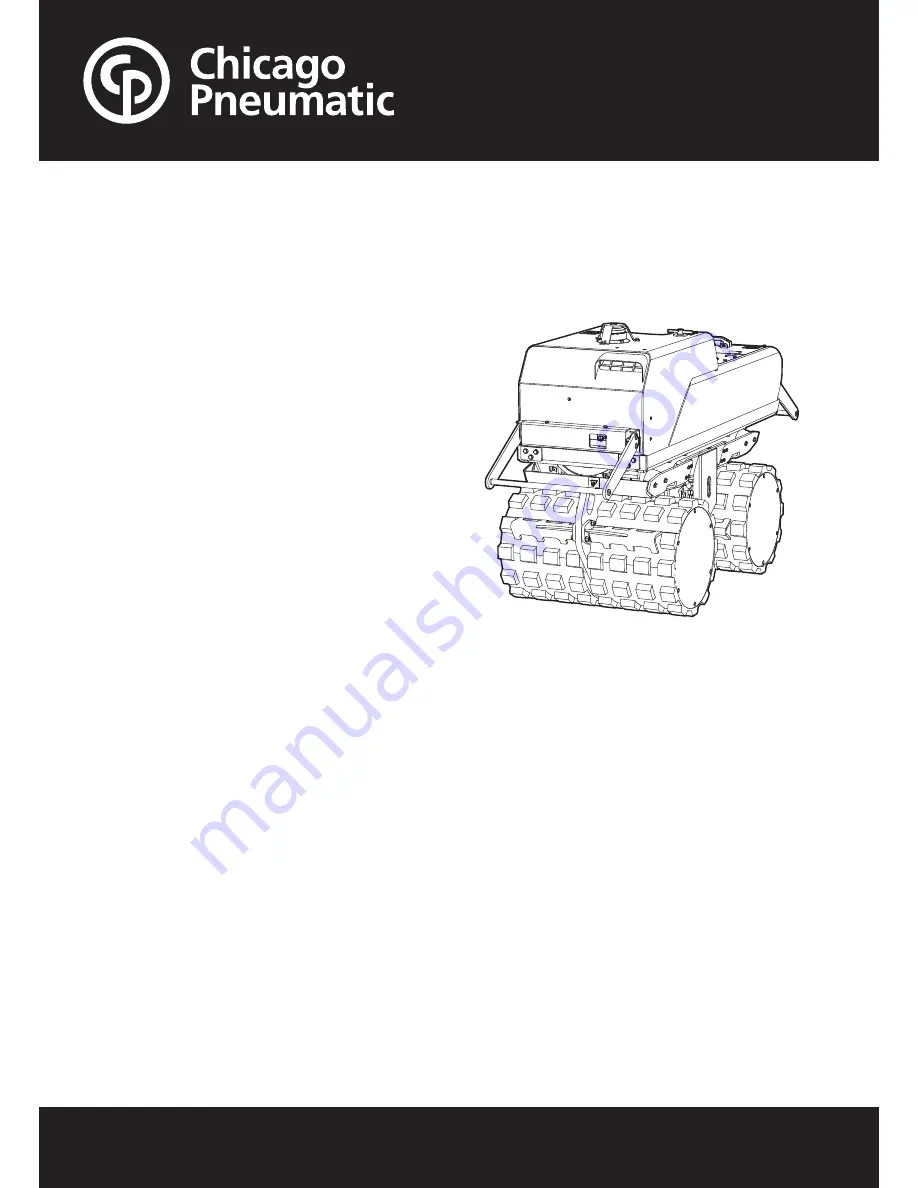
Trench compactor
TR 630, 850
www.cp.com
Page 1: ...Safety and operating instructions Trench compactor TR 630 850 www cp com ...
Page 2: ...9800 1262 01a Original instructions 2 TR 630 850 ...
Page 3: ...ion 16 Antenna 17 Operating near edges 17 Operating on slopes 18 Start and stop 18 Operating 21 Control 22 Contact sensor 22 When taking a break 23 Maintenance 23 Desktop charger 23 Fuses 24 Every 10 hours of operating daily 24 After the first 20 hours of operation 26 After the first 150 hours of operation 26 Every 250 hours of operation every month 27 Inspection and cleaning of the engine air coo...
Page 4: ...Uncertainties sound value 32 Dimensions 33 EC Declaration of Conformity 34 EC Declaration of Conformity EC Directive 2006 42 EC 34 9800 1262 01a Original instructions 4 TR 630 850 Contents ...
Page 5: ...th powerful and reliable products that are easy to maintain and that give good value for the money For more information please visit www cp com Construction Tools EOOD 7000 Rousse Bulgaria About the Safety and operating instructions The aim of the instructions is to provide you with knowledge of how to use the machine in an efficient safe way The instructions also give you advice and tell you how ...
Page 6: ...es Proper protective boots Appropriate work overall or similar clothing not loose fitting that covers your arms and legs Drugs alcohol or medication WARNING Drugs alcohol or medication Drugs alcohol or medication may impair your judgment and powers of concentration Poor reactions and incorrect assessments can lead to severe accidents or death Never use the machine when you are tired or under the i...
Page 7: ...jury If any error occurs in the system Switch off the start stop switch on the transmitter Switch off the battery disconnector Unplug the power supply cable to the machine WARNING Dust and fume hazard Dusts and or fumes generated or dispersed when using the machine may cause serious and permanent respiratory disease illness or other bodily injury for example silicosis or other irreversible lung di...
Page 8: ...by fan if necessary WARNING Battery hazard The battery contains poisonous and corrosive sulphuric acid and can explode this can cause injury Never expose the battery to naked flames sparks strong heat or anything else where there is a risk of explosion Avoid getting acid on your skin clothes or on the machine Wear protective glasses to avoid getting acid in your eyes if you get acid in your eyes r...
Page 9: ...or example supporting any part of the body against the machine or leaning onto the machine trying to increase the feed force Make sure that the machine is well maintained and not worn out Immediately stop working if the machine suddenly starts to vibrate strongly Before resuming the work find and remove the cause of the increased vibrations Participate in health surveillance or monitoring medical ...
Page 10: ...on may result in bodily injuries to yourself or others Never modify the machine Modified machines are not covered by warranty or product liability Always use original parts cutting blades working tools and accessories Change damaged parts immediately Replace worn components in good time WARNING Hot oil hazard When changing the oil oil filter or hydraulic oil on a hot machine there is a risk of bur...
Page 11: ...as as is the case for all combustion engine machines The TR trench compactor must not be towed behind vehicles Never operate on steeper slopes than recommended in this manual Main parts A B C D E F G H I J K L M A Handbrake B Battery C Hydraulic oil tank D Hydraulic oil filter E Fuel tank F Muffler G Engine oil tank H Engine cooling system I Dewatering filter J Air filter with dust extractor valve...
Page 12: ...ce The labels must be in such condition that they are easy to read New labels can be ordered from the spare parts list Atlas Copco Construction Tools AB 105 23 Stockholm Sweden Type Operating mass kg Rated power kW Year of Mfg Product Identification Number Made in Sweden 4811 0000 29 Data plate Construction Tools EOOD Type Operating mass kg Rated power kW Year of Mfg Product Identification Number ...
Page 13: ...uction manual The operator must read the safety operation and maintenance instructions before operating the machine Starting instructions Safety label Hot surfaces in the engine compartment Keep your hands at a safe distance from the danger zone Diesel Battery disconnector label Read the safety and operating instructions label Hydraulic oil level label Lifting point label Handbrake label 13 9800 1...
Page 14: ...e correctly attached and not damaged Check the machine s data plate for information of the weight Lifting the machine Before lifting the machine check that the shock absorbers A and safety frame lifting point B are correctly attached and not damaged Only use the safety frame lifting point B for lifting the machine A B Secure transport WARNING Transport hazard During transportation always strap the...
Page 15: ...l operate the machine Never give the transmitter to anyone who is not fully familiar with the machine its operation and safety directives WARNING Transmitter hazard If the operator is not fully familiar with the control system when operating the machine this may lead to sudden and unexpected movements of the machine which can cause injuries Always study this safety and operating instructions caref...
Page 16: ...ckle charged every four weeks if the transmitter is not used Remove the battery if the transmitter is not used for a long period Status Indication LED Battery discharged Constant yellow light for 10 seconds Battery low charge Flashing yellow light Joystick in wrong position when starting the machine Green and red light No connection Fast flashing green light Normal operation mode Slow flashing gre...
Page 17: ... 50 50 ms In pairing mode Steady green Paired When pairing has been successfully accomplished restart the transmitter Restart the reciever by pressing the stop knob Transmitter display information Event Pairing Pairing info Pairing RX TX Pairing Pairing info Pairing RX TX Link OK Pairing ready Restart system Pairing ready BlueTooth Pairing info Pairing RX TX Link OK BlueTooth connected Pairing inf...
Page 18: ...pecified here Operating on slopes Ensure that the work area is secure Wet and loose earth reduces manoeuvrability especially on sloping ground Always exercise extreme caution on sloping and uneven terrain Never work on slopes that exceed the capabilities of the machine The maximum slope of the machine in operation is 20 depending on the condition of the ground 20 The tilting angle is measured on a...
Page 19: ... pressure symbol do not extinguish the machine must be shut off Fault tracing and repair must be performed by authorized service personnel before the machine is started again Starting the engine Hatz 1 Open the rear service hatch and pick up the transmitter Insert and turn the battery disconnector A to locked mode The buzzer B sounds when the power is switched on The buzzer stops when the engine s...
Page 20: ...es 05 Tilt switch activated The front switch is located behind the engine on the right side of the machine The rear switch is located on the left side of the machine 06 Rear contact sensor activated 07 Front contact sensor activated Radio contact lost between transmitter and receiver Transmitter connected via cable control Stopping the engine Hatz 1 Set the vibration switch A to neutral position A...
Page 21: ... off switch on the transmitter is turned off Handbrake Release the handbrake A by pulling it out and twist it clockwise into locked position A Engage the handbrake by twisting it counterclockwise and push it in Cable control NOTICE The connector must be cleaned before mounting the cable Damaged connectors must be replaced by authorized personnel The machine can be operated by cable control Mount t...
Page 22: ...st be set to the intermediate position when returning to high speed in order for the automatic vibration to be resumed Vibration switch position Vibration is clockwise Vibration is anticlockwise Control Forward operation Move the joystick forwards Reverse operation Move the joystick backwards Right operation Move the joystick to the right Left operation Move the joystick to the left Stop the machi...
Page 23: ...charging Use a voltage regulated battery charger constant voltage A switched two stage charger with constant voltage is recommended A two stage charger automatically reduces the charging voltage 14 4 V to trickle charging 13 3 V when the battery is fully charged Battery storage and trickle charging Never leave a machine with a discharged battery A discharged battery freezes at a temperature of abo...
Page 24: ...n order to ensure that the machine remains within the stated vibration level values the following checks must be performed Maintenance routines Check and replenish engine oil See engine manual for more information Check and replenish fuel Check for oil leaks Check the dust extractor valve on the air filter Clean and refit the air filter Check the hydraulic oil level Check scraper adjustment Check ...
Page 25: ...anual for more information Checking hydraulic oil level Wipe off the oil level gauge A A Check that the level is in the centre of the gauge Refill if necessary Check for leaks if the level falls Scrapers checking and adjusting Make sure that the scraper blades are not touching the pads on the drums If necessary adjust the screws A to a clearance of 3 5 mm 0 12 0 2 in A A A Checking bolted joint Ch...
Page 26: ...mation Inspection of engine spacer bolts Check that the engine spacer bolts A are properly tightened A Diesel engine changing the oil and filter Only drain the engine oil while engine is warm 1 Unscrew the drain plug A on the draining hose and drain off all the oil Use a container with at least a 2 5 litre capacity A 2 Replace the drain plug A and tighten 3 Loosen the oil filter B by using a band ...
Page 27: ... clearances See the engine manual for more information Diesel engine replacing the fuel filter 1 The replacement intervals for fuel filters depend on how heavily contaminated the fuel is 2 Release the hoses on both sides of the fuel filter A and replace the filter A 3 When fitting the new filter make sure that the arrow on the filter coincides with the direction of flow of the fuel See the engine ...
Page 28: ...the drainage nut A and loosen the bleeding screw B 4 Pump with the hand pump C until the fuel is free from air Tighten the bleeding screw B C Checking battery connectors Clean the battery poles and cable shoes and apply a coating of acid free grease Vaseline Tighten the battery connections Check the attachment of the battery Inspection and cleaning of the engine air cooling system WARNING Scalding...
Page 29: ...d machine must be treated and disposed of in such a way that the greatest possible portion of the material can be recycled and any negative influence on the environment is kept as low as possible and in accordance with local restrictions Before a fuel driven machine is deposited it must be emptied and cleaned of all oil and fuel Remaining oil and fuel must be dealt with in a way that does not adve...
Page 30: ...2 1 920 Vibration frequency Hz r p m 48 10 791 Centrifugal force kN Ibf 1 2 0 04 Amplitude mm in Vibration system Gear type Pump Gear type Motor 15 2175 Safety valve Mpa psi Fluid volumes 17 0 18 0 Fuel tank litres qts 2 5 2 6 Crankcase oil capacity litres qts 21 0 22 2 Hydraulic oil litres qts 0 5 0 5 Eccentric element litres qts 3 2 3 4 Fuel consumption litres hour qts h Lubricants Shell Rimula ...
Page 31: ...ng to EN 500 4 See table Noise and vibration data for the values etc These declared values were obtained by laboratory type testing in accordance with the stated directive or standards and are suitable for comparison with the declared values of other machines tested in accordance with the same directive or standards These declared values are not suitable for use in risk assessments and values meas...
Page 32: ...ted working hours day m s 2 value Lw measured dB A rel 1pW Lw guaranteed dB A rel 1pW Lp at operator s ear Type 104 106 92 TR 630 TR 850 Uncertainties sound value Uncertainties sound value KpA dB A KwA dB A Type 2 5 3 0 1 5 2 5 TR 630 TR 850 Uncertainty factor for gravel bed 9800 1262 01a Original instructions 32 TR 630 850 Safety and operating instructions ...
Page 33: ...sions mm in 850 33 5 535 21 1 1385 54 5 2330 91 7 630 24 8 405 15 9 850 33 5 1276 50 2 630 24 8 295 11 6 630 24 8 1276 50 2 33 9800 1262 01a Original instructions Safety and operating instructions TR 630 850 ...
Page 34: ...0 Following harmonised standards were applied EN500 1 2006 A1 2009 EN500 4 2006 A1 2009 EN13309 2000 prEN13309 2008 ETSI EN 301 489 1 v1 8 1 2008 04 Following other standards were applied 2000 14 EC appendix VIII 2004 108 EC ISO13766 2006 1999 5 EC Lloyds Register Quality Assurance NoBo no 0088 Technical Documentation authorised representative Emil Alexandrov Construction Tools EOOD 7000 Rousse Bu...
Page 35: ...35 9800 1262 01a Original instructions TR 630 850 ...
Page 36: ...2016 06 No 9800 1262 01a Copyright Construction Tools EOOD ...