


DISPLAY MENU
The first page of the system menu allows you to make adjustments to the game’s display.
To change a setting, use
UP/DOWN
to highlight the setting, and press
ENTER
to select it. Press
UP/DOWN
to change the setting. When you are done, press
ENTER
again to save the new
setting. Press
SERVICE
advance to the next page and exit the menu.
DISPLAY COLOR
This setting changes the color of the dot matrix display in game. There are several preset
color configurations, or you can set it to a custom color.
RED, GREEN, BLUE
0 – 100, Default: GREEN
Turning each of the three colors up or down allows you to set the display to any color you
would like.
COLORIZE
ON, OFF, NOT INSTALLED
This setting turns the full colorized display on or off. ON will turn on the fully colorized
version. OFF will be the monochromatic game using the DISPLAY COLOR that is set above. If
you do not own the color upgrade, this option will be unavailable and marked NOT INSTALLED.
CUSTOM LOGO
Limited and Special Editions of Attack from Mars support custom logo display. This
requires a microSD card, formatted in FAT32.
Logo Requirements
Image must be named userlogo.bmp
Image must be 320 x 80 pixels
Image must be 24-bit color, uncompressed. This is the normal Windows format for
BMPs.
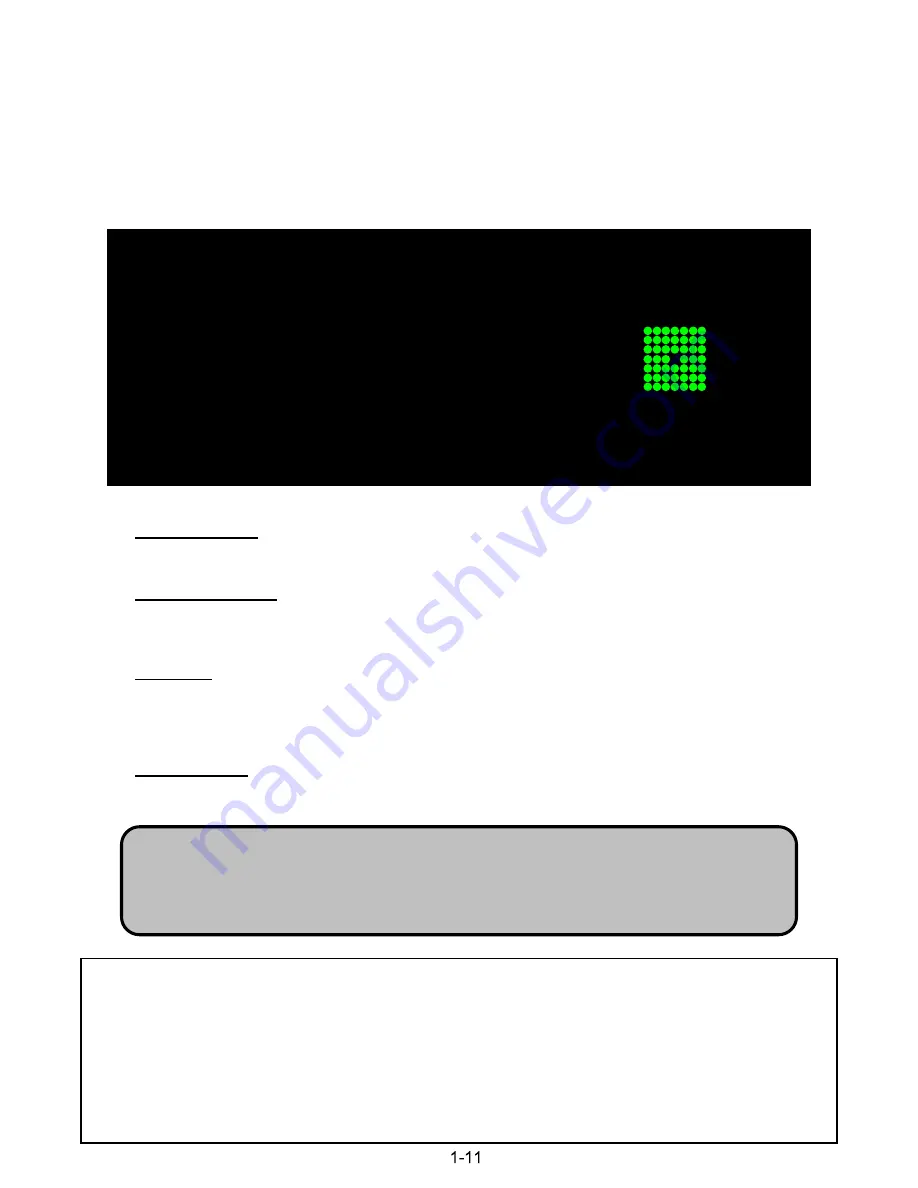
DISPLAY MENU – PRESS SERVICE TO ADVANCE
DISPLAY COLOR
GREEN
RED
0
GREEN
100
BLUE
0
COLORIZE
ON
PRESS START TO LOAD CUSTOM LOGO
Custom Logo Instructions
1) On your computer, make sure the logo you want to use matches the requirements listed on above.
2) Insert a microSD card in your computer. Check that the card is formatted as FAT32.
3) Drag and drop the logo onto the top level of he drive (not in a subdirectory). This file must be named userlogo.bmp.
4) Remove the card from your computer.
5) Remove the backbox insert from Attack from Mars.
6) With the game powered on, insert the microSD into the controller board. There is only one way the card can be
inserted.
7) Hold the
SERVICE
button for 5 seconds to enter the CGC System Menu. Press
SERVICE
again to go to the
Display Menu.
8) Press
START
.
Summary of Contents for Attack from Mars Remake
Page 1: ......
Page 2: ......
Page 3: ......
Page 4: ......
Page 5: ......
Page 6: ......
Page 7: ......
Page 8: ......
Page 9: ......
Page 10: ......
Page 11: ......
Page 12: ......
Page 13: ......
Page 14: ......
Page 15: ......
Page 16: ......
Page 17: ......
Page 18: ......
Page 19: ......
Page 20: ......
Page 21: ......
Page 22: ......
Page 23: ......
Page 24: ......
Page 25: ......
Page 26: ......
Page 27: ......
Page 28: ......
Page 29: ......
Page 30: ......
Page 31: ......
Page 32: ......
Page 33: ......
Page 34: ......
Page 35: ......
Page 36: ......
Page 37: ......
Page 44: ......
Page 45: ......
Page 46: ......
Page 47: ......
Page 48: ......
Page 49: ......
Page 50: ......
Page 51: ......
Page 52: ......
Page 53: ......
Page 54: ......
Page 55: ......
Page 56: ......
Page 57: ......
Page 58: ......
Page 59: ......
Page 60: ......
Page 61: ......
Page 62: ......
Page 63: ......
Page 64: ......
Page 65: ......
Page 66: ......
Page 67: ......
Page 68: ......
Page 69: ......
Page 70: ......
Page 71: ......
Page 72: ......
Page 73: ......
Page 74: ......
Page 75: ......
Page 76: ......
Page 77: ......
Page 78: ......
Page 79: ......
Page 80: ......
Page 81: ......
Page 82: ......
Page 83: ......
Page 84: ......
Page 85: ......
Page 86: ......
Page 87: ......
Page 88: ......
Page 89: ......
Page 90: ......
Page 91: ......
Page 92: ......
Page 93: ......
Page 94: ......
Page 95: ......
Page 96: ......
Page 97: ......
Page 98: ......
Page 99: ......
Page 100: ......
Page 101: ......
Page 102: ......
Page 103: ......
Page 104: ......
Page 105: ......
Page 106: ......
Page 107: ......
Page 108: ......
Page 109: ......
Page 110: ......
Page 111: ......
Page 112: ......
Page 113: ......
Page 114: ......
Page 115: ......
Page 116: ......
Page 117: ......
Page 118: ......
Page 119: ......
Page 120: ......
Page 121: ......
Page 122: ......
Page 123: ......
Page 124: ......
Page 125: ......
Page 126: ......
Page 127: ......
Page 128: ......
Page 129: ......
Page 130: ......
Page 131: ......
Page 132: ......
Page 133: ......
Page 134: ......
Page 135: ......
Page 136: ......
Page 137: ......
Page 138: ......
Page 139: ......
Page 140: ......
Page 141: ......
Page 142: ......
Page 143: ......
Page 144: ......
Page 145: ......
Page 146: ......
Page 147: ......
Page 148: ......
Page 149: ......
Page 150: ......
Page 151: ......
Page 152: ......
Page 153: ......
Page 154: ......
Page 155: ......
Page 156: ......
Page 157: ......
Page 158: ......
Page 159: ......
Page 160: ......
Page 161: ......
Page 162: ......


