SKU 91062
PAGE 13
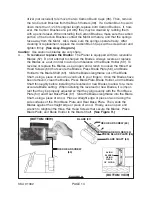
the wood stock. Then, transfer pressure to the Rear Base Plate, and continue
planing slowly to the end of the cut.
Do not pull the Planer back over the surface
already cut.
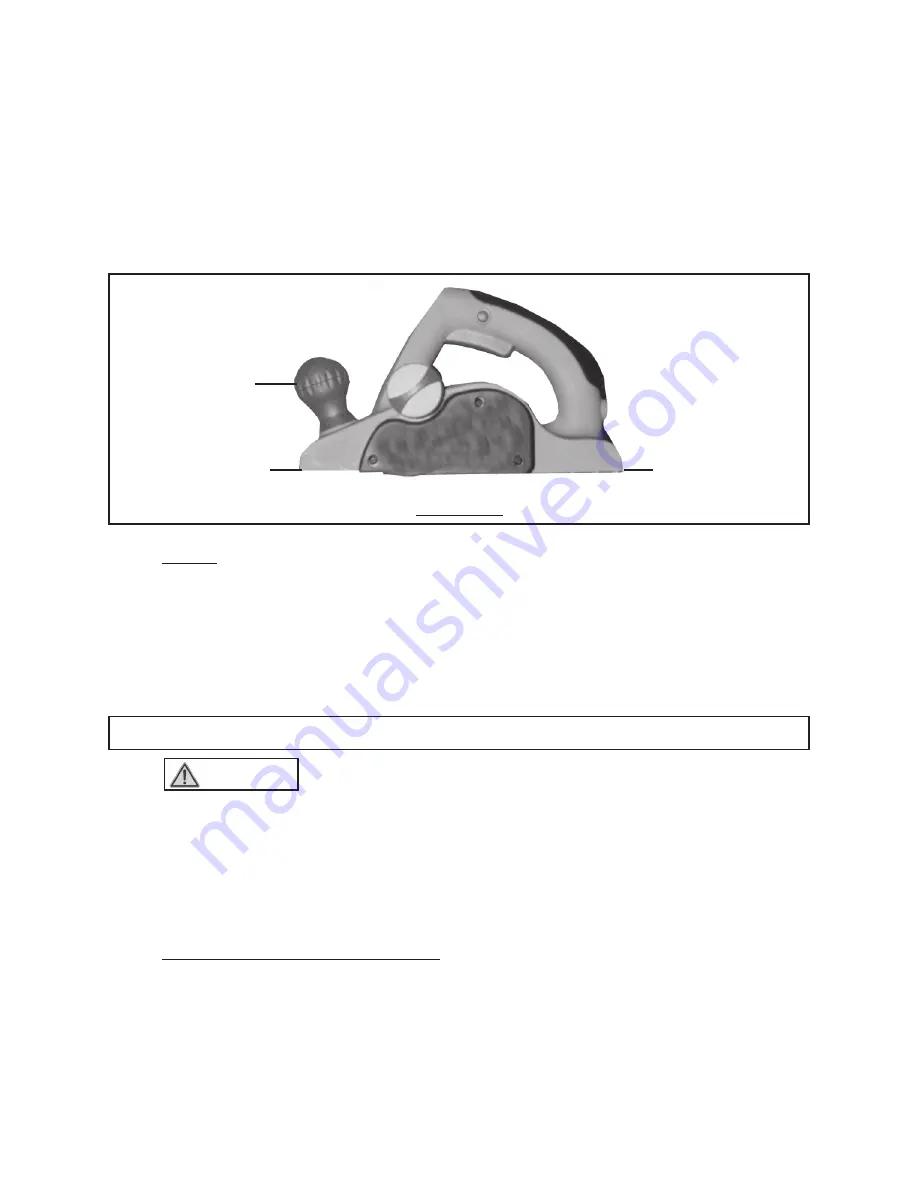
(See Figure G.)
6.
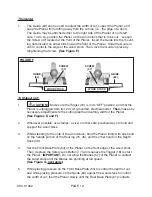
If necessary, repeat Step #5, using progressively deeper cuts until you near the
desired depth. Then, readjust the Depth Knob (48) to make a light cut for the
final pass.
(See Figure G.)
FRONT BASE PLATE
(54)
REAR BASE PLATE
(61)
DEPTH KNOB
(48)
FIGURE G
7.
NOTE:
The Planer’s Motor may stall if the tool is improperly used. If the Motor
begins to stall, reduce the feed speed at which you are making the cut and/or
reduce the depth of the cut.
8.
When finished planing, release pressure on the Trigger (16) and the Planer will
automatically stop. Wait until Planer blade comes to a complete stop. Then
unplug the Planer from its electrical outlet, and store the Planer in a safe, clean,
dry location.
INSPECTION, MAINTENANCE, AND CLEANING
1.
WARNING!
Always unplug the Planer from its electrical outlet before
performing any inspection, maintenance, cleaning, or changing accesso-
ries.
2.
Before each use,
inspect the general condition of the Planer. Check for mis-
alignment or binding of moving parts, cracked or broken parts, damaged wiring,
and any other condition that may affect its safe operation. If abnormal noise or
vibration occurs, have the problem corrected before further use.
Do not use damaged equipment.
3.
To replace the Motor Carbon Brushes:
It may become necessary at some-
time to replace or clean the
two Carbon Brushes (36) when the Motor perfor-
mance decreases, or stops working completely. The Carbon Brushes are located
on the side of the Right Motor Housing (45). To do so, use a standard screw-


