COLORdash™ Quad User Manual
17
6/1/2010 1:41 PM
Setting the Starting DMX Address
This DMX mode enables the use of a universal DMX controller device. Each fixture requires a "start address"
from 1 ~ 512. A fixture requiring one or more channels for control begins to read the data on the channel
indicated by the start address. For example, a fixture that uses 6 DMX channels and was addressed to start on
DMX channel 100, would read data from channels: 100, 101, 102, 103, 104, and 105. Choose start addresses
so that the channels used do not overlap, and note the start address selected for future reference.
If this is your first time addressing a fixture using the DMX-512 control protocol, we suggest jumping to the
“Appendix” and reading the “DMX Primer” section. It contains very useful information that will help you
understand its use.
Control Panel Functions
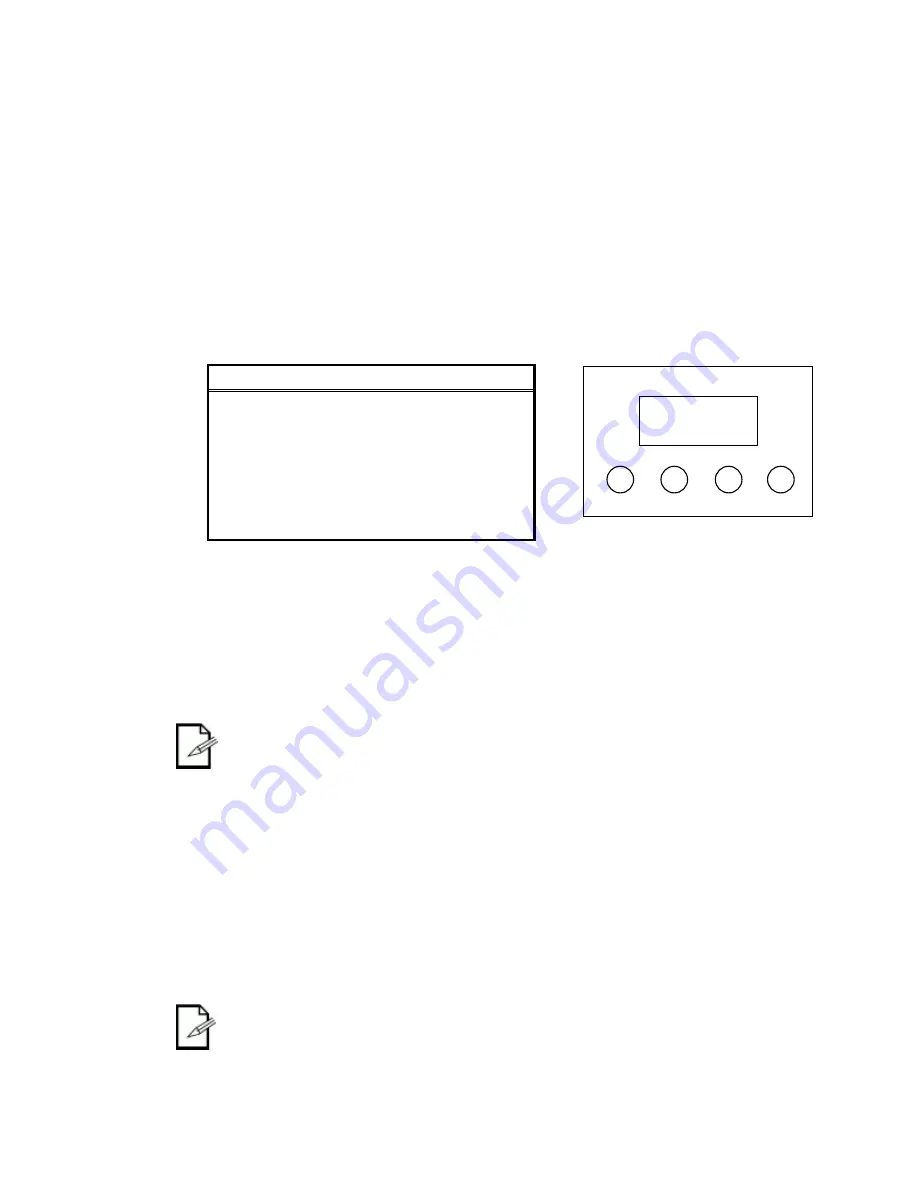
Access control panel functions using the four panel buttons located directly underneath the LCD
display.
The Control Panel LCD Display shows the menu items you select from the menu map. When a menu
function is selected, the display will show immediately the first available option for the selected menu
function. To select a menu item, press
<SET>
. Use
<UP/DOWN>
to navigate the menu map and
menu options. Press
<SET>
to access the menu function currently displayed or to enable a menu
option. To return to the previous option or menu without changing the value, press
<MODE>
.
Password Menu Lockout
The COLORdash™ Quad has a
password lock-out feature. Enable/disable this by using the Control Panel.
This feature uses a default, non-changeable, password of <UP>, <DOWN>, <UP>, <DOWN>.
After 30 seconds of inactivity, the lockout will automatically engage once it has been enabled.
Upload Customs
The custom programs in the COLORdash™ Quad may be transferred (copied) from one fixture to another, thus
giving the ability to only program them on a single fixture, and then duplicate this on several others. This is
referenced in the control panel as
Upload
. Follow the steps below for this process. On all fixtures that are going
to receive the upload, set them on
SLAVE
operation.
1.
Disconnect from DMX controller.
2.
Using DMX cables, daisy chain the slave fixtures from the output of the fixture with the custom
program to be copied to the other fixtures.
3.
Using
<UP/DOWN>
, select
Settings
in the control panel. Press
<SET>
.
4.
Using
<UP/DOWN>
, select
Upload
.
5.
Enter the password. Press
<SET>
to confirm and begin the transfer.
6.
The slave fixtures will display green if the transfer is successful. They will display red if the transfer is
not successful. And, during the transfer, they will display yellow.
The units receiving the new custom programs from the master must be set to “SLAVE”.
Otherwise, they will not allow receipt of the programs.
Button
Function
<MODE>
Used to access the menu or to return to a
previous menu option
<UP>
Scrolls through menu options in ascending
order
<DOWN>
Scrolls through menu options in descending
order
<ENTER>
Used to select and store the current menu
or option within a menu
MODE
UP
DOWN
SET


