


June 2017
Document 1000-4126 - FSM300 Tare Function Usage Guide - Revision 1.1
www.ceva-dsp.com
© 2019 CEVA, Inc.
All rights reserved
3 / 5
0
Report ID
0xF2
Command
Request
1
Sequence Number
0x00
2
Command
0x03
Tare Command
3
P0 (Subcommand)
0x00
Tare Now
4
P1 (Bitmap of Axes)
0x07
All 3 axes (X,Y,Z)
5
P2 (Rotation Vector basis) 0x00
Rotation Vector
6-11
Reserved
0x00
Reserved
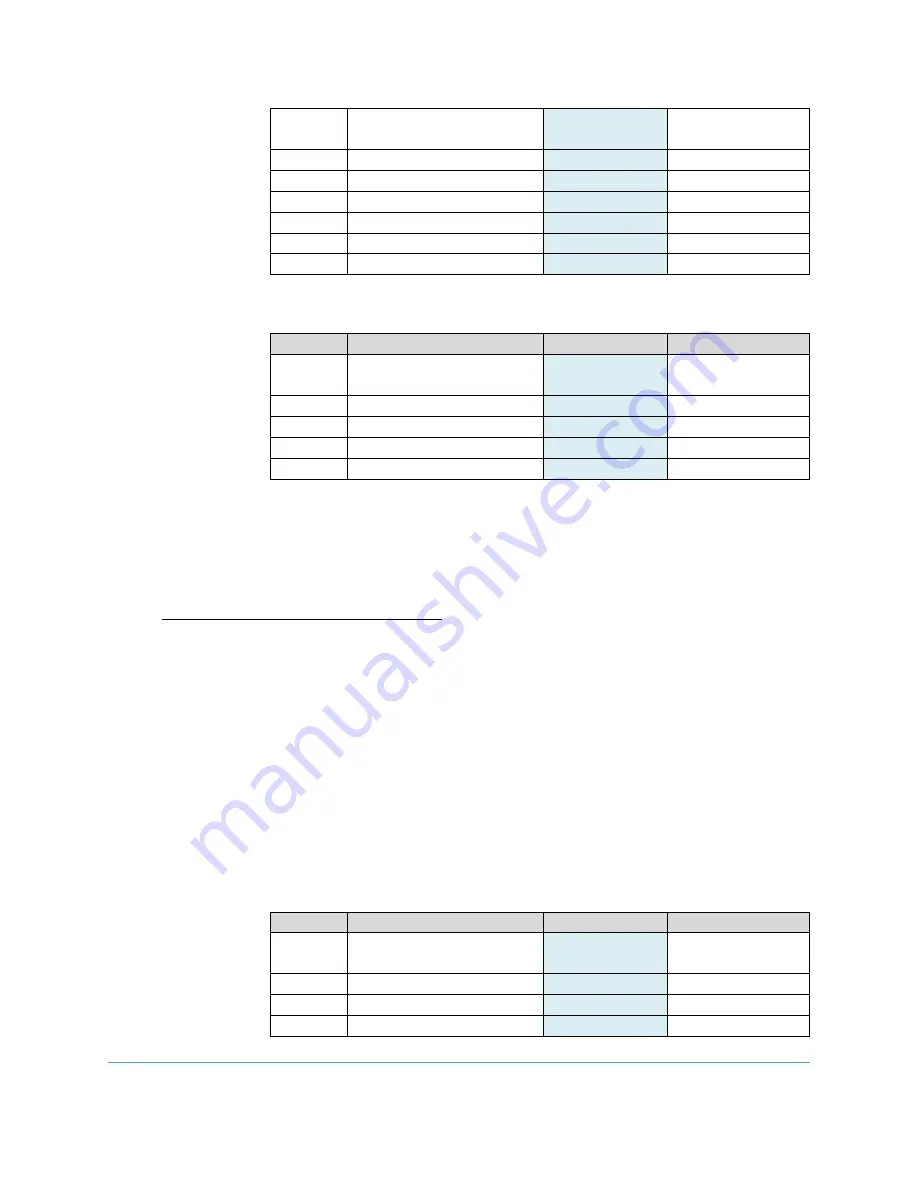
8.
Run the Persist Tare command with the following settings:
Byte
Name
Value
Description
0
Report ID
0xF2
Command
Request
1
Sequence Number
0x00
2
Command
0x03
Tare Command
3
P0 (Subcommand)
0x01
Persist Tare
4-11
Reserved
0x00
Reserved
9.
This will save the current settings into the Sensor Orientation FRS config record (See SH-
2 Reference Manual Section 4.3.4). Now these settings will be the default upon next
boot.
Set Current Forward Direction (User Tare)
In this example, the user is operating the device at their desk. They want to define the forward
orientation before starting a game, so all that needs to be done is tare the Z-axis (yaw): the other axes,
which define “level” do not need to be changed from their previously established configuration. This
could be done via an on-screen GUI or button on the device. Because only the Z-axis is being tared, the
user does not need to align the device to North.
1.
Ideally the sensors would be calibrated well by the following steps:
a.
Power on the FSM300 and activate the Rotation Vector sensor.
b.
Calibrate the magnetometer by rotating the device in a figure 8.
c.
Set the device down for a few seconds so that the gyroscope ZRO can calibrate
as well.
2.
Position the device into your desired forward direction orientation.
3.
Run the Tare Now command with the following settings:
Byte
Name
Value
Description
0
Report ID
0xF2
Command
Request
1
Sequence Number
0x00
2
Command
0x03
Tare Command
3
P0 (Subcommand)
0x00
Tare Now


