background image

11

4. 

Access Camera

For initial access to the IP Camera, users can search the camera through the installer 

program: DeviceSearch.exe, which can be found in “DeviceSearch” folder in the

supplied CD.

Device Search Software Setup
Step 1: 

Double click on the program Device Search.exe. After its window appears, click 

on the <Device Search> button on the top side.

Step 2: 

The security alert window will pop up. Click on <Unblock> to continue.

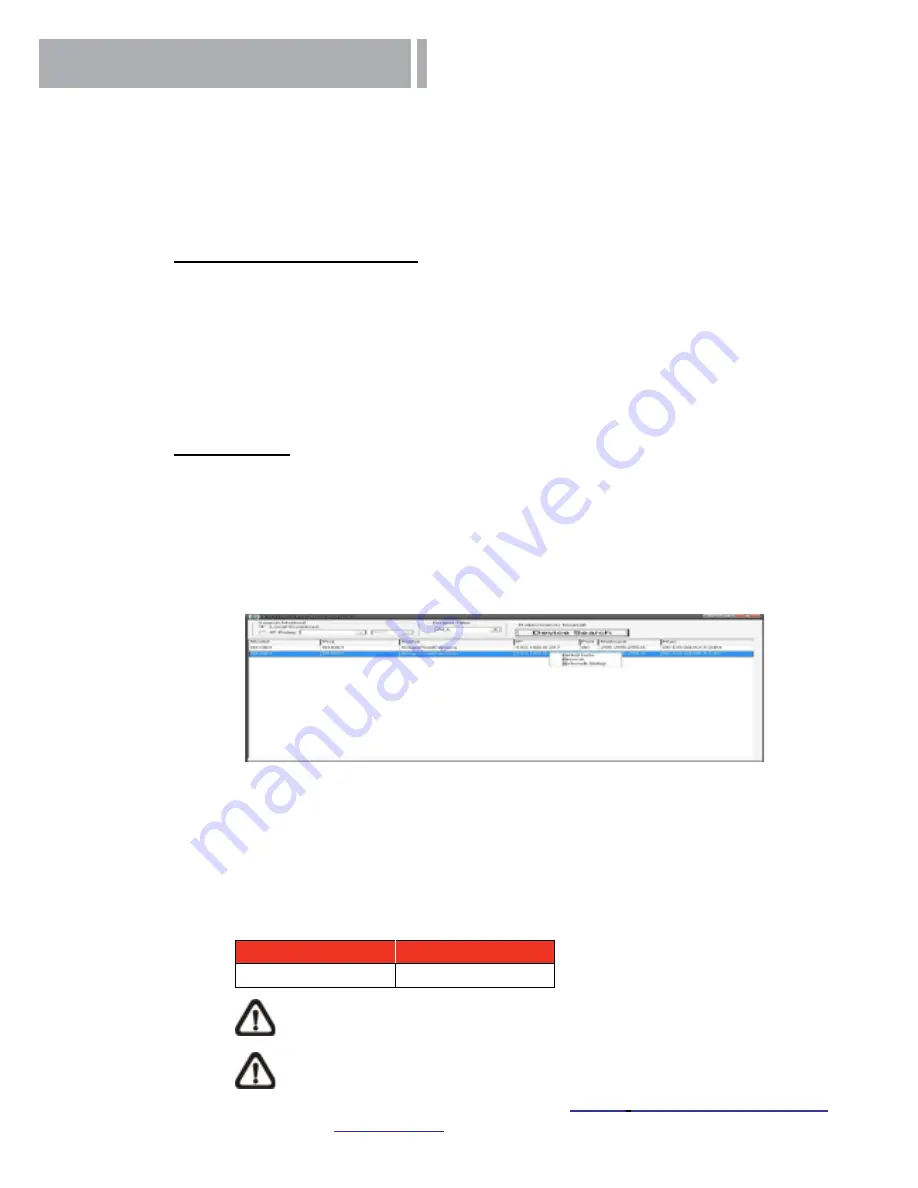
Device Search
Step 3: 

Click on <Device Search> again, and all the finding IP devices will be


listed in 

the page. The IP Camera’s  default IP address is: 

192.168.0.250

.

Step 4: 

Double click or right click and select <Browse> to access the camera


directly 

via web browser.


Step 5: 

Then the prompt window of request for entering default username and 


password will appear for logging in to the IP Camera.


The default login ID and password for the Administrator are:

Login ID

Password

admin

admin

NOTE:

 ID and password are case sensitive.

NOTE: 

It is strongly advised that administrator’s password be altered for  


         the security concerns. Refer to 

Full HD


Multiple Streams IP Cam 


era Menu Tree

 for further details.

Summary of Contents for MD20

Page 1: ...HDVS IP CAMERA MD20 MD50 User Manual...

Page 2: ...rements 10 4 Access Camera 11 5 Setup Video Resolution 14 6 Configuration Files Export Import 15 Appendix A Technical Specifications 16 Appendix B Delete the Existing DC Viewer 18 Appendix C Setup Int...

Page 3: ...ull HD Multiple Streams Com pact Fixed Dome IP Camera is easy installed and aesthetic 1 1 Features Progressive Scan CMOS Sensor Quad Streams Compression H 264 Baseline Main High Profile MJPEG Multi la...

Page 4: ...ate Rugged Camera only Self tapping screws 3 Plastic Anchors 3 Security Torx Quick Guide CD NOTE The type of the supplied self tapping screws is mainly for softer substrate material installation such...

Page 5: ...5 1 3 Dimensions The IP Camera s dimensions are shown below...

Page 6: ...tom Plate of the Camera Step 2 Aim the installing hole to the target installing posi tion and fasten the screws to attach the Camera to the ceiling Step 3 Refer to 1 5 Connectors and 2 Camera Cabling...

Page 7: ...given as follows Designation Description 1 Reset Button Restore to default setting press the button with a proper tool 2 Lens Rotate the lens right left to adjust focus 3 Focus Fixed Screw Loosen the...

Page 8: ...which is located in the rear of the camera is shown below PoE Connection Connect the one end of the Ethernet cable to the network port on the camera and the other end to Power Sourcing Equipment PSE...

Page 9: ...ongle Cable Connection Run the Ethernet cable through the Waterproof RJ 45 Screw On Plug Then con nect one end of the Ethernet cable to the RJ 45 dongle tightening the sealing nut of the Waterproof RJ...

Page 10: ...elow Items System Requirement Personal Computer 1 Intel Pentium M 2 16 GHz or Intel CoreTM 2 Duo 2 0 GHz 2 2 GB RAM or more Operating System Windows VISTA Windows XP Windows 7 Web Browser Microsoft In...

Page 11: ...vice Search again and all the finding IP devices will be listed in the page The IP Camera s default IP address is 192 168 0 250 Step 4 Double click or right click and select Browse to access the camer...

Page 12: ...ep 3 Click on OK on the Note of setting change Wait for one minute to re search the IP Camera Step 4 Click on the Device Search button to search all the devices Then select the IP Camera with the corr...

Page 13: ...fully installed the IP Camera s Home page will be able to correctly display as the figure below Image and Focus Adjustment The image displays on the Home page when successfully accessing to the IP Cam...

Page 14: ...Format can be found under this path Streaming Video Format The default value of Video Resolution is as below 2M H 264 1920 x 1080 15 fps H 264 1280 x 720 30 fps 2M Real time H 264 1920 x 1080 30 fps H...

Page 15: ...data by uploading an existing configuration file to the IP Camera Export Users can save the system settings by exporting the configuration file bin to a speci fied location for future use Click on th...

Page 16: ...iple Languages English French German Italian Korean Simplified Chinese Traditional Chinese Russian Image Setting Backlight Compensation On Off White Balance Auto Manual Noise Reduction 3D On Off Wide...

Page 17: ...IGMP SNMP QoS ONVIF Security HTTPS IP Filter IEEE 802 1X Event Notification HTTP FTP SMTP Micro SD microSDHC 32GB support Supported Web Browser Internet Explorer 6 0 Chrome Firefox Safari User Account...

Page 18: ...select DCViewer and click on the button Remove to uninstall the existing DC Viewer Deleting Temporary Internet Files To improve browser performance it is suggested to clean up the all the files in th...

Page 19: ...plug ins settings The Security Settings window will pop up Step 3 Under ActiveX controls and plug ins set ALL items as listed below to Enable or Prompt Please note that the items vary by IE version A...

Page 20: ...20 Appendix D Video Resolution 2M Quad Streams...

Page 21: ...21...

Page 22: ...22...

Page 23: ...23...

Page 24: ...24 2M Triple Streams...

Page 25: ...25...

Page 26: ...26 2M Dual Streams 2M Single Streams...

Page 27: ...27 2M Real time Quad Streams...

Page 28: ...28...

Page 29: ...29...

Page 30: ...30...

Page 31: ...31 2M Real time Triple Streams...

Page 32: ...32...

Page 33: ...33 2M Real time Dual Streams...

Page 34: ...34 2M Real time Single Stream 1920 x 1080 30 fps Low Latency does not support BNC 3DNR and Motion Detection...

Page 35: ...35...

Page 36: ......

Reviews: