SKU 39955
For technical questions, please call 1-800-444-3353.
Page 9
Operation
To assist you with operation of your Drill Press, please refer to the instructions below and to the Parts Listings
and Assembly Diagrams on pages 14 through 17 of this manual.
Never force the tool or attachment to do the work of a larger industrial tool. It is designed to do the job better
and more safely at the rate for which it was intended.
Settings and Adjustments
Before adjustments are made, ensure that the machine is SWITCHED OFF AND UNPLUGGED. Also make
sure all locking handles and securing screws are fully tightened when adjustments are complete.
Changing the Pulley Speeds
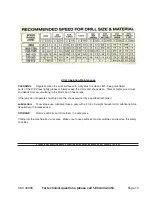
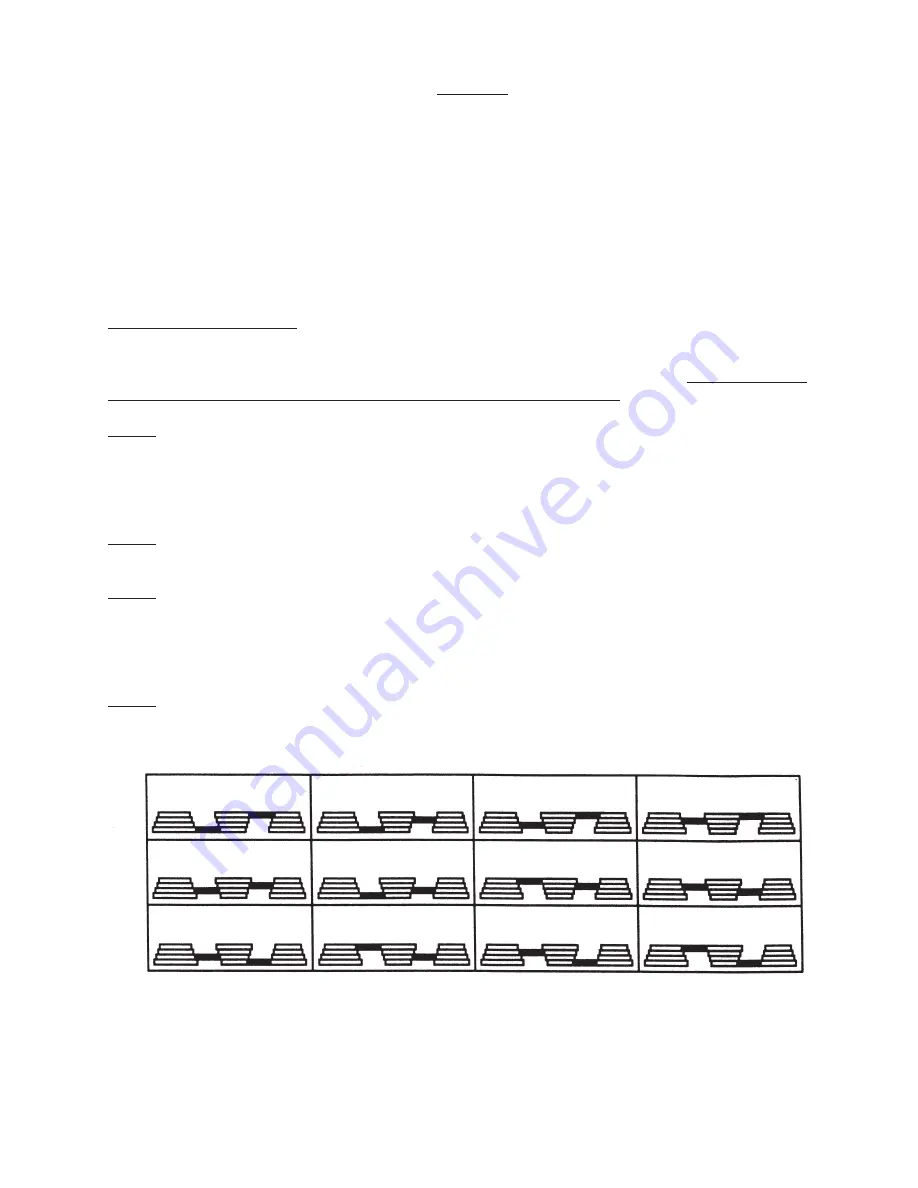
The Drill Press has twelve (12) different pulley speeds: 180 RPM, 310 RPM, 320 RPM, 500 RPM, 540 RPM,
570 RPM, 1180 RPM, 1565 RPM, 1805 RPM, 2190 RPM, 2795 RPM, and 3865 RPM. A full chart of belt
arrangements for each drill speed is located on the inside of the Pulley Cover.
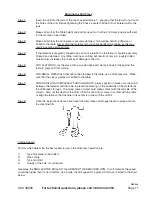
Step 1)
Undo the Belt Tension Lock Knobs (please refer to Know Your Drill Press on page 8 of this
manual) on both sides of the head. Turn the Belt Tension Handle (14A) clockwise to bring the
Motor Pulley close to the Spindle Pulley which will allow the belts to be moved easily.
Note:
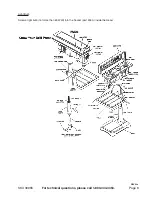
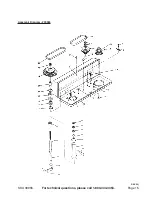
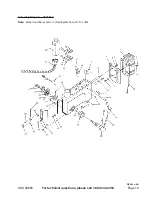
Please refer to the Pulley and Spindle Diagram with regard to the following steps.
Step 2)
Lubricate the Idler Pivot Shaft (part #4) and the Pulley Idler with light grease, and install it in
its mounting place between the motor and spindle pulleys.
Step 3)
To change the speed of the Drill, you will need to move the belt to the appropriate place on
each pulley. Hold the Lifting knob (part #21) and lift up on the Pulley Cover (part #13). Manu-
ally move the belt into the appropriate grooves on the pulleys which correspond to the speed
desired. Consult the chart inside the pulley cover and position the belts on the pulleys ac-
cording to the drill speed required.
Step 4)
Turn the Belt Tension Lever counterclockwise so that tension is applied to the belts. Tension
is correct when the belts deflect by approximately 1/2” at their centers of run when using rea-
sonable thumb pressure. Lock the motor in this position with the Locking Knob.
180
310
320
500
540
570
1180
1565
1805
2190
2795
3865

