17
.
.
.
.
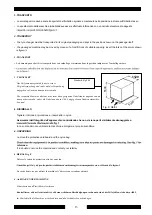
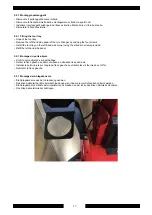
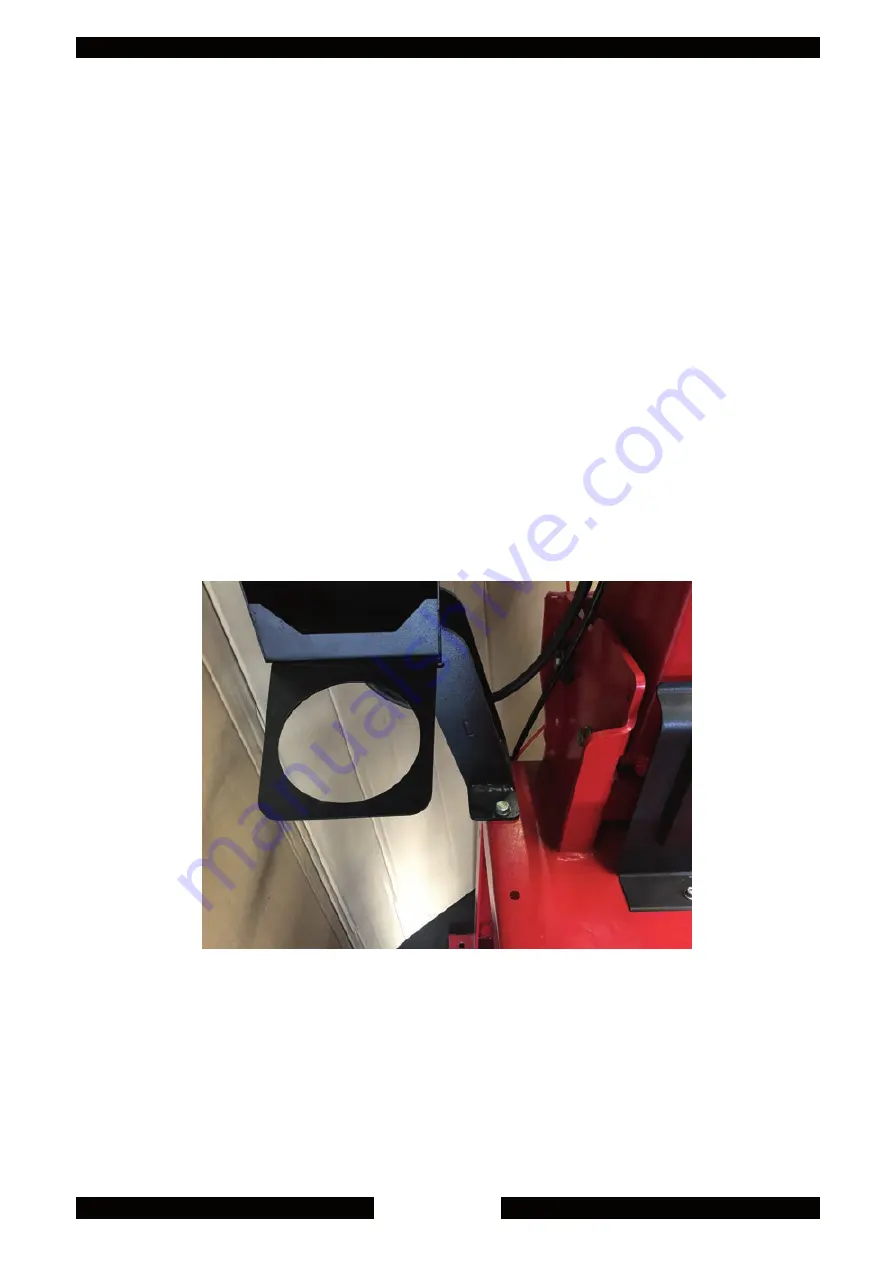
5.2.1 Montaggio portaoggetti
• Rimuovere il portaoggetti dal suo imballo.
• Rimuovere la fiancata sinistra dello smontagomme svitando le quattro viti.
• Installare il portaoggetti sull’angolo del fianco sinistro utilizzando le viti fornite di serie.
• Rimontare la fiancata sinistra.
5.2.1 Fitting the tool tray
• Unpack the tool tray.
• Remove the left-hand side panel of the tyre changer by undoing the four screws.
• Install the tool tray on the left-hand side corner using the standard screws provided
.
• Refit the left-hand side panel.
5.2.1 Montage du porte-objets
• Sortir le porte-objets de son emballage.
• Retirer le flanc gauche du démonte-pneu en dévissant les quatre vis.
• Installer le porte-objets sur l’angle du flanc gauche en utilisant les vis fournies à cet effet
.
• Remonter le flanc gauche.
5.2.1 Montage der Ablagekonsole
• Die Ablagekonsole aus der Verpackung nehmen.
• Das linke Seitenteil der Montiermaschine abnehmen, indem die vier Schrauben entfernt werden.
• Die Ablagekonsole mithilfe der mitgelieferten Schrauben an der Ecke des linken Seiteteils montieren.
• Das linke Seitenteil wieder anbringen.
Summary of Contents for SM645
Page 4: ... n a a ...
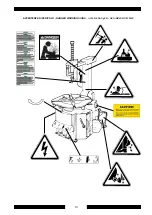
Page 7: ...10 AVVERTENZE DI PERICOLO DANGER WARNING SIGNS AVIS DE DANg ER GEFAHRENHINWEISE ...
Page 9: ... 10 10 10 10 ...
Page 15: ...18 ...
Page 18: ...1 1RWH VXOO XWLOL R 93Y005101 93Y005101 93Y005101 93Y005101 ...
Page 19: ... 2 t ...
Page 20: ... 3 ...
Page 23: ...26 s assurer que le pneumatique est détalonné l élément coulissant ...
Page 25: ...28 ...
Page 26: ...29 ...
Page 27: ...30 ...
Page 28: ... 1 ...
Page 33: ...36 ...
Page 34: ...37 ...
Page 35: ...38 l ...
Page 36: ...39 ...
Page 37: ...40 ORDINARIA 1 ROUTINE 1 ...
Page 38: ...41 ORDINAIRE 1 ROUTINE 1 ...
Page 39: ...42 ...
Page 40: ...43 ...
Page 41: ...44 ª ª ª ª ...
Page 44: ...47 9 3 63 ...
Page 47: ...50 ...
Page 48: ... ...


