CE-2500-HVE Band Sealer
Page 19
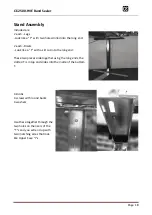
Support Bar(s)
–
CE-2500 (Qty 1)
CE-3000 (Qty 2)
On the 2500 you have one other large piece in the kit and for the 3000 you will have 2 pieces. These
pieces will go between the two sides with the short end with the holes to the sides. On the side
pieces you will find corresponding holes 2 on each side for the 2500 and 4 on each side for the
3000. Use the provided long bolts through the outside and into the threads on the middle supports.
Also included are screws that screw into the bottom of the machine where the rubber feet usually
are. Unscrew the feet from the machine and screw the Philips head screw through the bottom of
the top of the stand and into the holes that held the feet.
Summary of Contents for CE-2500-HVE
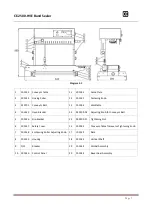
Page 9: ...CE 2500 HVE Band Sealer Page 8 Diagram 5 3...
Page 16: ...CE 2500 HVE Band Sealer Page 15 Step 7 Step 8 Step 9 Step 10 Step 11 Step 12...
Page 17: ...CE 2500 HVE Band Sealer Page 16 Step 13...
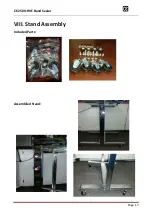
Page 18: ...CE 2500 HVE Band Sealer Page 17 VIII Stand Assembly Included Parts Assemblied Stand...
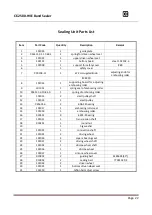
Page 22: ...CE 2500 HVE Band Sealer Page 21 X Sealing Unit Parts List Diagram 10 1...
Page 24: ...CE 2500 HVE Band Sealer Page 23 XI Conveyer Parts List Diagram 11 1 18 19 20 18...
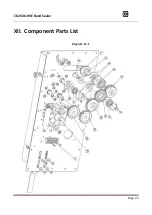
Page 26: ...CE 2500 HVE Band Sealer Page 25 XII Component Parts List Diagram 12 1...
Page 28: ...CE 2500 HVE Band Sealer Page 27 XIII Conveyor Table Parts List Diagram 13 1...


