

Technical instructions
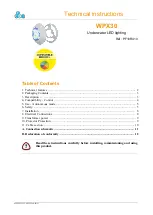
WPX30
v2.0EN
8. Electrical Connections
Installation of this project involves a hazard of electric shocks. We strongly rec-
ommend you contract a professional installer. Incorrect installation places you
in danger and may irreversibly damage the product and the equipment con-
nected to it. In compliance with the NF C 15-100 standard, pool lights installed
in Volume 0 must always be powered by VLSV (Very low safety voltage). Al-
ways cut off the power upstream before handling the electrical installation.
Risk of electric shock. Only connect to a circuit which is protected by a cir-
cuit-breaker. If you are not sure if these types of devices are fitted, contact a
qualified electrician.
The electrical connection must be performed in a dry place. The cable glands in the connection box
must be tightened to avoid any water ingress.
Thanks to the body of the cable gland there are two con-
nection possibilities for the sheath at the back: either a tube
IRL diam. 20mm or female coupling 3/4". It is possible to
use a sleeve F/F 3/4" to mount a standard sheath for pool
lights.
The light is supplied with 3m cable. If the cable has to be
renewed it is possible to open the body at the backside of
the light for an access to the connection. The used cable
must be compatible with an extended immersion in pool
water and its diameter must fit with the screw of the cable
gland.
www.c-
cei.fr
8


