CBV3843Z4S
Cable Modem
User’s Manual
6
3. Ethernet Installation
The LAN port you are using is auto-negotiating 10/100/1000Mbps (Switch)
Ethernet Interface. You can use the Ethernet port to connect to the Internet
with an Ethernet network device such as NIC/Hub/Switch through RJ45.
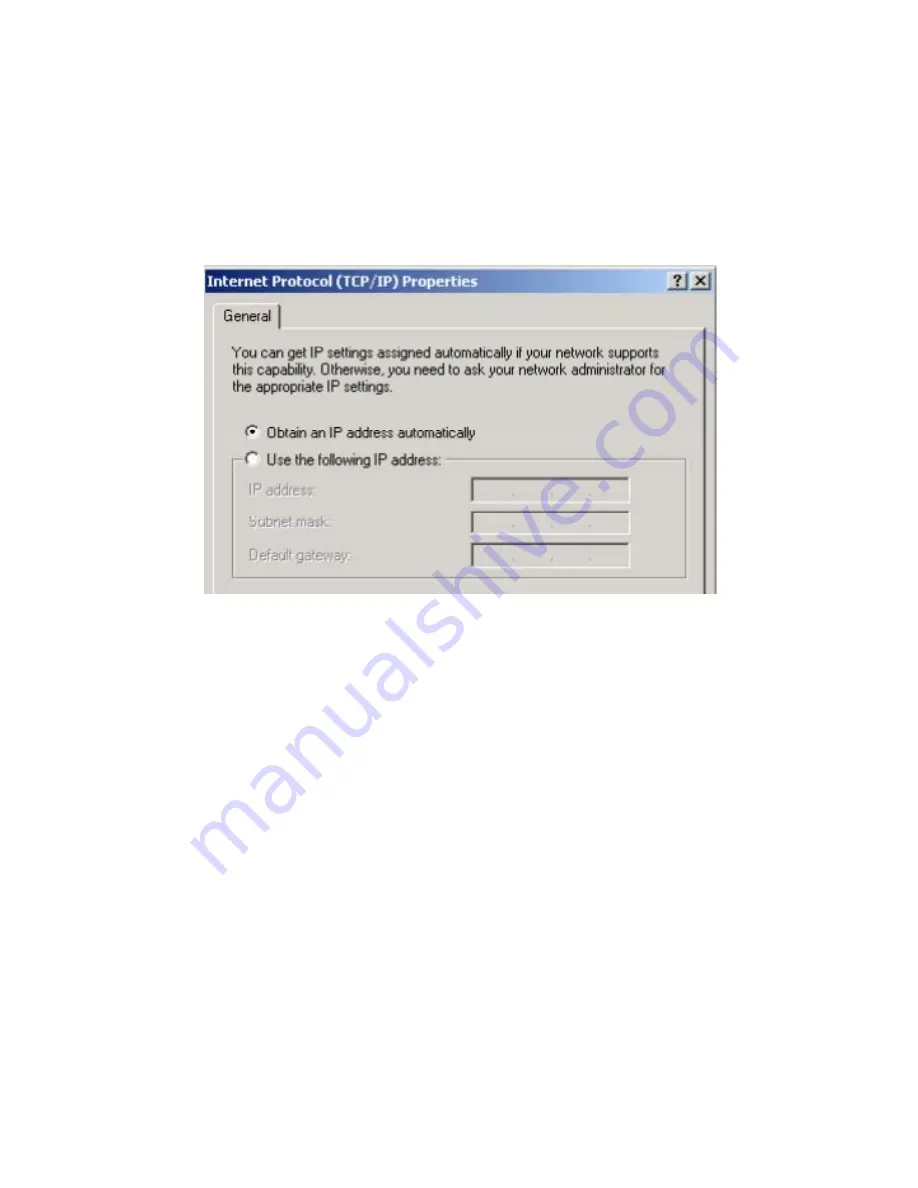
Before you connect to and install the cable modem, please set the IP address
to "Obtain an IP address automatically" as below and do ensure the TCP/IP
protocol is installed on your system and configured correctly in your PC.
Following is an example of configuring the TCP/IP Protocol on Windows
Operating Systems:
1.
Click
Start
Settings
Control Panel
. Double click on the
Network
icon
click
Properties
.
2.
A list of installed network components appears. Look for an entry named
TCP/IP. This entry may be followed by an arrow and a description of the
NIC hardware device installed in the computer. If you don't see "TCP/IP"
listed anywhere in the "The following network components are installed"
box, click the
Add
button, choose
Protocol
, and click the
Add
button.
Select "Microsoft" as the manufacturer and then scroll down in the list on
the right to find "TCP/IP". If you see "TCP/IP" listed, proceed to step 4.
3.
Click the
OK
button. You will be prompted to insert the Windows 98
installation/upgrade CD.
4.
Scroll down in the box until you find a line that says "TCP/IP -> " followed
by the name of your Ethernet adapter. Click on
Properties
and choose
"Obtain an address automatically" which means that your PC has been
configured to use DHCP (Dynamic Host Configuration Protocol).
5.
Click
OK
.
Congratulations! You have successfully set up your cable modem.


