73
Appendix
You can use the Network Connection token wizard to copy Network Connection to a USB flash drive.
After you do that, you can run Network Connection on a computer that does not have the program
installed simply by plugging the USB flash drive (called a “USB Token”) into the computer’s USB port.
Using USB tokens is recommended when connecting to the projector from multiple computers.
To install Network Connection on a USB flash drive
Important!
z
Using the procedure below to install Network Connection on a USB flash drive creates a file
named “autorun.inf” (which is a Network Connection auto run file) in the USB flash drive root
directory. If the USB flash drive root directory already contains a file with the same name, the
existing file will be renamed by adding “.bak” or a three-digit number (.001, .002, etc.) to the
end of its file name.
z
Using the following procedure to install Network Connection on a USB flash drive will change
the name of the USB flash drive to “USB Token” and also change its icon to
.
1.
On the Network Connection window, click the function menu button and then
click [Token Wizard] on the menu that appears.
z
This displays the token wizard.
2.
Click [Next>].
z
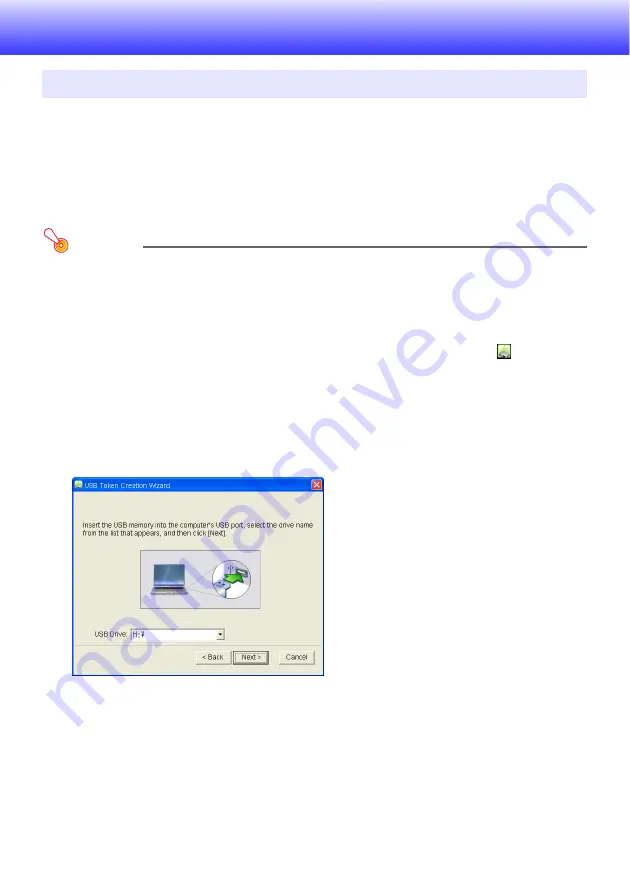
This displays a USB drive selection screen.
z
If there is no USB flash drive connected to the computer, the message “USB memory could
not be detected.” will appear. If this happens, connect the USB flash drive and wait until its
USB flash drive name appears in the “USB Drive” box.
3.
If there are multiple USB flash drives connected to the computer, click the [
T
]
button to the right of the “USB Drive” box and select the name of the drive where
you want to install Network Connection.
4.
Click the [Next>] button.
z
This installs Network Connection on the specified USB flash drive. The message “Wizard
ended normally.” appears on the display after installation is complete.
Using the Token Wizard
Summary of Contents for XJ-A147
Page 78: ...MA1405 A ...


