background image

88

PLAYBACK

• Pressing [

] while the date selection cursor is

located anywhere in the top line of the calendar
causes the previous month to appear.

• Pressing [

] while the date selection cursor is

located anywhere in the bottom line of the calendar
causes the next month to appear.

• To exit the calendar screen, press [MENU] or the (

)

zoom button.

 appears in place of the image when the date

contains data that cannot be displayed by this
camera.

3.

To view the large version of a date’s image,
move the date selection cursor to the date
and then press [SET].

• This displays the first image that was recorded on

the selected date.

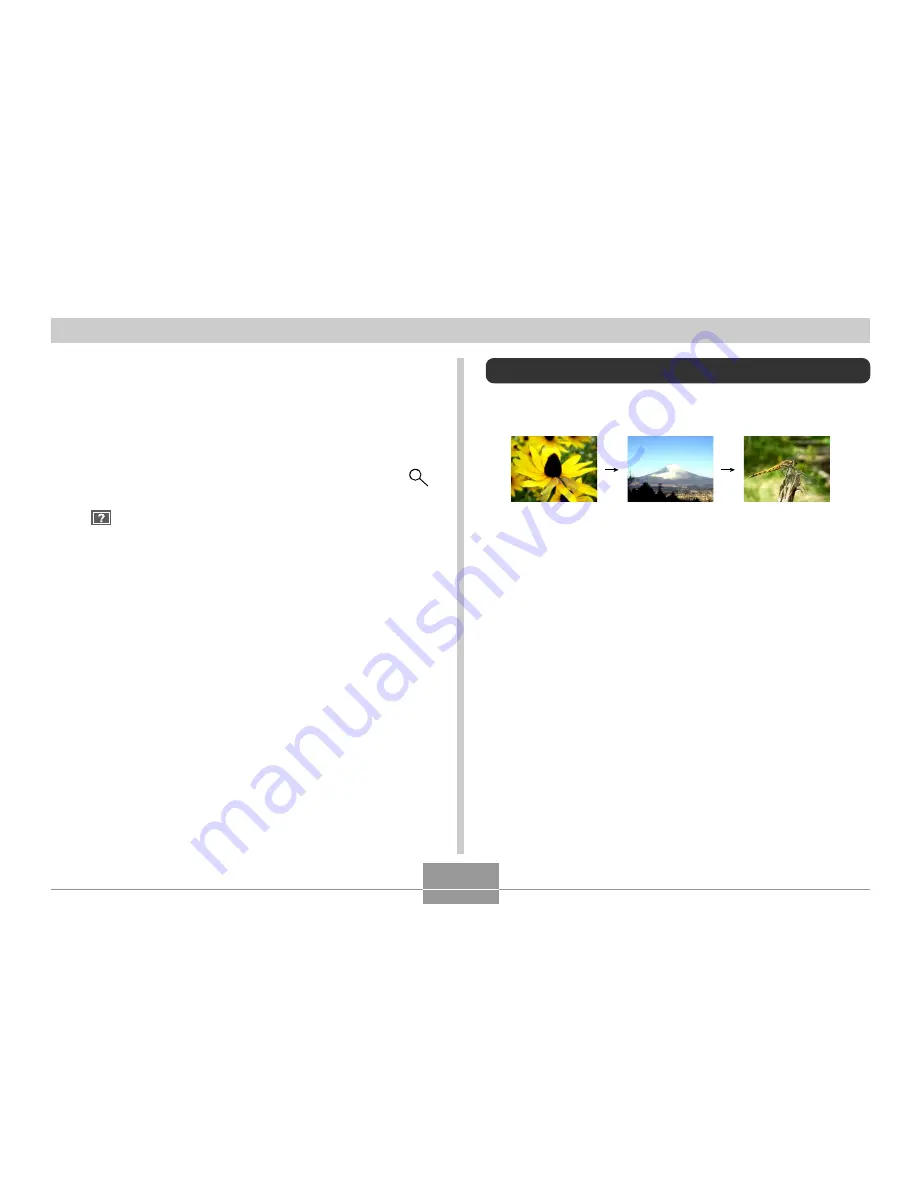
Playing a Slide Show

Slide Show automatically plays back images in sequence
at a fixed interval.

1.

In the PLAY mode, press [MENU].

2.

Select the “PLAY” tab, select “Slideshow”,
and then press [

].

Summary of Contents for EX-Z3 - 2

Page 1: ... actual image stored in memory You can use the camera s built in monitor screen to view images after you record them Basic Playback Operation Use the following procedure to scroll through files stored in the camera s memory 1 Press the power button to turn on the camera This causes an image or a message to appear on the monitor screen 2 Align the mode selector with PLAY This enters the PLAY mode M...

Page 2: ...ame time This flips the image 180 degrees The histogram or any other display information you had displayed is cleared automatically whenever you flip the image While an image is flipped you can use 왗 and 왘 to scroll to another image if you want 3 To return the image to its normal orientation press any button other than 왖 왔 왗 or 왘 IMPORTANT Note that you cannot play a movie on the monitor screen wh...

Page 3: ...e image This displays an indicator that shows the current zoom factor You can toggle between the zoomed image and normal image by pressing MENU Current zoom factor 3 Use 왖 왔 왗 and 왘 to shift the image up down left or right 4 Press MENU to return the image to its original size IMPORTANT You cannot enlarge a movie image Depending on the original size of the recorded image you may not be able to zoom...

Page 4: ...new file that contains the image in the size you select The file with the original image also remains in memory Images smaller than 640 x 480 pixels cannot be resized Note that you can resize snapshots recorded with this camera only If the message The function is not supported for this file appears it means that the current image cannot be resized The resize operation cannot be performed if there ...

Page 5: ...e display 5 Use 왖 왔 왗 and 왘 to move the cropping boundary up down left or right until the area of the image you want to extract is within the boundary 6 Press SET to extract the part of the image enclosed in the cropping boundary If you want to cancel the procedure at any point press MENU IMPORTANT Cropping an image creates a new file that contains the cropped image The file with the original imag...

Page 6: ...ot repeat play a movie To play a movie more than once repeat the steps of the above procedure Note that this camera cannot play back a movie s audio You need to transfer the movie file to a computer page 124 to hear the audio You can perform the following operations while a movie is playing To do this Fast forward or fast reverse the movie Pause and unpause movie playback Skip forward or back one ...

Page 7: ...images they are displayed in order with Image 1 in the upper left corner with the selection boundary around it 2 Use 왖 왔 왗 and 왘 to move the selection boundary to the image you want Pressing 왘 while the selection boundary is in the right column or 왗 while it is in the left column scrolls to the next full screen of nine images 3 Pressing any button besides 왖 왔 왗 or 왘 displays the full size version ...

Page 8: ...th calendar While the calendar is on the display you can select a date which displays the first image recorded on that date This helps to make it easy to find the images you want 1 In the PLAY mode press the zoom button twice You can also display the calendar screen in the PLAY mode by pressing MENU selecting the PLAY tab selecting Calendar and then pressing 왘 2 Use 왖 왔 왗 and 왘 to move the date se...

Page 9: ... screen press MENU or the zoom button appears in place of the image when the date contains data that cannot be displayed by this camera 3 To view the large version of a date s image move the date selection cursor to the date and then press SET This displays the first image that was recorded on the selected date Playing a Slide Show Slide Show automatically plays back images in sequence at a fixed ...

Page 10: ...iguring this setting Images Time Interval Go here To specify the slideshow images on page 90 To specify the slideshow time on page 91 To set the slideshow interval on page 91 IMPORTANT Note that all buttons are disabled while an image change is in progress Wait until an image is stopped on the monitor screen before performing a button operation or hold down the button until the image stops Images ...

Page 11: ...lar Image for a Slideshow When you select One image as the slideshow type the slide show displays only one image without changing it Use this setting when you want a particular image to remain on the display while the camera is on the USB cradle Photo Stand feature Perform the following steps to specify which image you want displayed 1 Select One image and then press 왘 2 Use 왗 and 왘 to scroll thro...

Page 12: ...ress SET This starts the slideshow To set the slideshow interval 1 Use 왖 and 왔 to select Interval 2 Use 왗 and 왘 to specify the interval setting you want and then press SET You can specify MAX or a value in the range of 1 to 30 seconds as the interval In the case of a movie file the movie is played from beginning to end regardless of the current interval setting 3 Select Start and then press SET Th...

Page 13: ...dle while it is turned on 2 Press the USB cradle s PHOTO button This starts the Photo Stand slideshow with the images or image you specified under To specify the slideshow images page 90 Pressing MENU displays a screen for configuring slideshow settings To restart the slideshow press MENU while the menu screen is displayed or select Start and then press SET 3 To stop the Phot Stand slideshow press...

Page 14: ...and register the rotation information along with the image After you do this the image is always displayed in its rotated orientation whenever it appears during a slideshow page 88 or on your computer screen Note that the image is rotated automatically during a slideshow only Rotating an image ensures that images you recorded with the camera held sideways appear correctly during a slideshow 1 In t...

Reviews: