The Air Screen Refrigerator is designed for use with the door open when unloading during
meal or tray assembly operations lasting up to 45 minutes. Only product that has been pre-
chilled should be placed into the cabinet. Placing warm product into the cabinet will elevate
the cabinet air temperature above 40°F. This will have a direct affect on optimum product
serving temperatures.
Due to various conditions such as extremely high kitchen temperature, high frequency of
tray activity breaking the air curtain and excessively long operations, the door may need to
be closed so the unit can recover to proper operating temperature.
1. Pre-chill empty cabinet, with door closed for approximately 40 minutes. Always keep the
door closed except when actually unloading the refrigerator. Do not load the cabinet
until the proper operating temperature has been reached. (34°F-40°F)
2. Load the cabinet from the bottom up.
Make sure the trays are pushed to the rear wall.
Optimum Air Screen operation requires that all trays be pushed all the way in during
unloading. Do not leave trays protruding into the air screen at the front of the cabinet.
After loading, close the door and allow inside air temperature to restabilize to (34°F-
40°F).
3. Unload the cabinet from the top down.
4. Close the door during slow periods to extend the effective temperature maintenance
time.
Remember: The Air Screen Refrigerator must be at proper temperature
(34°F-40°F) before the door is opened.
The Air Screen Refrigerator will not lower food temperatures with
the door open.
This unit is equipped with an automatic condensate evaporator. To prevent water spills,
leave the unit plugged in with the door closed for a minimum of 90 minutes after use.
[A]
THERMOSTAT CALIBRATION
The Air Screen Refrigerator has been calibrated at the factory and should not need any
further calibrations. If the Thermostat needs calibration, a qualified refrigeration
technician should be called into service.
[B]
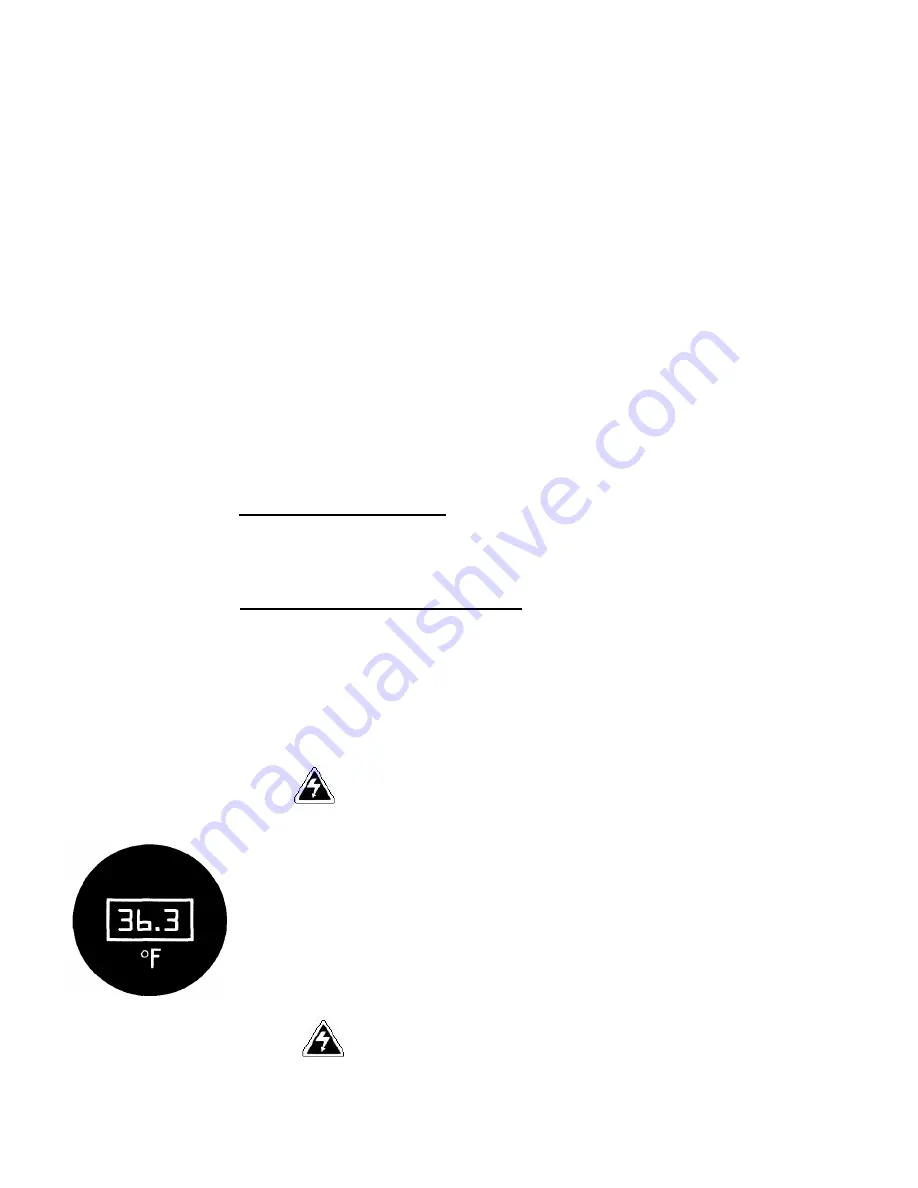
DIGITAL THERMOMETER CALIBRATION
The Digital Thermometer Calibration procedure is only to calibrate the thermometer to the
actual air temperature of the cabinet. This thermometer does not control the actual air
temperature.
PROCEDURE:
1. Place thermometer in geometric center of the cabinet. Turn power on and close the door.
Allow cabinet to operate for 45 minutes. After this time check to see if the digital display
temperature matches the thermometer you placed in the center of the cabinet. If not,
calibration is necessary. If the temperature matches, calibration check is complete.
WARNING
Turn off power before removing control panel.
2. Remove the screws that hold the upper control panel in place. Carefully pull out the
panel from the right side. Carefully let the panel hang.
3. Locate the digital thermometer on the inside panel you just removed. The adjustment
potentiometer is located in the lower back area of the digital thermometer.
4. Turn power back on making sure no wires are pinched.
5. Re-calibrate the digital thermometer using a small jeweler's screwdriver to adjust the
potentiometer. Turn counter-clockwise to adjust the digital temperature down (cooler)
and clockwise to adjust the digital temperature higher (warmer). Wait 10 seconds for
the adjustment to take place. Once adjusted re-seal the potentiometer with clear nail
polish to prevent calibration shift.
WARNING
Turn off power before reinstalling control panel.
6. Replace the back cover plate and be sure to run the sensor wire through the notch in
back plate. Turn power off before replacing the control panel.
2
Cabinet
Operations


