28
Field Set Up and Verification
Use the HMI touch screen to confirm that VFD values match the
chiller parameter labels and Chiller Builder design data sheet. Lo-
cate VFD values from
Main Menu
Configuration Menu
.
LABEL LOCATIONS
Verify the following labels have been installed properly and match
the chiller requisition:
• Surge Parameters — Located inside the HMI chiller con-
trol panel.
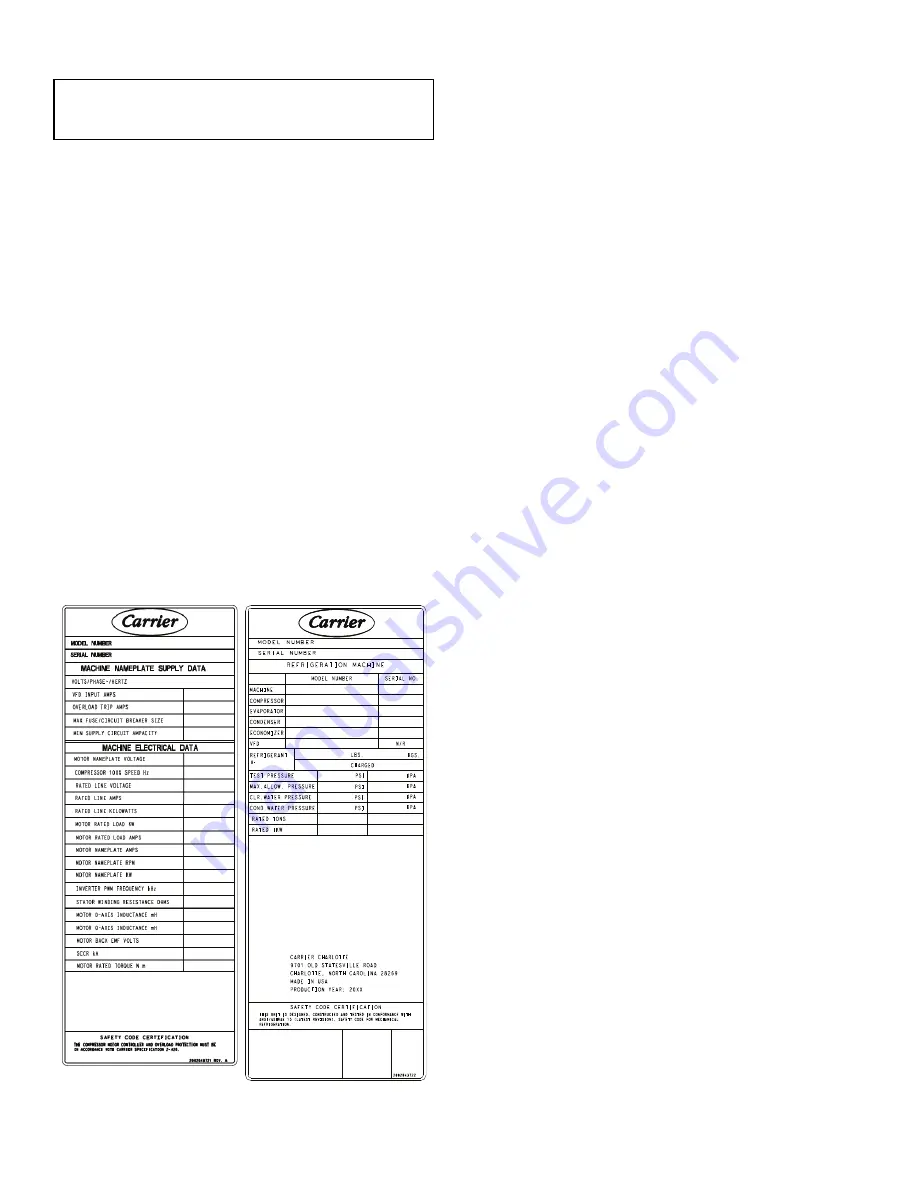
• Chiller identification nameplate — Located on the left side
of the power panel. See Fig. 28.
• VFD Nameplate data - located on the right side of the VFD.
MODIFY EQUIPMENT CONFIGURATION IF NECESSARY
The EQUIPMENT SERVICE table has screens to select, view, or
modify parameters. Carrier’s certified drawings have the configu-
ration values required for the jobsite. Modify these values only if
requested. Modifications can include:
• Chilled water reset
• Entering chilled water control (Enable/Disable)
• 4 to 20 mA demand limit
• Frequent restart option (Enable/Disable)
• Remote contact option (Enable/Disable)
See the 19MV with PIC6 Controls Operation and Troubleshooting
guide for more details about these functions; see the Control Panel
Schematic for field wiring.
Fig. 28 — Machine Identification Nameplate and VFD
Electrical Nameplate
Perform a Controls Test (Quick Test)
NOTE: The QUICK TEST screens can only be accessed when the
chiller is in STOP mode.
Check the safety controls status by performing an automated con-
trols test. First, perform a Quick Calibration Test (Path
Main
Menu
→
Quick Calibration
). This is required for all modulating
analog actuators. Upon successful calibration, use Quick Test
(
Main Menu
→
Quick Test
) to verify operation on desired com-
ponents. Note that this is a very useful feature for troubleshooting.
On the QUICK TEST table screen, select a test to be performed.
The Quick Test checks all outputs and inputs for proper function-
ality. In order to successfully proceed with the controls test, the
compressor must be off with no alarms showing, and voltage
should be within ±10% of rating plate value. If an error occurs, the
operator can try to address the problem as the test is being done or
note the problem and proceed to the next test.
When the controls test is finished the test stops and the QUICK
TEST menu displays. If a specific automated test procedure is not
completed, access the particular control test to test the function
when ready. Disable Quick Test feature when testing is complete.
For information about calibration, see the sections Checking Pres-
sure Transducers, page 44, and High Altitude Locations, page 45.
OPTIONAL EVAPORATOR AND CONDENSER PRES-
SURE TRANSDUCER AND WATERSIDE FLOW DEVICE
CALIBRATION
Pressure sensor calibration can be initiated from
Main Menu
→
Maintenance Menu
Pressure Sensor Calib
. Calibration can
be checked by comparing the pressure readings from the transduc-
er to an accurate refrigeration gage reading. The transducer can be
checked and calibrated at 2 pressure points. These calibration
points are 0 psig (0 kPa) and between 25 psig (173 kPa) and
250 psig (1724 kPa). To calibrate these transducers:
1. Shut down compressor, evaporator, and condenser pumps.
NOTE: There should be no flow through the heat exchangers.
2. Disconnect the transducer in question from its Schrader
fitting for evaporator or condenser transducer calibration.
For pump pressure or bearing pressure or flow device cali-
bration keep transducer in place.
NOTE: If the evaporator or condenser vessels are at 0 psig (0 kPa)
or are open to atmospheric pressure, the transducers can be cali-
brated for zero without removing the transducer from the vessel.
3. Access the PRESSURE screen from the Main Menu and
view the particular transducer reading (the evaporator
pressure, condenser pressure, economizer pressure, pump
inlet pressure, pump outlet pressure, bearing inlet pres-
sure, bearing outlet pressure).
4. To calibrate a device, view the particular reading on the
screen. It should read 0 psig (0 kPa). If the reading is not 0
but within 5 psig (35 kPa), the value may be set to zero
while the appropriate transducer parameter is highlighted.
The value will now go to zero. No high end calibration is
necessary for flow devices. If the transducer value is not
within the calibration range, the transducer will return to
the original reading. If the pressure is within the allowed
range (noted above), check the voltage ratio of the trans-
ducer. To obtain the voltage ratio, divide the voltage (dc)
input from the transducer by the supply voltage signal (see
Maintenance Others in Maintenance Menu) or measure
across the positive (+ red) and negative (– black) leads of
the transducer. The voltage ratio must be between 0.80 and
0.11 for the software to allow calibration. Rotate the
waterside flow pressure device from the inlet nozzle to the
outlet nozzle and repeat this step. If rotating the waterside
flow device does not allow calibration then pressurize the
transducer until the ratio is within range. Then attempt cal-
ibration again.
IMPORTANT: Some parameters are specific to the chiller con-
figuration and will need to be verified prior to operation. All
command functions must be initiated from the HMI.
Summary of Contents for AquaEdge 19MV
Page 49: ...49 Fig 46 SIOB...
Page 50: ...50 Fig 47 IOB2...
Page 51: ...51 Fig 48 19MV Auxiliary Controls Wiring...


