


ENG - 3
1.
Open a browser (Internet
Explorer browser only)
and type in “192.168.2.1” at
the address bar and press
Enter.
2.
Type in “admin” at the User
Name text box and “1234” at
the Password text box.
3.
The web management home
page will be displayed.
4.
Click on QuickSetup Button
to start Internet connection
setup.
5.
Click on Home option on top
of the page to return to this
page at any time during
setup operation.
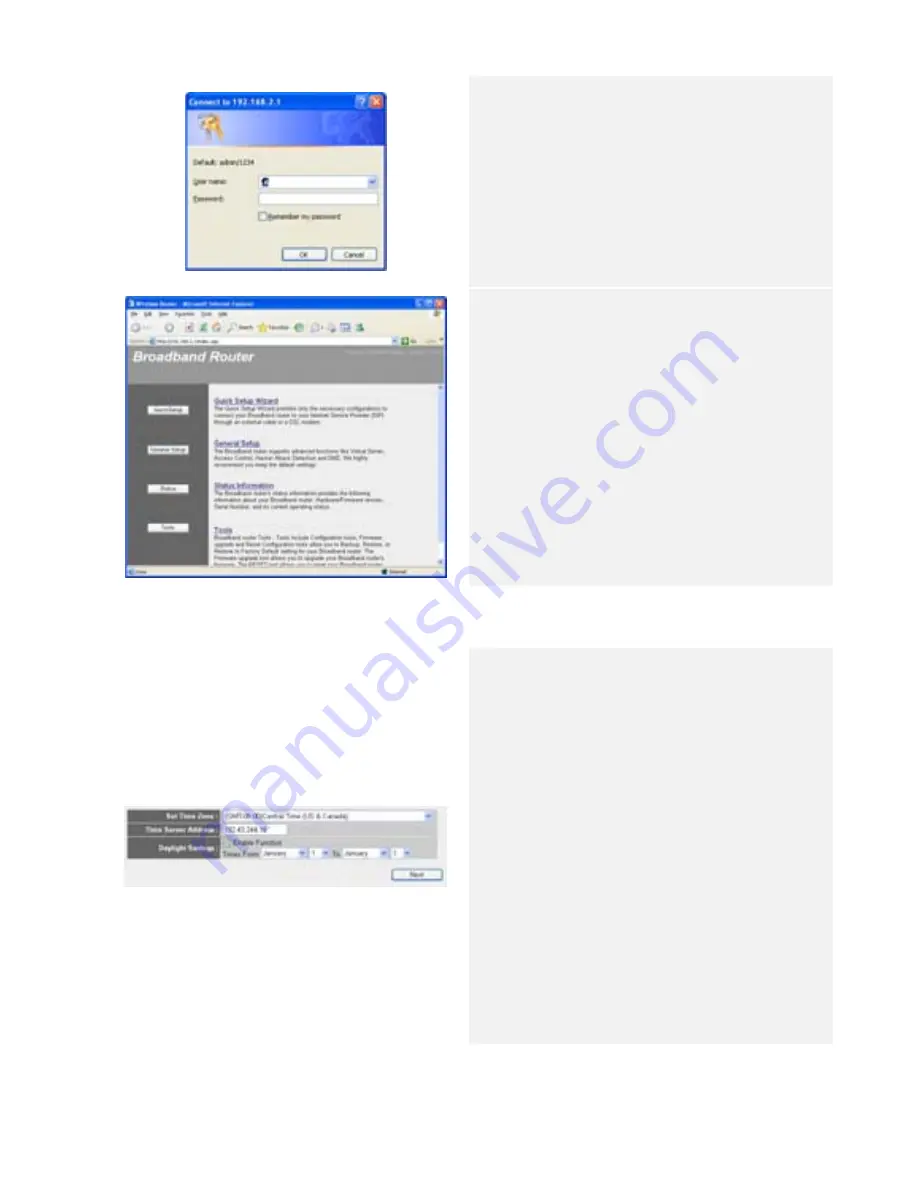
2.
Time Zone Setup
1.
Upon entering QuickSetup
option, please select an
appropriate time zone.
2.
Type in Time Server IP
Address if available.
3.
Enable Daylight Savings
function if necessary and
input required date
parameters.
4.
Click on ? mark next to Time
Zone to display more
information.
5.
Click on Next button to
continue Internet
configuration setup.
3.
WAN Type Setup


