26
Included Accessories
Before use, make sure the following items are included in the package.
■
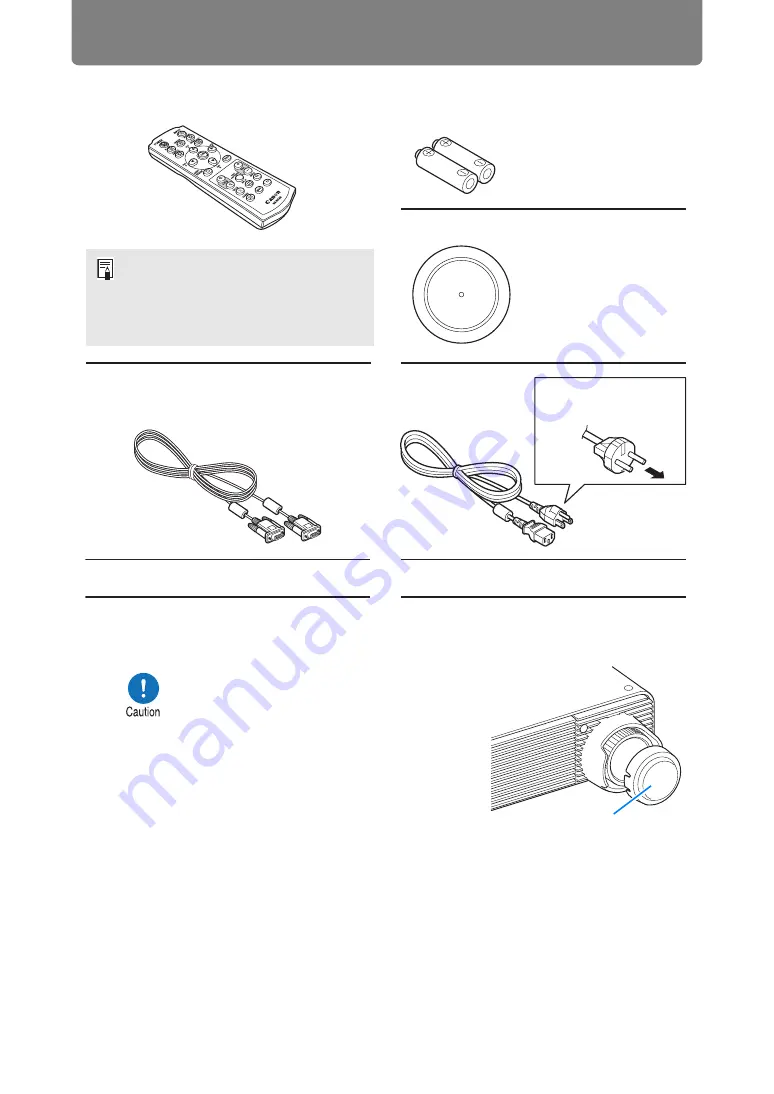
Attaching the Lens Cap
•
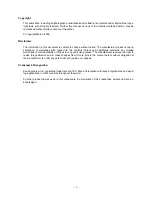
Remote control
•
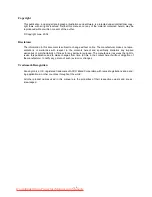
Batteries for the remote control
(AAA size x2)
(part No.: RS-RC06)
Optional remote controls are also
available (RS-RC05). However, some
buttons are not supported with this
projector. The RS-RC05 can also be
used as a wired remote.
•
Computer cable (1.8 m / 5.9')
(mini D-sub 15-pin / mini D-sub 15-pin)
•
Power cord
(1.8 m / 5.9')
For Continental
Europe
•
Warranty Card
For the U.S.A.
and Canada
•
Lens cap
•
Quick Start Guide
Always remove the cap before
projection. Accidentally leaving the
cap on during projection may distort
the cap and damage the projector.
Lens cap