55
For cameras equipped with the output video cropping function, you can select the cropping frame to be applied (and
adjust its position/size) from the PICTURE screen.
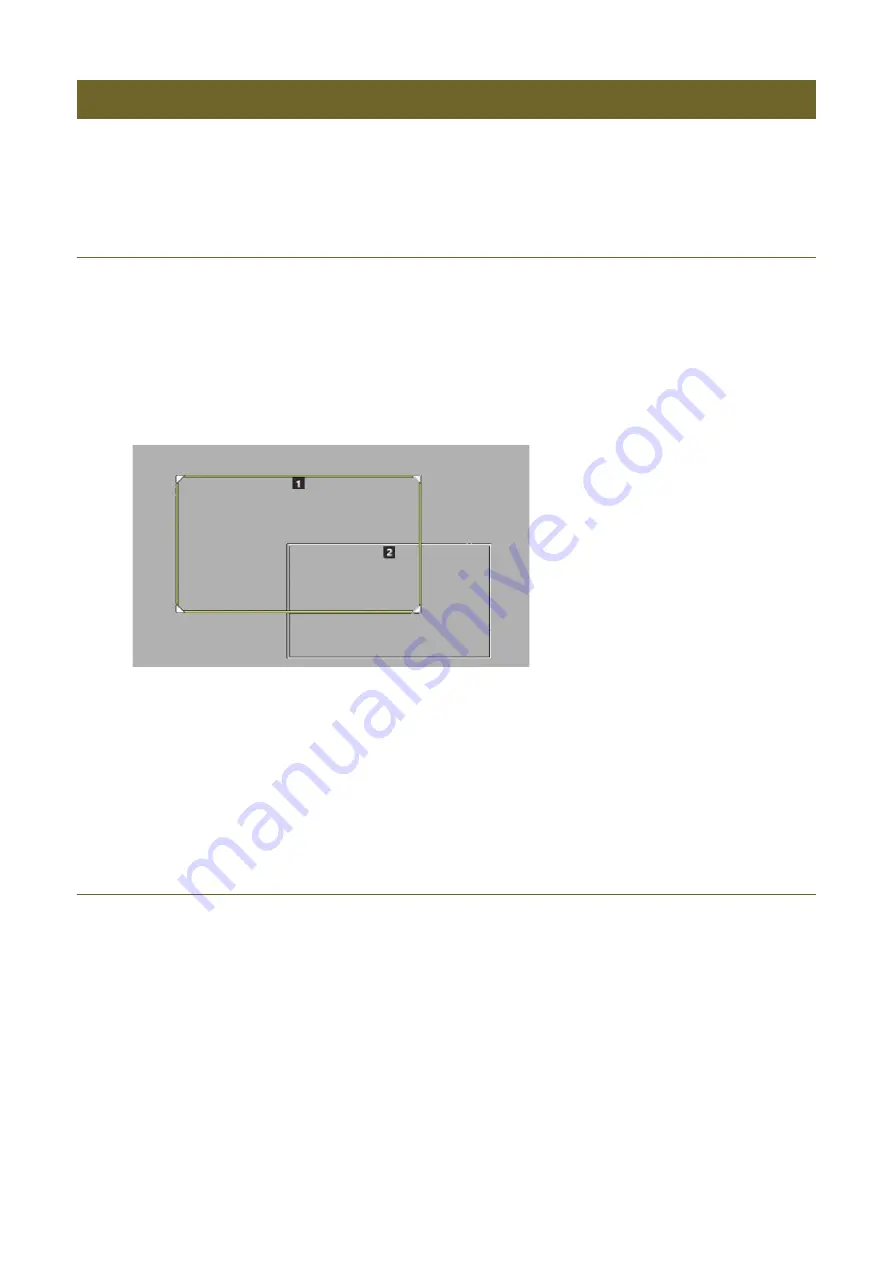
Displaying the Cropping Frame on the Screen
• CAMERA menu > [Crop] tab > [Frame Display] switches to [On], and superimposing onscreen displays to the
output of the SDI OUT/HDMI OUT terminal is enabled.
• The cropping frame is displayed.
• The cropping frame number is displayed at the top of the frame.
• CAMERA menu > [Crop] tab > [Frame Display] switches to [Off], and superimposing onscreen displays to the
output of the SDI OUT/HDMI OUT terminal is disabled.
• The menu goes back to the previous level.
Adjusting the Cropping Frame’s Position/Size
• The selected cropping frame is displayed in yellow or green.
• Frames with
/
/
/
corner icons can be resized.
• You can also touch the LCD panel (the cropping frame will be moved and centered on the touched position).
Crop Settings for Camera Output Video
1
Display the PICTURE screen (
S
ingle View) (P. 35).
2
Press the F3 dial ([Crop
]).
3
Turn the F1 dial ([Frame Display]) to select the cropping frame displayed on the screen.
4
Press the F4 dial ([Back]) to remove the cropping frame.
1
Display the cropping frame on the screen (P. 55).
2
Press the
/
buttons to select the cropping frame to be operated.
3
Press the pan/tilt operation area ENABLE button to activate the crop adjustment mode (illuminates in green).
4
Adjust the position of the cropping frame using the PAN / TILT lever.


