78
1
2
3
4
5
6
7
8
9
Cover
Preliminary Notes and
Legal Information
Contents:
Basic Operations
Advanced Guide
Camera Basics
Smart Auto
Mode
Other Shooting
Modes
P Mode
Wi-Fi Functions
Setting Menu
Accessories
Appendix
Index
Basic Guide
Playback Mode
Cover
5
Advanced Guide
Playback Mode
2
Choose an image.
z
z
Press the <
q
><
r
> buttons to choose an
image, and then press the <
m
> button.
[ ] is displayed.
z
z
To untag the image, press the <
m
>
button again. [ ] is no longer displayed.
z
z
Repeat this process to choose additional
images.
3
Finish the setup process.
z
z
Press the <
n
> button. A
confirmation message is displayed.
z
z
Press the <
q
><
r
> buttons to choose
[OK], and then press the <
m
> button.
•
Images will not be tagged as favorites if you switch to Shooting
mode or turn the camera off before finishing the setup process in
step 3.
•
Favorite images will have a three-star rating (
) when transferred
to computers running Windows 8, Windows 7, or Windows Vista. (Does not
apply to movies.)
Editing Still Images
•
Image editing (
78 – 81) is only available when the memory
card has sufficient free space.
Still Images
Resizing Images
Save a copy of images at a lower resolution.
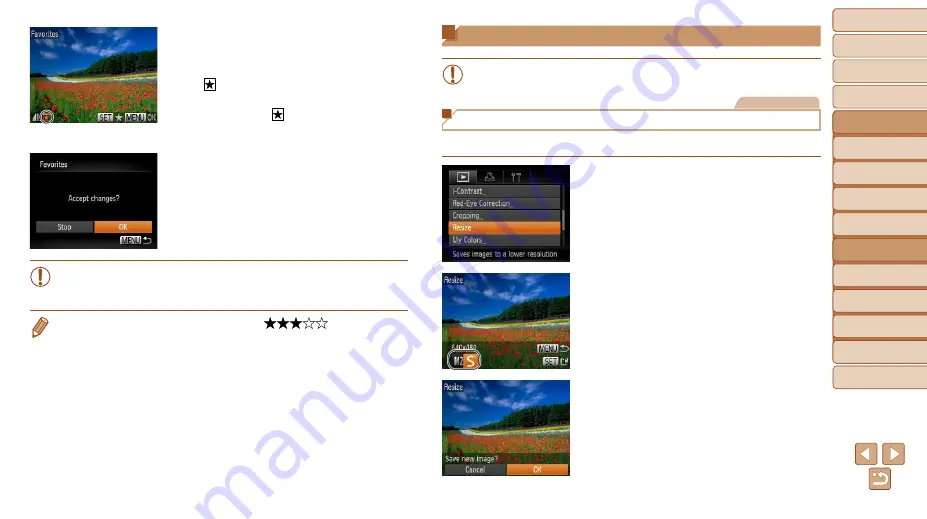
1
Choose [Resize].
z
z
Press the <
n
> button and choose
[Resize] on the [
1
2
Choose an image.
z
z
Press the <
q
><
r
> buttons to choose an
image, and then press the <
m
> button.
3
Choose an image size.
z
z
Press the <
q
><
r
> buttons to choose the
size, and then press the <
m
> button.
X
X
[Save new image?] is displayed.
4
Save the new image.
z
z
Press the <
q
><
r
> buttons to choose
[OK], and then press the <
m
> button.
X
X
The image is now saved as a new file.
COP
Y


