


77
1
2
3
4
5
6
7
8
9
Cover
Preliminary Notes and
Legal Information
Contents:
Basic Operations
Advanced Guide
Camera Basics
Smart Auto
Mode
Other Shooting
Modes
P Mode
Wi-Fi Functions
Setting Menu
Accessories
Appendix
Index
Basic Guide
Playback Mode
Cover
5
Advanced Guide
Playback Mode
2
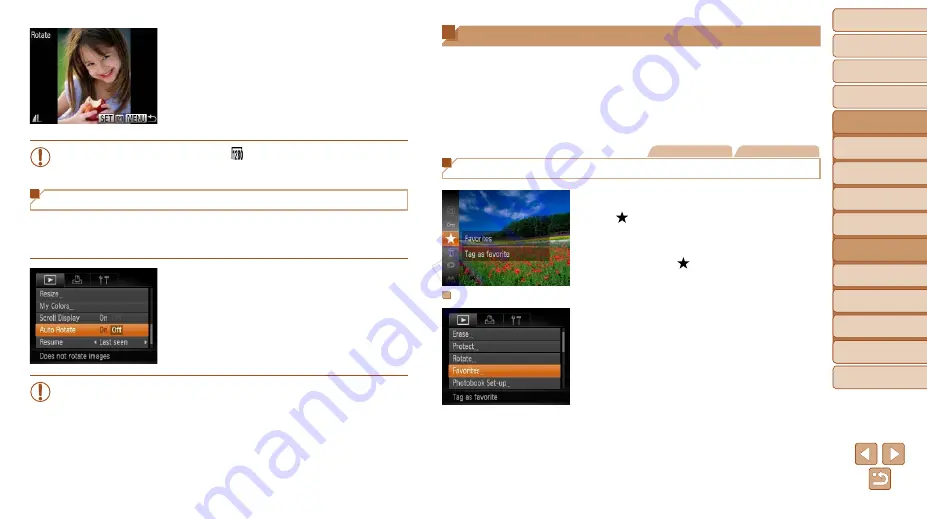
Rotate the image.
z
z
Press the <
q
><
r
> buttons to choose an
image.
z
z
The image is rotated 90° each time you
press the <
m
> button.
z
z
To return to the menu screen, press the
<
n
> button.
•
Movies with an image quality of [
] cannot be rotated.
•
Rotation is not possible when [Auto Rotate] is set to [Off] (
Deactivating Auto Rotation
Follow these steps to deactivate automatic rotation by the camera, which
rotates images shot in vertical orientation so they are displayed vertically on
the camera.
z
z
Press the <
n
> button, choose [Auto
Rotate] on the [
1
] tab, and then choose
[Off] (
•
76) when you set [Auto Rotate] to
[Off]. Additionally, images already rotated will be displayed in the
original orientation.
•
In Smart Shuffle (
72) mode, even if [Auto Rotate] is set to
[Off], images shot vertically will be displayed vertically, and rotated
images will be displayed in the rotated orientation.
Image Categories
You can organize images by tagging them as favorites. By choosing a
category in filtered playback, you can restrict the following operations to all
of those images.
•
74), Adding Images to the Print List
121), Adding Images to a Photobook (
Still Images
Movies
Tagging Images as Favorites
z
z
Press the <
m
> button, and then choose
[ ] in the menu (
X
X
[Tagged as Favorite] is displayed.
z
z
To untag the image, repeat this process
and choose [ ] again, and then press
the <
m
> button.
Using the Menu
1
Choose [Favorites].
z
z
Press the <
n
> button and choose
[Favorites] on the [
1
COP
Y


