Printing Images
157
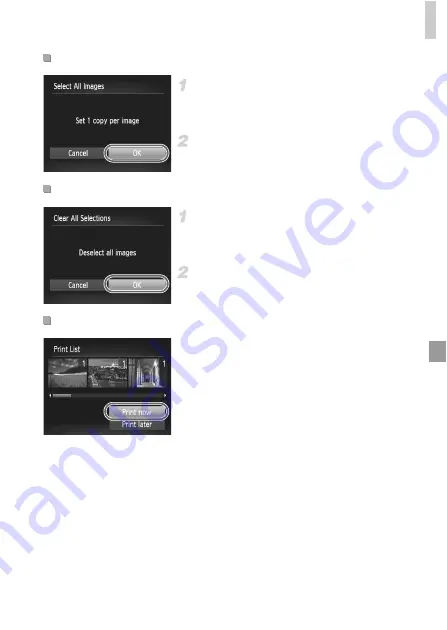
Choose [Select All Images].
z
Following step 1 on p. 156, choose [Select All
Images] and press the
m
button.
Configure the print settings.
z
Press the
qr
buttons to choose [OK], and
then press the
m
button.
Choose [Clear All Selections].
z
Following step 1 on p. 156, choose [Clear All
Selections] and press the
m
button.
Confirm clearing the print list.
z
Press the
qr
buttons to choose [OK], and
then press the
m
button.
z
When images have been added to the print
list (pp. 154 – 157), the screen at left is
displayed after you connect the camera to a
PictBridge-compatible printer. Press the
op
buttons to choose [Print now], and then
simply press the
m
button to print the
images in the print list.
z
Any DPOF print job that you temporarily stop
will be resumed from the next image.
Setting Up Printing for All Images
Clearing All Images from the Print List
Printing Images Added to the Print List (DPOF)
Summary of Contents for PowerShot A4050 IS
Page 45: ...45 Camera Basics Basic camera operations and features 1 ...
Page 53: ...53 Auto Mode Convenient mode for easy shots with greater control over shooting 2 ...
Page 112: ...112 ...
Page 128: ...128 ...
Page 129: ...129 Setting Menu Customize or adjust basic camera functions for greater convenience 6 ...
Page 160: ...160 ...
Page 161: ...161 Appendix Helpful information when using the camera 8 ...
Page 173: ...Functions and Menu Tables 173 I P t N 3 7 8 8 Available or set automatically Not available ...
Page 175: ...Functions and Menu Tables 175 I P t N 6 6 Available or set automatically Not available ...
Page 177: ...Functions and Menu Tables 177 I P t N 5 5 Available or set automatically Not available ...
Page 179: ...Functions and Menu Tables 179 I P t N Available or set automatically Not available ...


