


Entering Numbers, Letters, and Symbols
Use the Numeric buttons to enter or edit such information as unit name, a recipient's name for the directory,
etc.
Switching the Input Mode
Each time the
Tone
button is pressed, the input mode is switched.
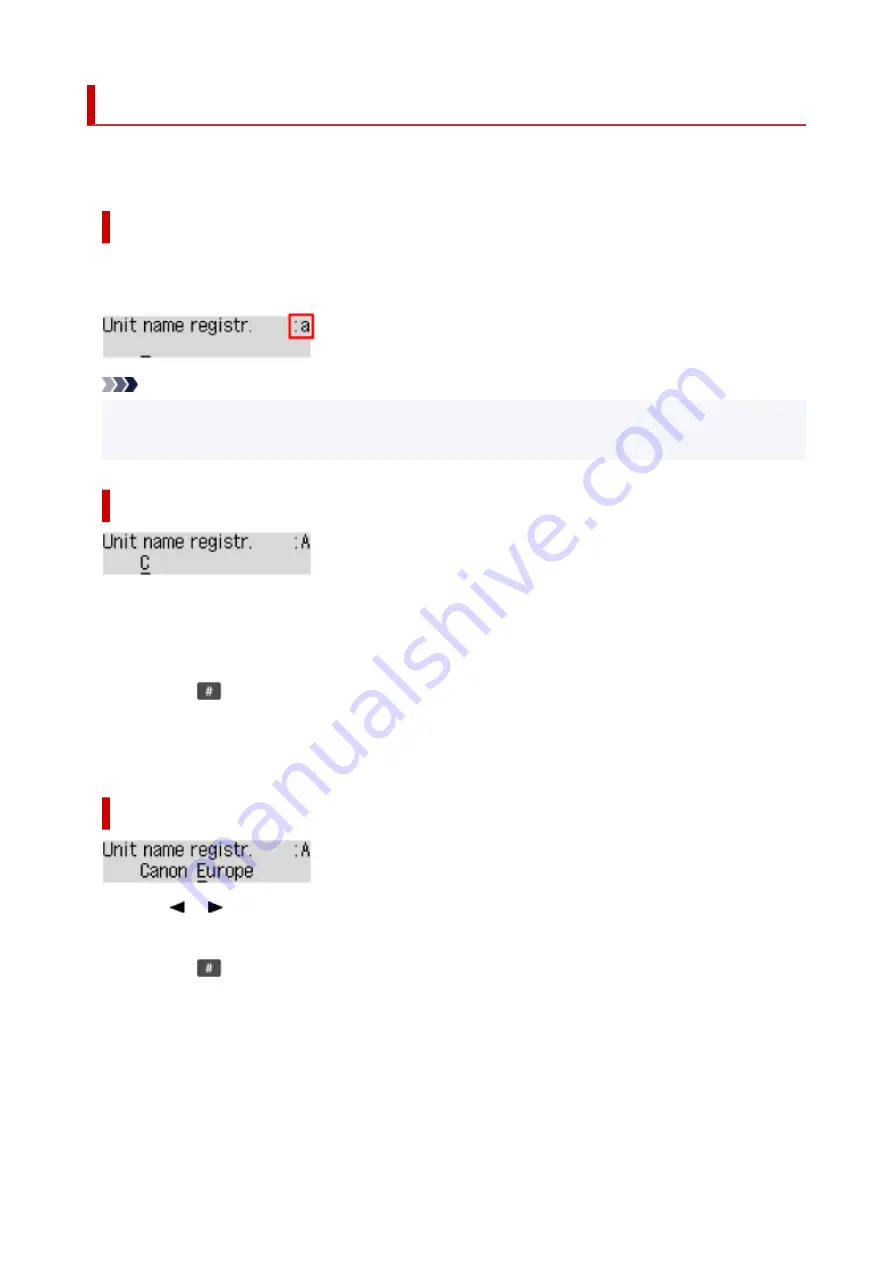
The current input mode appears at the upper right corner of the LCD.
Note
• Only numbers and symbols that are available for the type of information you are entering are
displayed, such as numbers for telephone or fax number input.
Entering Numbers, Letters, and Symbols
Press the
Tone
button to switch the input mode.
Use the Numeric buttons to enter the desired characters.
• To insert a space
Press the
button five times.
• To delete the last entered character
Press the
Back
button.
Editing Entered Numbers, Letters, and Symbols
Press the
or
button to move the cursor under the position you want to edit.
• To insert a space
Press the
button five times.
• To insert a character
Move the cursor under the character to the right of the insertion position, then enter the character. The
character on the cursor will move to the right and the new character will be inserted.
• To delete a character
Move the cursor under the character, then press the
Back
button.
175
Summary of Contents for PIXMA TR4520
Page 1: ...TR4500 series Online Manual English...
Page 77: ...Note This setting item is not available depending on the printer you are using 8 Click Set 77...
Page 81: ...Loading Paper Loading Plain Paper Loading Photo Paper Loading Envelopes 81...
Page 103: ...103...
Page 135: ...Safety Safety Precautions Regulatory Information WEEE EU EEA 135...
Page 160: ...Main Components Front View Rear View Inside View Operation Panel 160...
Page 177: ...pqrs PQRS 7 tuv TUV 8 wxyz WXYZ 9 0 _ SP 2 Switch the input mode 2 SP indicates a space 177...
Page 205: ...3 Press the OK button after deleting all the numbers and the letters 205...
Page 231: ...Envelopes Envelope Envelope Greeting Cards Inkjet Greeting Card Others 231...
Page 242: ...Note Selecting Scaled changes the printable area of the document 242...
Page 260: ...In such cases take the appropriate action as described 260...
Page 295: ...Printing Using Canon Application Software Easy PhotoPrint Editor Guide 295...
Page 315: ...Note To set the applications to integrate with see Settings Dialog Box 315...
Page 328: ...ScanGear Scanner Driver Screens Basic Mode Tab Advanced Mode Tab 328...
Page 415: ...4 When a confirmation message is displayed click Yes 415...
Page 423: ...Receiving Faxes Receiving Faxes Changing Paper Settings Memory Reception 423...
Page 433: ...Other Useful Fax Functions Document Stored in Printer s Memory 433...
Page 469: ...Other Network Problems Checking Network Information Restoring to Factory Defaults 469...
Page 501: ...Scanning Problems Windows Scanning Problems 501...
Page 502: ...Scanning Problems Scanner Does Not Work ScanGear Scanner Driver Does Not Start 502...
Page 506: ...Problems Sending Faxes Cannot Send a Fax Errors Often Occur When Send a Fax 506...
Page 511: ...Problems Receiving Faxes Cannot Receive a Fax Cannot Print a Fax 511...
Page 515: ...Telephone Problems Cannot Dial Telephone Disconnects During a Call 515...
Page 530: ...Errors and Messages An Error Occurs Message Support Code Appears 530...


