41
Using the Projector in Classroom Mode
Op
er
ation
in
Ea
ch
M
ode
8
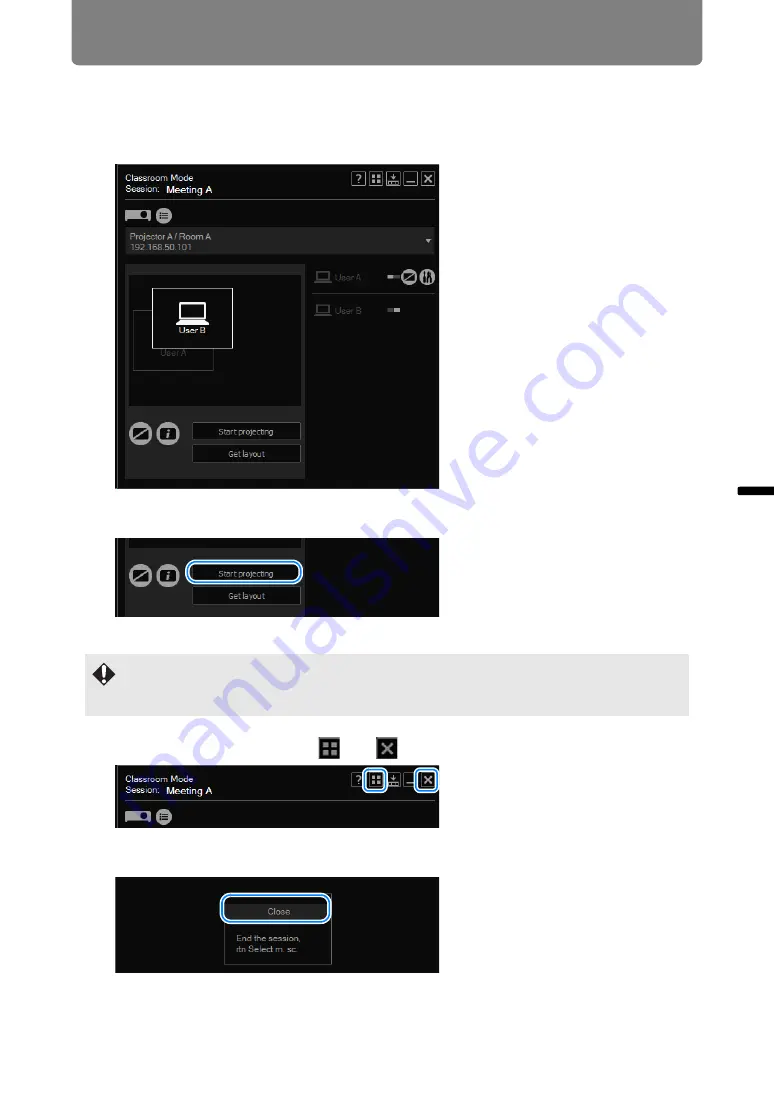
Drag the computers for use in projection in the layout area to rearrange
them, as needed.
During projection, screens of each computer will be arranged according to their
position in the layout area.
9
Click [Start projecting].
Images are now projected from the computers in the layout area.
10
To end the session, click
or
in the upper right.
11
The following confirmation message is displayed. Click [Close].
Return to the mode selection menu.
• To stop projection, click [Stop projecting].
• To rearrange the layout during projection, click [Start projecting] again. Note that if you
simply rearrange the layout, the new layout will not be applied to projection.
Summary of Contents for Networked Multi-Projection
Page 8: ...8 ...
Page 24: ...24 ...
Page 52: ...52 ...
Page 53: ...53 Networked Multi Projection Overview Operation in Each Mode Functions Functions ...


