


Easy Scanning with Auto Scan
You can scan easily by automatically detecting the item type.
Important
• The following types of items may not be scanned correctly. In that case, adjust the cropping frames
(selection boxes; scan areas) in the screen displayed by clicking
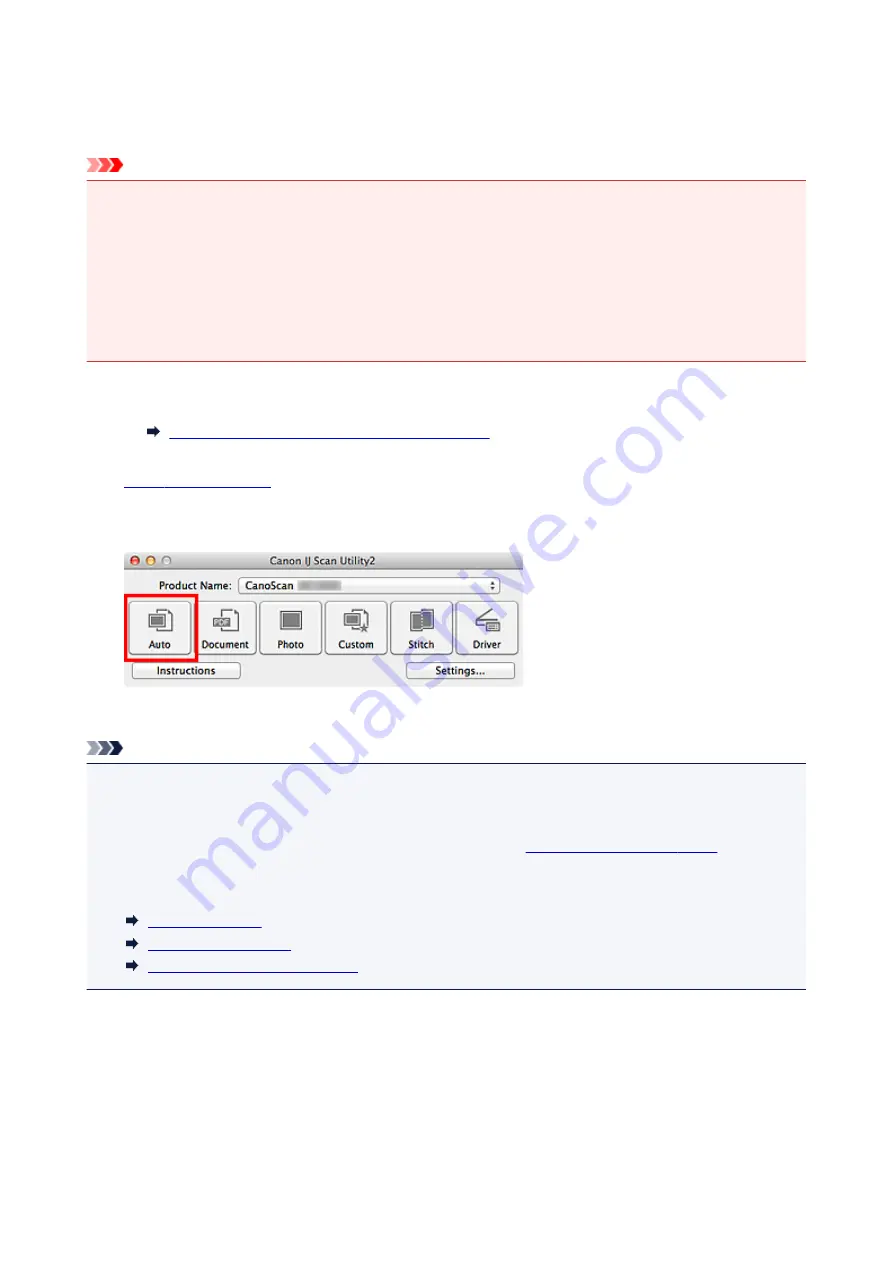
Driver
in the IJ Scan Utility main
screen and scan again.
• Photos that have a whitish background
• Items printed on white paper, hand-written documents, business cards, etc.
• Thin items
• Thick items
1. Place items on the platen of your scanner.
Placing Items (When Scanning from a Computer)
2.
3. Click
Auto
.
Scanning starts.
Note
• Click
Cancel
to cancel the scan.
• To apply suitable corrections based on the item type, click
Settings...
, then select the
Apply
recommended image correction
checkbox in the
Settings (Auto Scan)
dialog.
• Scanned images are saved in the folder set for
Save in
in the
displayed
by clicking
Settings...
. In the
Settings (Auto Scan)
dialog, you can also make advanced scan settings.
• Refer to the following pages to scan by specifying the item type.
Scanning Photos
Scanning Documents
Scanning with Favorite Settings
44
Summary of Contents for LiDE220
Page 20: ...Safety Guide Safety Precautions Regulatory and Safety Information 20 ...
Page 27: ...Placing Items Place the Item on the Platen Items You Can Place How to Place Items 27 ...
Page 38: ...Scanning Scanning from a Computer Scanning Using the Scanner Buttons 38 ...
Page 72: ...Defaults You can restore the settings in the displayed screen to the default settings 72 ...
Page 87: ...Defaults You can restore the settings in the displayed screen to the default settings 87 ...
Page 122: ...122 ...
Page 137: ...137 ...
Page 221: ...Problems with Scanning Problems with Scanning Scan Results Not Satisfactory 221 ...


