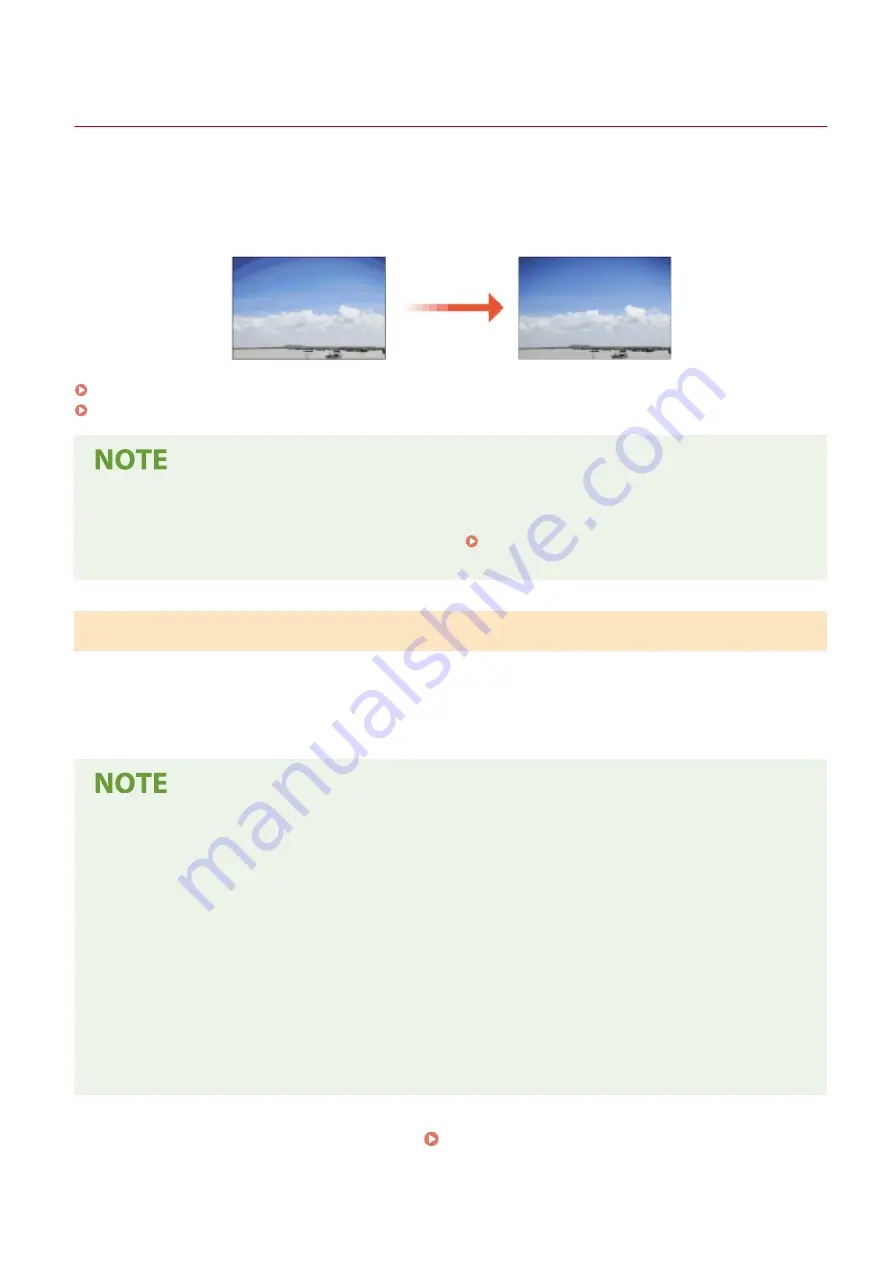
Adjusting Gradation
19YU-0A2
Gradation refers to the dark to light continuum of shades of a color. The more shades in the gradations of colors that
are printed, the more natural printouts seem. If color reproducibility becomes poor and the density and brightness of
printouts differs markedly from the originals, perform the appropriate auto adjustment. There are two options of
gradation adjustment: "Full Adjust" for accurate adjustment, "Quick Adjust" for simple adjustment.
Full Adjust(P. 614)
Quick Adjust(P. 617)
●
Adjustments may not be performed effectively if there is not sufficient toner cartridge remaining. Check the
amount of toner remaining in each cartridge. If the amount of toner is low in any of the toner cartridges, it is
recommended that you replace the toner cartridge(s). Checking the Remaining Amount of
Consumables(P. 611)
Full Adjust
This adjustment optimizes reproducibility for color printing. When the machine performs full adjustment, it obtains
information to optimize color reproducibility. The machine maintains this information until the next time you perform
full adjustment. To make a full adjustment, repeat the operation, "print out the adjustment image and scan it,"
multiple times. Note that you cannot perform this adjustment while performing some functions, including, scanning,
and printing.
If the printed color tones are different from the color tones of the print data
Depending on the paper to use for printing and the print settings, perform correction as follows.
●
To print on plain paper, perform correction with <Standard (Plain)>
*1
.
●
To print on heavy paper, first perform correction with <Standard (Plain)>
*1
and then with <Standard
(Heavy)>
*2
.
●
To print on plain paper using the Superfine function, first perform correction with <Standard (Plain)>
*1
and
then with <For Printer 1200 dpi>
*1
.
●
To print on heavy paper using the Superfine function, first perform correction with <Standard (Plain)>
*1
, then
with <Standard (Heavy)>
*2
, and finally with<For Printer 1200 dpi>
*2
.
*1
Perform correction using plain paper.
*2
Perform correction using heavy paper.
1
Select <Menu> in the Home screen. Home Screen(P. 116)
Maintenance
614
Summary of Contents for imageRUNNER C3025i
Page 1: ...imageRUNNER C3025i C3025 User s Guide USRMA 1888 00 2017 06 en Copyright CANON INC 2017...
Page 84: ...Menu Preferences Network Device Settings Management On Setting Up 75...
Page 116: ...LINKS Loading Paper in the Paper Drawer P 135 Optional Equipment P 742 Basic Operations 107...
Page 160: ...Basic Operations 151...
Page 179: ...5 Select Apply LINKS Basic Operation P 121 Basic Operations 170...
Page 201: ...Start Use this button to start copying Copying 192...
Page 215: ...LINKS Basic Copy Operations P 193 Copying 206...
Page 228: ...Sending and Receiving Faxes via the Internet Using Internet Fax I Fax P 250 Faxing 219...
Page 330: ...LINKS Checking Status and Log for Scanned Originals P 303 Scanning 321...
Page 333: ...LINKS Using ScanGear MF P 325 Scanning 324...
Page 361: ...6 Click Fax Fax sending starts Linking with Mobile Devices 352...
Page 367: ...Updating the Firmware 444 Initializing Settings 446 Managing the Machine 358...
Page 444: ...5 Click Edit 6 Specify the required settings 7 Click OK Managing the Machine 435...
Page 567: ...Only When Error Occurs Setting Menu List 558...
Page 633: ...5 Select Apply Maintenance 624...
Page 772: ...Appendix 763...
Page 802: ...18 MD4 RSA Data Security Inc MD4 Message Digest Algorithm...


