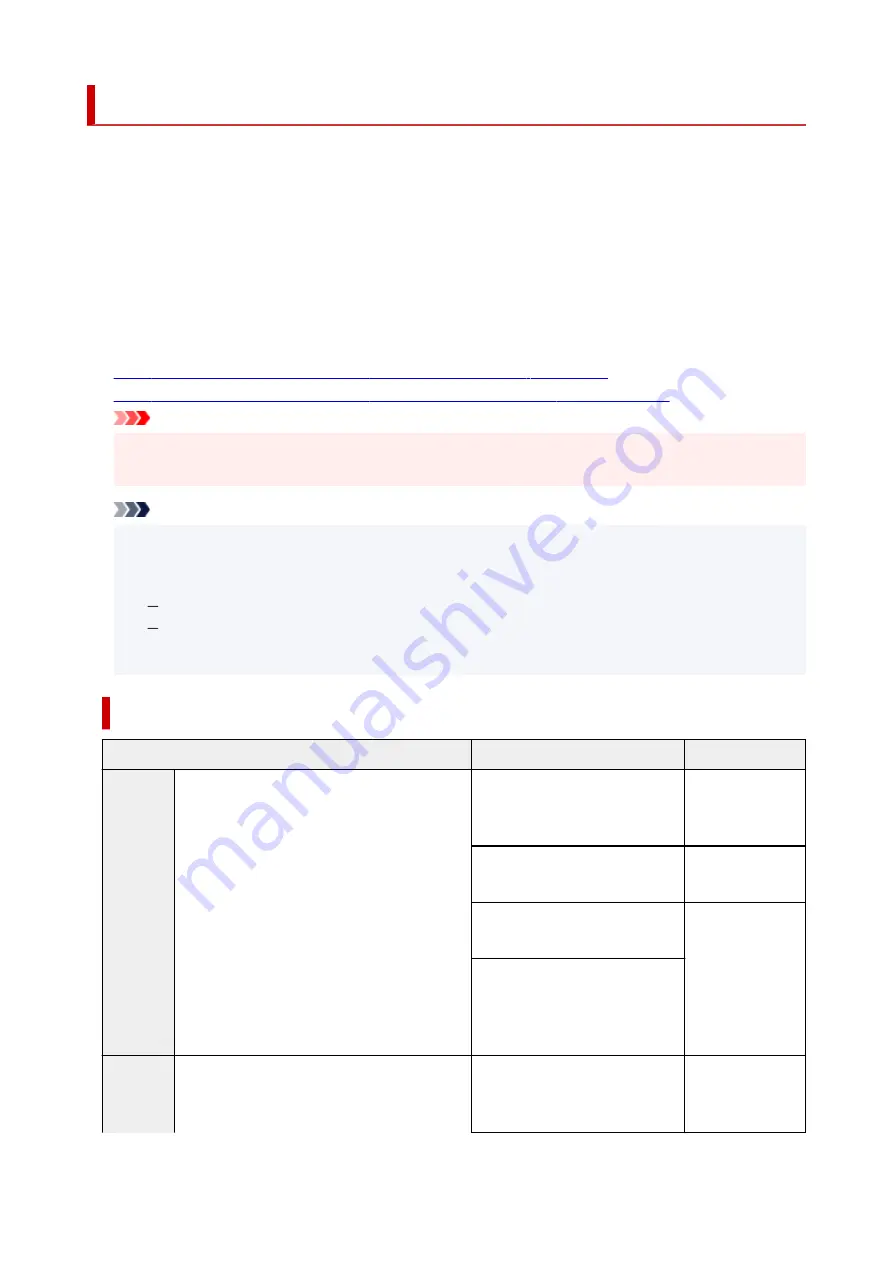
How to Switch Paper Rolls
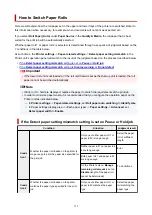
Here we will explain how the roll paper set in the upper and lower trays of the printer are switched. Refer to
this information when necessary, for example, when documents will not print as expected, etc.
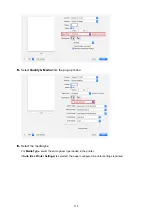
If you select
Roll Paper (Auto)
under
Paper Source
in the
Quality & Media
, the roll paper that is best
suited for the print job will be automatically selected.
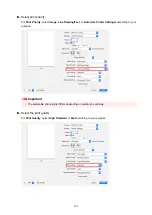
Whether paper roll 1 or paper roll 2 is selected, is determined through a sequence of judgment based on the
7 conditions in the table below.
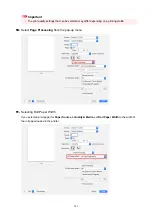
At such times, the
Printer settings
->
Paper-related settings
->
Detect paper setting mismatch
in the
Printer unit's operation panel will switch to the result of the judgment based on the process described below.
•
•
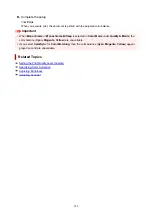
Important
• If the lower roll unit is not loaded or if the roll unit that was set as the take-up unit is loaded, the roll
paper cannot be switched automatically.
Note
• If Error or On hold are displayed, replace the paper to match the requirements of the print job.
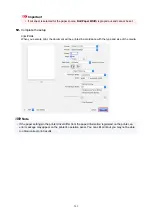
• In order to minimize paper waste, it is recommended that you configure the operation panel on the
Printer unit as indicated below.
In
Printer settings
->
Paper-related settings
, set
Roll paper auto switching
to
Identify size
In Paper settings display area -> (Each paper type) ->
Paper settings
->
Advanced
, set
Detect paper width
to
Enable
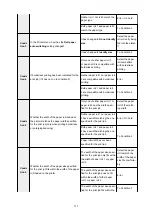
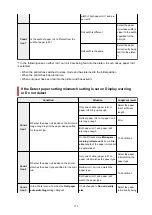
If the Detect paper setting mismatch setting is set on Pause or Hold job
Condition
Situation
Judgment result
Condi-
tion 1
Whether the paper roll loaded on the printer is
long enough to print the paper size specified for
the print job.
Only one of either paper roll 1 or
paper roll 2 is long enough
Select the paper
roll of sufficient
length
Neither paper roll 1 nor paper roll
2 are long enough
Error
Both paper roll 1 and paper roll 2
are long enough
To Condition 2
On the Printer's menu,
Manage
remaining roll amount
is set on
Disable
(length of the paper roll
cannot be determined)
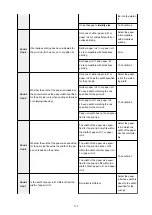
Condi-
tion 2
Whether the paper roll loaded on the printer
matches the paper type specified for the print
job.
Only one of either paper roll 1 or
paper roll 2 matches the paper
type
Select the paper
roll matching the
paper type
572
Summary of Contents for imagePROGRAF TX-4100
Page 1: ...TX 4100 TX 3100 TX 2100 TX 5410 TX 5310 TX 5210 Online Manual English ...
Page 42: ...Printer Parts Front Back Top Cover Inside Carriage Ink Tank Cover Inside Operation Panel 42 ...
Page 45: ...Back TX 4100 TX 5410 TX 3100 TX 2100 TX 5310 TX 5210 45 ...
Page 72: ...4 Send the print job 4 Printing in Windows Printing from macOS Start printing 72 ...
Page 80: ...Note The screen may differ slightly depending on the model you are using 80 ...
Page 82: ...Pausing Printing Pausing Printing 82 ...
Page 117: ...3 Check the entered length and tap OK 3 117 ...
Page 145: ...After the roll paper is cut it is rewound automatically 145 ...
Page 149: ...5 Tap Cut dust reduction 5 6 Tap ON 6 149 ...
Page 162: ...6 Lower release lever 6 162 ...
Page 163: ...Basket Using the Basket Example Basket Configurations Storing the Basket 163 ...
Page 174: ...174 ...
Page 175: ...Stacker Using the Stacker Example Stacker Configurations 175 ...
Page 178: ...2 Pull out the stacker toward you to remove the stacker from the printer 2 178 ...
Page 182: ...182 ...
Page 189: ...8 Change Roll Holder Lock switch on roll unit to lock direction 8 189 ...
Page 200: ...11 Remove printed material that has been taken up from roll holder for each paper core 11 200 ...
Page 239: ...Preparing to Transfer the Printer 239 ...
Page 271: ...HP GL 2 Settings Menus on HP GL 2 print settings Menu Setting Combinations 271 ...
Page 273: ...Print color list for palettes Warning display Detect image size Frame control 273 ...
Page 283: ...F Range which cannot be printed G Paper for printing 283 ...
Page 285: ...285 ...
Page 288: ... Even if the image runs off the edge of the paper it is rotated to expand the print range 288 ...
Page 291: ...A Output object area B Fit to long side post processing size 291 ...
Page 293: ... ON is selected when printing on roll 293 ...
Page 295: ...A Position of cut when OFF B Position of cut when ON 295 ...
Page 299: ... When Enable is selected 299 ...
Page 309: ...15 12 0 110 168 0 115 No setting No setting Miter 309 ...
Page 314: ...314 ...
Page 323: ...Printed without upper lower blank area 323 ...
Page 329: ... Printed image after reduced A Position of cut for A3 size 329 ...
Page 369: ...3 Select OK 3 The resending setting is completed 369 ...
Page 405: ... XX represents alphanumeric characters 405 ...
Page 430: ...Adjusting Feed Amount Adjusting Feed Amount Adjusting Vacuum Strength 430 ...
Page 434: ...A test pattern is printed for adjustment and adjustment is finished 434 ...
Page 459: ...Note If the ink lamp is not lit reload the tank 7 Close ink tank cover 7 459 ...
Page 466: ...Cleaning the Print Head 466 ...
Page 483: ...483 ...
Page 486: ...Cutter Blade Cutter Blade Replacing the Cutter Blade 486 ...
Page 505: ...505 ...
Page 521: ...Specifications Specifications Print Area 521 ...
Page 611: ...Note When using applications that allow you to set margins set margins to 0 mm 611 ...
Page 614: ...Note When using applications that allow you to set margins set margins to 0 mm 614 ...
Page 640: ...Printing from Printer Printing Data Saved on USB Flash Drive 640 ...
Page 660: ...Printer Driver Windows Printer Driver macOS Printer Driver 660 ...
Page 677: ...Adjusting Brightness Adjusting Contrast 677 ...
Page 710: ...3 Select Save in Job Box in Output Method 3 710 ...
Page 711: ...711 ...
Page 723: ...5 In the list select the target job 5 6 Select Edit 6 7 Select Delete 7 8 Select Yes 8 723 ...
Page 782: ...4913 782 ...
Page 793: ...Check 9 Is the output guide clean Clean the output guide Cleaning the Printer Exterior 793 ...
Page 863: ... A000 to ZZZZ B20A B510 863 ...
Page 891: ...1201 Cause The ink tank cover is open What to Do Close the ink tank cover 891 ...
Page 892: ...1210 Cause The ink tank cover is open What to Do Close the ink tank cover 892 ...
Page 924: ...1500 Cause The ink in the ink tank is running low What to Do Prepare a new ink tank 924 ...

