
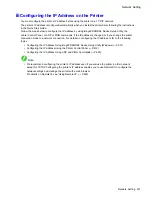


Network Setting (Windows)
Specifying the frame type using the printer Control Panel
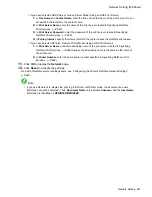
1.
Press the
Menu
button to display
MAIN MENU
.
2.
Press
▲
or
▼
to select
Interface Setup
, and then press the
►
button.
3.
Press
▲
or
▼
to select
NetWare
, and then press the
►
button.
4.
Press
▲
or
▼
to select
NetWare
, and then press the
►
button.
5.
Press
▲
or
▼
to select
On
, and then press the
OK
button.
Return to the
NetWare
menu.
6.
Press
▲
or
▼
to select
Frame Type
, and then press the
►
button.
7.
Press
▲
or
▼
to select the frame type to use, and then press the
OK
button.
Return to the
NetWare
menu.
8.
Press
▲
or
▼
to select
Print Service
, and then press the
►
button.
9.
Press
▲
or
▼
to select the desired print service, and then press the
OK
button.
Return to the
NetWare
menu.
10.
Press the
Online
button to bring the printer online.
If any of the settings is changed, a message for conrmation is displayed. In this case, press
the
OK
button.
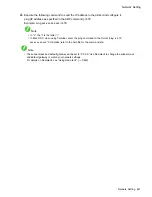
Note
•
If an error message is displayed, check the settings and correct any invalid values.
•
To cancel the setup process, hold down the
Stop
button for a second or more.
Important
•
Be sure to complete step 5. This will activate the values you have entered.
628 Network Setting
Summary of Contents for imagePROGRAF iPF8100
Page 1: ...User Manual ENG Large Format Printer ...
Page 2: ......
Page 733: ...Cleaning the Printer 4 Plug the power cord into the outlet Maintenance 719 ...
Page 813: ......
Page 814: ... CANON INC 2007 ...