■ To configure the system date and time
1. Access WebTools.
1. On a client computer that is connected to the same network as the imagePRESS Server, open a Web browser window.
2. In the URL field of the browser, type the IP address or DNS name of the imagePRESS Server, and press Enter.
The IP address is listed under the Network Setup section of the imagePRESS Server Configuration page.
2. In WebTools, click the Configure tab.
3. Type the administrator account in User name and the corresponding password in Password, then click Log In.
You can enter “Administrator” or “admin” for the administrator account name. The default password is
Fiery password
.(See
“How to obtain the Fiery password” on page 8
) However, the site administrator may have configured a new password for the
imagePRESS Server.
4. Select Fiery Server > Regional Settings and specify the current date and time, and click Save.
5. Click Log Out to exit Configure.
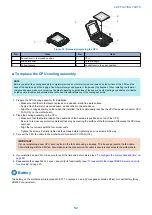
Jumpers
Jumper configurations should not be changed.
Jumper
Description
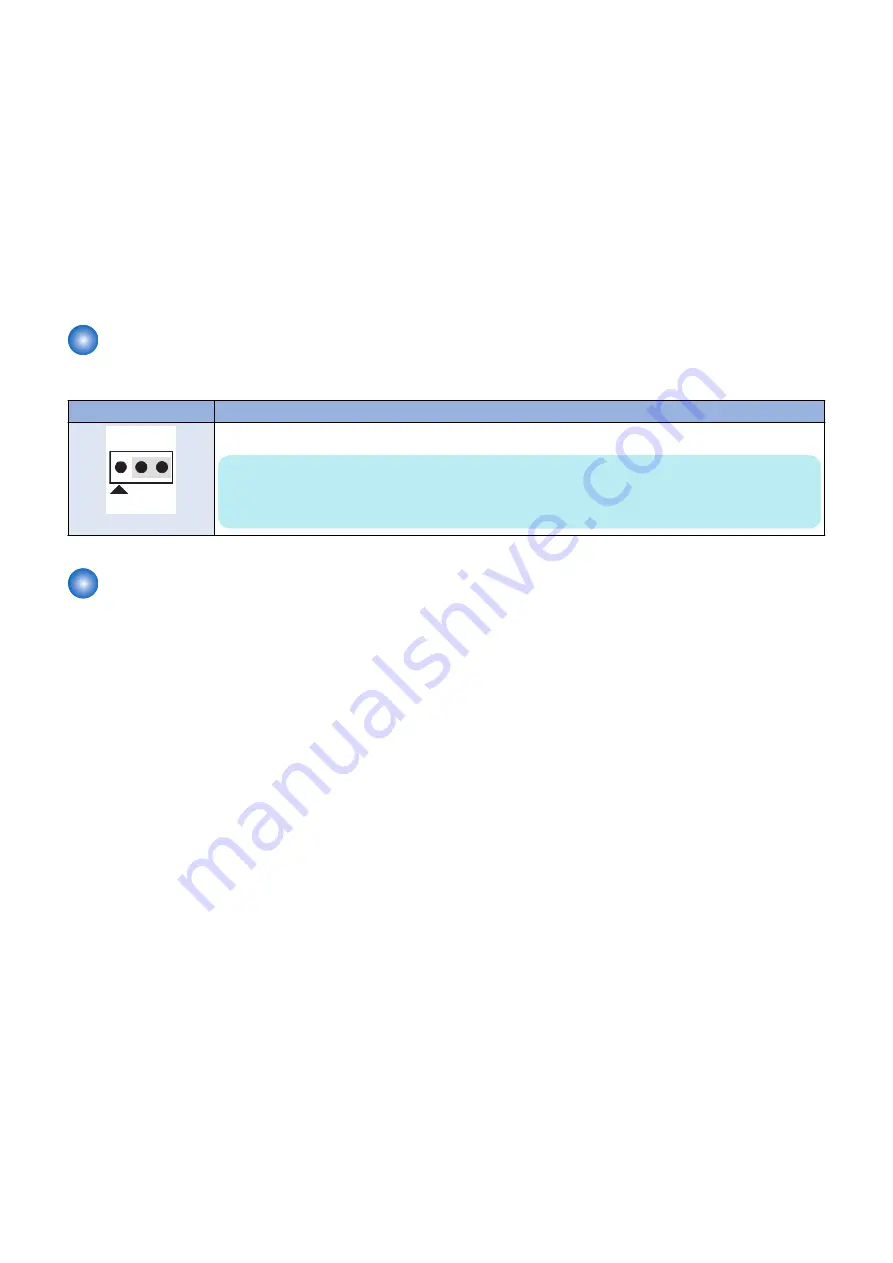
J101
Pin 1
J101 is the Clear CMOS and Password jumper. Default configuration: jumper cap installed on pins 1and 2.
NOTE:
It is not necessary to clear the CMOS settings when servicing motherboard components, the DVD
drive, and the hard disk drive.
Fan
A fan mounted inside the imagePRESS Server chassis draws air into the imagePRESS Server to cool components. The fan runs
continuously when the system is on. You should hear the fan start as soon as you power on the imagePRESS Server. If you do
not hear the fan, there may be a faulty power connection.
The following procedures describe how to remove and replace the fan.
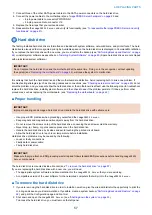
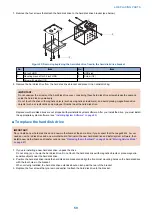
■ To remove the fan
1. Shut down, and then open the imagePRESS Server (see
“Shutting down the system” on page 33
To access the fan, you must remove the left panel.
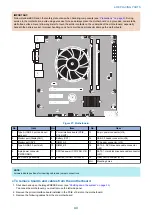
2. Remove the fan cable from motherboard connector FRONT FAN (J20).
4. REPLACING PARTS
54
Summary of Contents for ImagePRESS Server H350 V2
Page 8: ...Introduction 1 Introduction 2 Specifications 7 ...
Page 17: ...INSTALLING HARDWARE 2 Installing Hardware 11 ...
Page 26: ...USING THE IMAGEPRESS SERVER 3 Using the imagePRESS Server 20 ...
Page 35: ...REPLACING PARTS 4 Replacing parts 29 ...
Page 86: ...INSTALLING SYSTEM SOFTWARE 6 Installing System Software 80 ...
Page 91: ...TROUBLESHOOTI NG 7 Troubleshooting 85 ...
Page 104: ...INSTALLATION PROCEDURE 8 Installation 98 Removable HDD Kit B5 108 ...

