Canon imageFormula DR-C125, Operation Manual
The Canon imageFormula DR-C125 is a high-quality document scanner designed for efficient and reliable performance. To enhance user experience, a comprehensive Service Manual can be downloaded for free from manualshive.com, providing detailed instructions and troubleshooting tips to maximize the productivity of this exceptional scanner.
Share
Download


Reviews:
No comments
Related manuals for imageFormula DR-C125

MultiScanner i520
Brand: Zircon Pages: 3

2564MR
Brand: CipherLab Pages: 283

EMScanner
Brand: YIC Technologies Pages: 70

2450 - Perfection Photo Scanner
Brand: Epson Pages: 58

15000 - GT - Flatbed Scanner
Brand: Epson Pages: 80

1000XL
Brand: Epson Pages: 9

2400 - Perfection Photo - Dpi x
Brand: Epson Pages: 8

00000650 - Perfection 3200 PRO Color Scanner
Brand: Epson Pages: 34

1640SU - Perfection Photo Scanner
Brand: Epson Pages: 2

1660 - Perfection Photo
Brand: Epson Pages: 2

00000650 - Perfection 3200 PRO Color Scanner
Brand: Epson Pages: 4

1640SU - Perfection Photo Scanner
Brand: Epson Pages: 192

2400 - Perfection Photo - Dpi x
Brand: Epson Pages: 2

Air Copy
Brand: ION Pages: 40

KV-S5046H
Brand: Panasonic Pages: 4
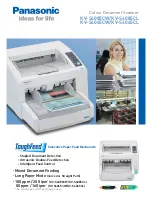
KV-S4065CL - Sf Clr Duplex 65PPM USB 2.0 Lgl 300PG Adf
Brand: Panasonic Pages: 4

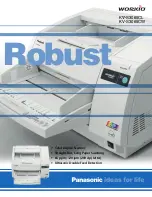
KV-S3085
Brand: Panasonic Pages: 2
KV-S3065CL - Document Scanner
Brand: Panasonic Pages: 2


