Cop
ying
4-11
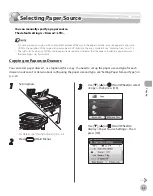
Selecting Paper Source
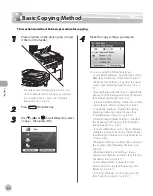
1
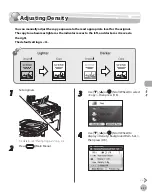
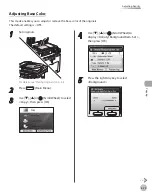
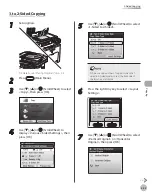
Set originals.
For details, see “Placing Originals,” on p. 2-4.
2
Press
(Main Menu).
3
Use [
▼
], [
▲
] or (Scroll Wheel) to select
<Copy>, then press [OK].
4
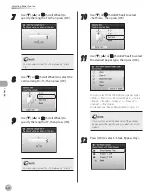
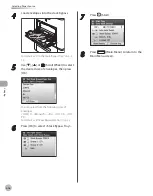
Load the paper into the stack bypass tray.
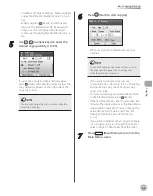
5
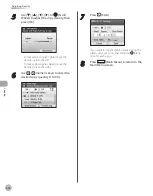
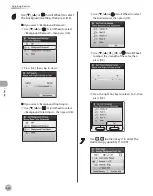
Use [
▼
], [
▲
] or (Scroll Wheel) to select
the desired paper size, then press [OK].
You can select from the following paper sizes:
<LTR>, <LGL>, <STMT>, <EXEC>, <FLSC>,
<OFI>, <B-OFI>, <M-OFI>, <G-LTR>, <G-LGL>
For details, see “Paper Requirements,” on p. 2-7.
The available paper sizes will vary depending on
the country where the unit was purchased.
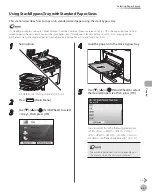
Using Stack Bypass Tray with Standard Paper Sizes
This section describes how to copy onto standard-sized paper using the stack bypass tray.
If <Stack Bypass Paper> setting in <Paper Settings> from the Additional Functions screen is set to <Off>, the paper size/type setting
screen appears when you load a paper in the stack bypass tray. If Stack Bypass Standard Settings is set to <On>, copying can be
performed only for the registered paper size and type. (See “Setting Paper Size and Type,” on p. 2-20.)
Summary of Contents for imageCLASS MF8450c
Page 53: ...Before Using the Machine 1 28 Timer Settings ...
Page 129: ...3 52 Storing Editing One Touch Storing Editing Address Book ...
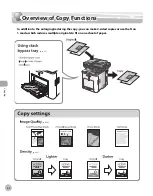
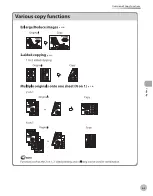
Page 132: ...Copying 4 3 Overview of Copy Functions p 4 22 p 4 30 p 4 36 ...
Page 201: ...Copying 4 72 Confirming and Canceling Copy Jobs Confirming Copy Logs ...
Page 204: ...Fax 5 3 Overview of Fax Functions p 5 30 p 5 47 p 5 54 p 5 49 p 5 112 p 5 104 ...
Page 346: ...E mail 6 3 Overview of E Mail Functions ...
Page 354: ...Printing 7 3 Overview of Print Functions p 7 9 p 7 10 p 7 7 ...
Page 381: ...Printing 7 30 Checking and Canceling Print Jobs Checking Print Logs ...
Page 384: ...Scanning 8 3 Overview of Scanner Functions ...
Page 391: ...Scanning 8 10 Basic Scanning Operations ...

