background image

6

5

ENGLISH

Connecting to a Computer

If you are using multiple computers, perform these steps on each computer.

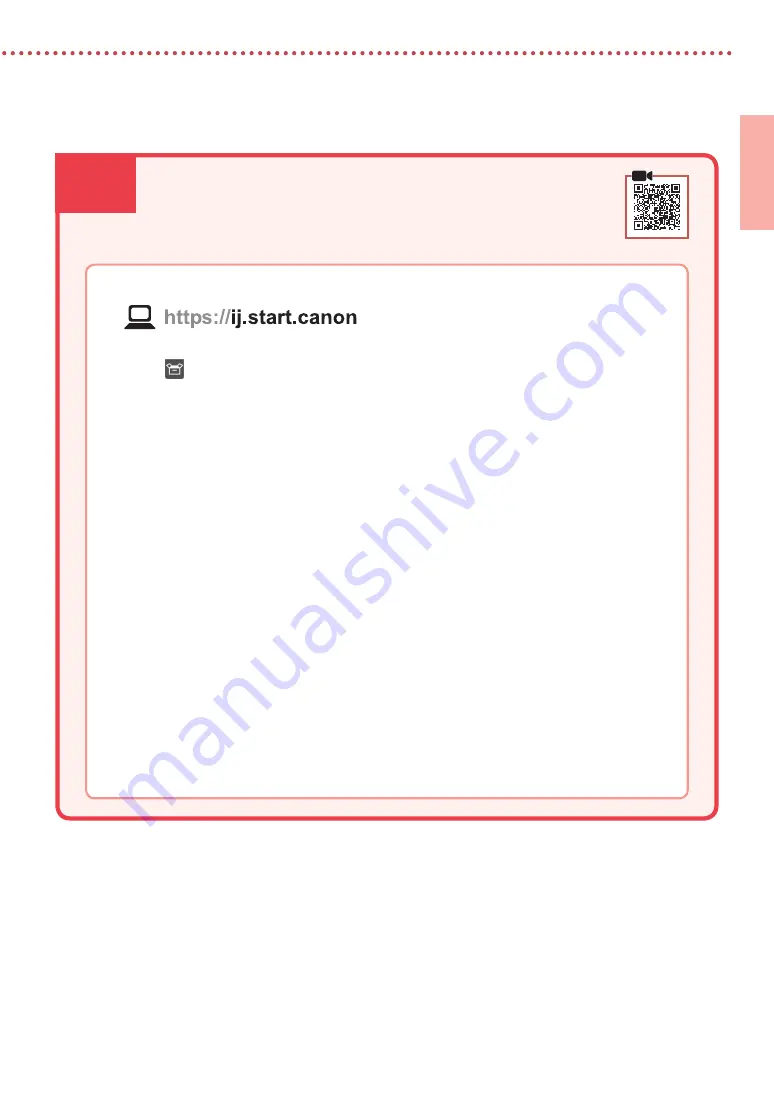
Access the Canon website from your computer.

Select   

Set Up

.

Enter your printer's model name and click 

Go

.

Click 

Start

.

Click 

(B) Connecting to a Computer

.

• 

The following steps are for Windows users.

Click 

Download

.

Run the downloaded file.

• 

Follow the on-screen instructions.

• 

This may take some time.

6. Connecting to a Computer

Summary of Contents for G1020 Series

Page 1: ...Gu a de inicio Lea primero Informaci n de seguridad e informaci n importante ap ndice Getting Started Read Safety and Important Information addendum first...

Page 2: ...C mo sujetar la impresora Instalaci n de la impresora p gina 1 Conectar al ordenador p gina 5 Installing the Printer page 1 Connecting to a Computer page 5 Holding the Printer...

Page 3: ...nge tape 2 Open the top cover remove and dispose of the orange tape and protective material inside a b 3 Installing the Print Heads 1 Open the print head locking cover 2 Take out each print head from...

Page 4: ...press down until it clicks 6 Press down both joint buttons completely until they click Check 7 Close the top cover 4 Turning on the Printer 1 Connect the power cord Back 2 Press the ON button The ON...

Page 5: ...bottle upright and gently twist the bottle cap to remove Check PGBK 4 Align the nozzle of the ink bottle with the inlet 5 Slowly stand the ink bottle upside down and push down to pour the ink If the...

Page 6: ...oving Packing Materials on page 1 4 times Print heads are not installed correctly 3 Installing the Print Heads on page 1 5 times Print heads cannot be recognized 3 Installing the Print Heads on page 1...

Page 7: ...the Canon website from your computer 2 Select Set Up 3 Enter your printer s model name and click Go 4 Click Start 5 Click B Connecting to a Computer The following steps are for Windows users 6 Click D...

Page 8: ...letely to avoid ink leaks Check that the position of the ink valve lever is closed Pack the printer in a plastic bag in case ink leaks Pack the printer in a sturdy box so that it is placed with its bo...

Page 9: ...ja 2 Abra la cubierta superior retire y tire la cinta naranja y el material de protecci n que hay dentro a b 3 Instalar los cabezales de impresi n 1 Abra la cubierta de bloqueo del cabezal de impresi...

Page 10: ...clic 6 Presione hacia abajo los dos botones de uni n completamente hasta que hagan clic Comprobar 7 Cierre la cubierta superior 4 Encender la impresora 1 Conecte el cable de alimentaci n Atr s 2 Puls...

Page 11: ...y gire suavemente la tapa del frasco para retirarla Comprobar PGBK 4 Alinee la boquilla del frasco de tinta con la entrada 5 Coloque lentamente el frasco de tinta boca abajo y empuje hacia abajo para...

Page 12: ...s cabezales de impresi n no est n instalados correctamente 3 Instalar los cabezales de impresi n en la p gina 1 5 veces No se pueden reconocer los cabezales de impresi n 3 Instalar los cabezales de im...

Page 13: ...cione Configurar 3 Escriba el nombre del modelo de su impresora y haga clic en Ir 4 Haga clic en Iniciar 5 Haga clic en B Conexi n con un ordenador Los siguientes pasos son para usuarios de Windows 6...

Page 14: ...ra evitar derrames de tinta Compruebe que la palanca de v lvula de tinta est en la posici n cerrada Embale la impresora en una bolsa de pl stico por si hay derrames de tinta Embale la impresora en una...

Page 15: ...ndows es una marca comercial o marca comercial registrada de Microsoft Corporation registrada en EE UU y o en otros pa ses Trademarks Windows is a trademark or registered trademark of Microsoft Corpor...

Page 16: ...Desde su navegador Acceso al Manual en l nea Access Online Manual From your browser PRINTED IN XXXXXXXX QT6 3881 V01 CANON INC 2020 XXXXXXXX...

Reviews: