14
Before Use
Basic Guide
Advanced Guide
Camera Basics
Auto Mode / Hybrid
Auto Mode
Other Shooting
Modes
P Mode
Playback Mode
Wi-Fi Functions
Setting Menu
Accessories
Appendix
Index
Before Use
Basic Guide
Advanced Guide
Camera Basics
Auto Mode / Hybrid
Auto Mode
Other Shooting
Modes
P Mode
Playback Mode
Wi-Fi Functions
Setting Menu
Accessories
Appendix
Index
Still Images
Movies
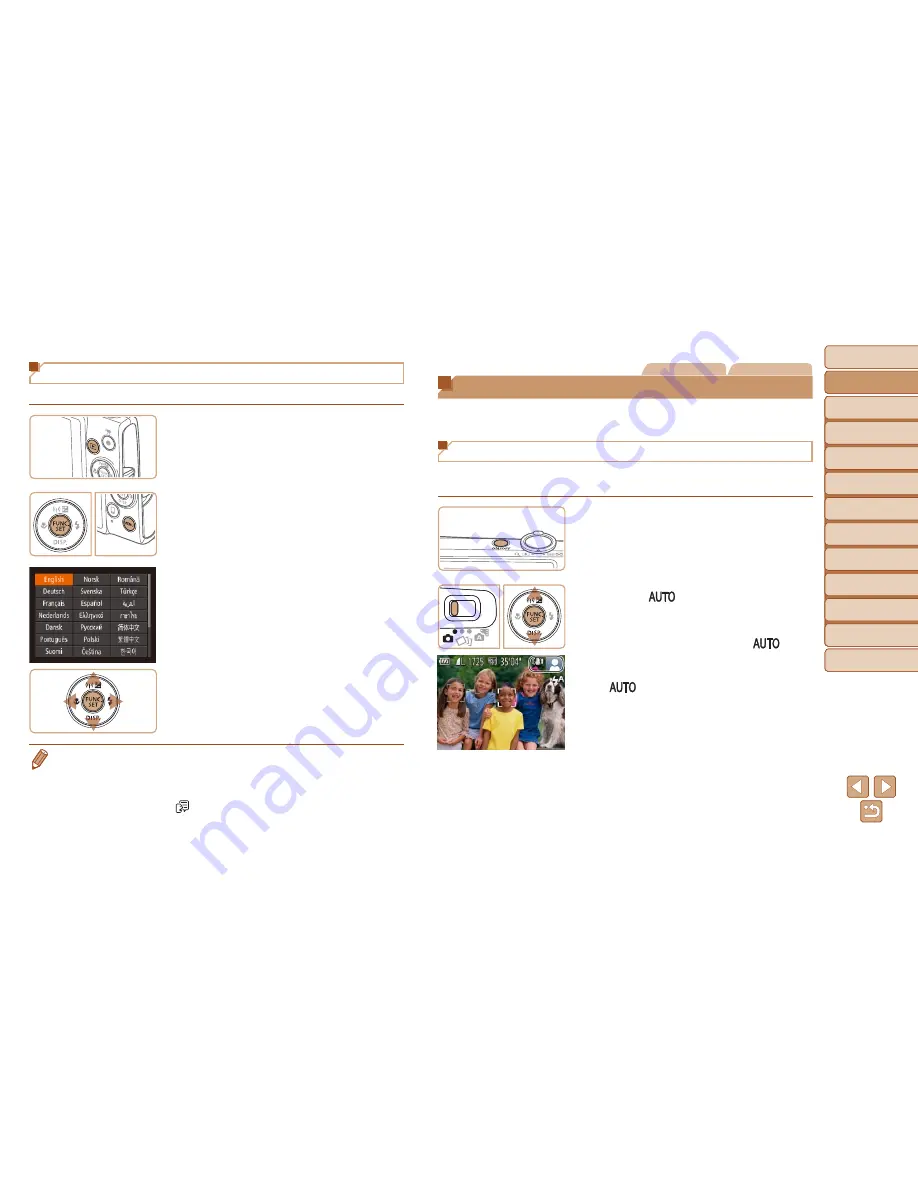
Trying the Camera Out
Follow these instructions to turn the camera on, shoot still images or
movies, and then view them.
Shooting (Smart Auto)
For fully automatic selection of the optimal settings for specific scenes,
simply let the camera determine the subject and shooting conditions.
1
Turn the camera on.
z
z
Press the power button.
z
z
The startup screen is displayed.
2
Enter [
] mode.
z
z
Set the mode switch to [
4
].
z
z
Press the <
m
> button, press the
<
o
><
p
> buttons to choose [
], and
then press the <
m
> button again.
z
z
Press the <
o
><
p
> buttons to choose
[
], and then press the <
m
> button.
z
z
Aim the camera at the subject. The
camera will make a slight clicking noise
as it determines the scene.
z
z
Icons representing the scene and image
stabilization mode are displayed in the
upper right of the screen.
z
z
Frames displayed around any detected
subjects indicate that they are in focus.
Display Language
Change the display language as needed.
1
Enter Playback mode.
z
z
Press the <
1
> button.
2
Access the setting screen.
z
z
Press and hold the <
m
> button, and
then immediately press the <
n
>
button.
3
Set the display language.
z
z
Press the <
o
><
p
><
q
><
r
> buttons to
choose a language, and then press the
<
m
> button.
z
z
Once the display language has been set,
the setting screen is no longer displayed.
•
The current time is displayed if you wait too long in step 2 after pressing the
<
m
> button before you press the <
n
> button. In this case, press the
<
m
> button to dismiss the time display and repeat step 2.
•
You can also change the display language by pressing the <
n
> button
and choosing [Language
] on the [
3
] tab.
Summary of Contents for ELPH340HS
Page 17: ...16 ...


