9-3
Chapter 9 Job Registration Tool Settings
2.
Job Registration Tool
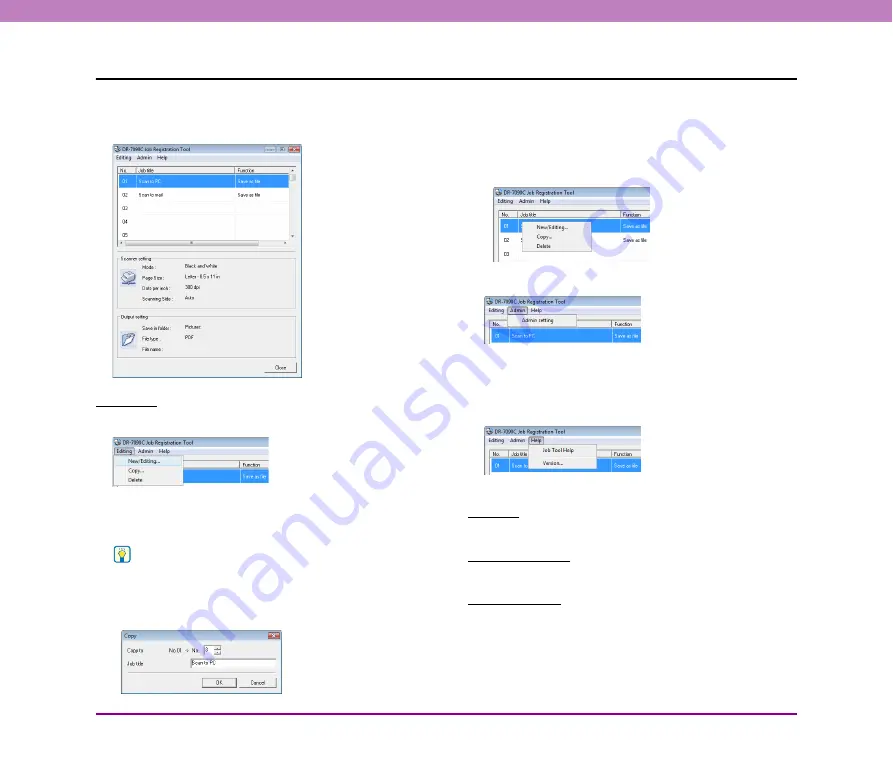
Job Registration Tool consists of the main window below and the [New/Editing] and [Admin] dialog boxes. For details on the dialog
boxes, see the description of each dialog box.
Menu Bar
[Edit] Menu
Select a job from the job list, and register a new job or edit,
copy, or delete the job.
(See “[New/Editing] Dialog Box”
Hint
• If you select a registered job, [Copy] and [Delete] are enabled.
Selecting [Copy] displays the following dialog box. Specify the
job number to copy to and job title, and click the [OK] button to
copy the job to the specified job number.
• Selecting [Delete] displays a confirmation message.
• The items of the [Edit] menu are also displayed in a submenu
when you right-click a job.
[Admin] Menu
Open the [Admin] dialog box to configure settings for
monitoring the storage folder for images and backing up
job data.
(See “[Admin] Dialog Box” on p. 9-9.)
[Help] Menu
Display the help and version of Job Registration Tool.
Job List
Displays the job numbers (01 to 99) and job titles.
Job Information
Displays the information for the job selected in the job list.
[Close] Button
End Job Registration Tool.


