


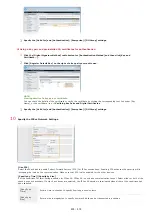
0ALJ-09Y
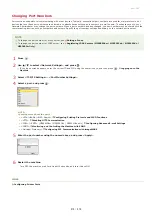
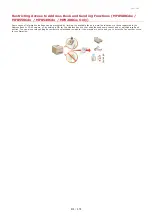
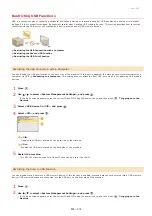
Restricting USB Functions
USB is a convenient way of connecting peripheral devices and storing or relocating data, but USB can also be a source of information
leakage if it is not properly managed. Be especially careful when handling USB memory devices. This section describes how to restrict
connection via the USB port of the machine and how to prohibit use of USB memory devices.
Restricting the USB Connection with a Computer
Restricting the Scan to USB Function
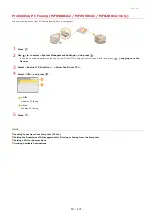
Restricting the USB Print Function
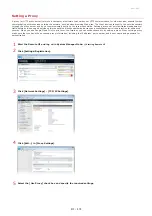
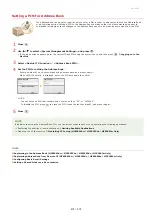
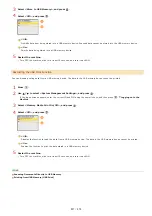
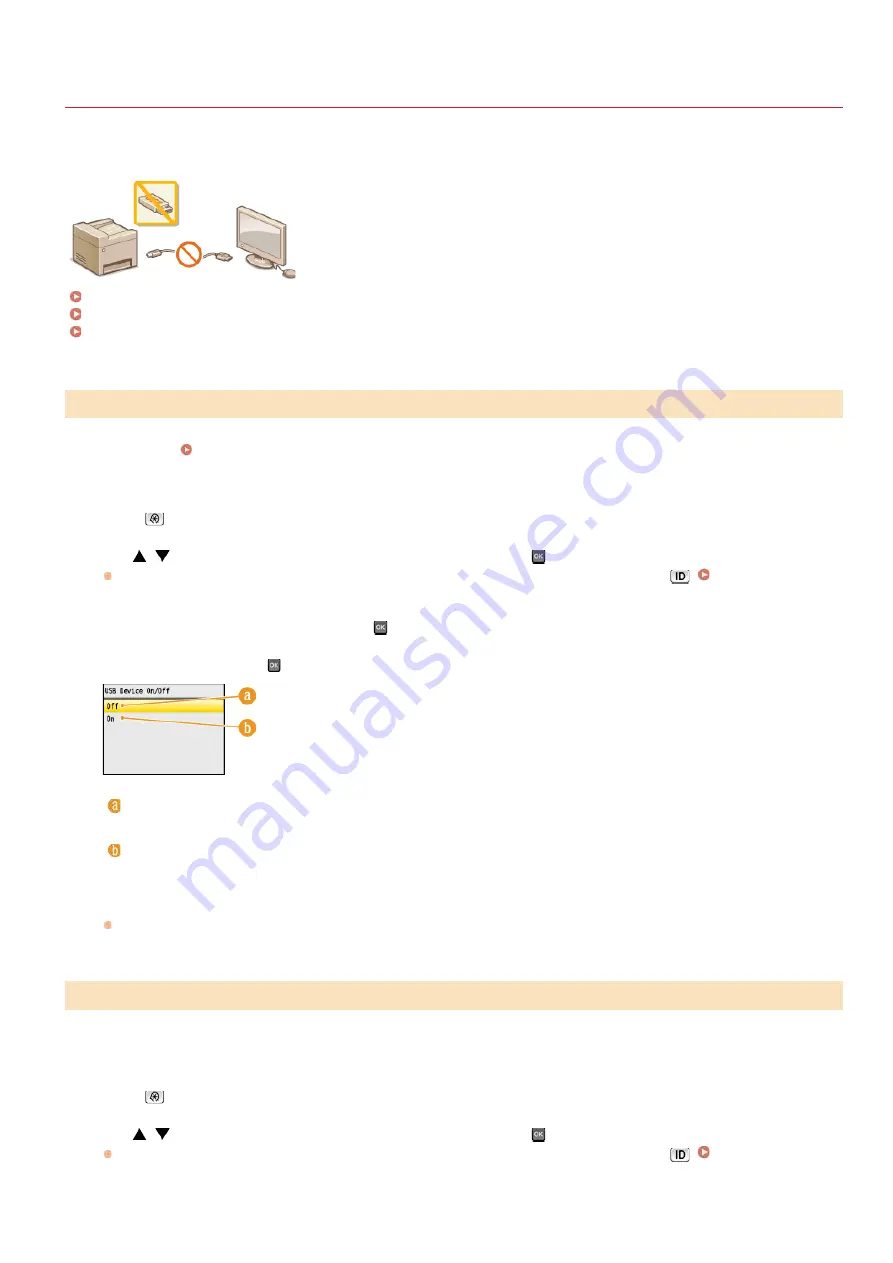
You can disable the USB port located on the back side of the machine. If this port is disabled, the machine cannot communicate with a
computer via USB (
). This setting does not affect the front USB port, which is for attaching USB memory
devices.
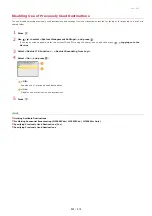
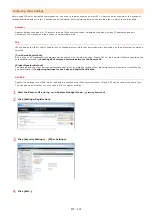
Press .
Use
/
to select <System Management Settings>, and press
.
If the logon screen appears, enter the correct ID and PIN using the numeric keys, and then press
.
Select <USB Device On/Off>, and press
.
Select <Off>, and press
.
<Off>
Disables the USB port located on the back side of the machine.
<On>
Enables the USB port located on the back side of the machine.
Restart the machine.
Turn OFF the machine, wait for at least 10 seconds, and turn it back ON.
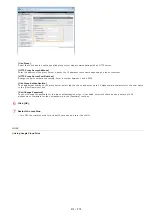
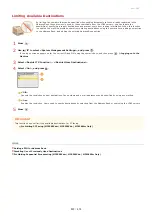
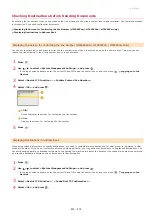
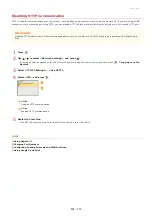
You can disable storing data into a USB memory device. If this function is enabled, scanned data cannot be stored into a USB memory
device. USB memory devices are connected into the USB port on the front side of the machine.
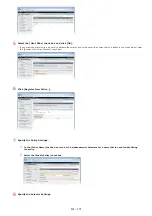
Press .
Use
/
to select <System Management Settings>, and press
.
If the logon screen appears, enter the correct ID and PIN using the numeric keys, and then press
.
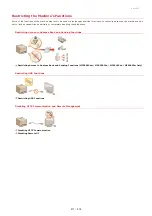
Restricting the USB Connection with a Computer
Restricting the Scan to USB Function
1
2
3
4
5
1
2
㻠㻞㻢㻌㻛㻌㻢㻣㻢
Summary of Contents for Color imageCLASS MF8580Cdw
Page 1: ......
Page 19: ...Step 9 Configuring Initial Settings for Fax Functions MF8580Cdw MF8550Cdn MF8280Cw Only...
Page 46: ...Continue to Selecting the Receive Mode LINKS Sending Faxes...
Page 48: ...LINKS Receiving Faxes...
Page 76: ...Paper...
Page 87: ...Select the paper type and press LINKS Loading Paper in the Manual Feed Slot Paper 2...
Page 106: ...the hook...
Page 113: ...LINKS Basic Copy Operations...
Page 118: ...LINKS Basic Copy Operations Adjusting Color Balance Adjusting Sharpness...
Page 148: ...LINKS Sending Faxes Sending Faxes to Multiple Destinations Simultaneously Sequential Broadcast...
Page 162: ...LINKS Receiving Faxes Checking Status and Log for Sent and Received Documents...
Page 169: ...LINKS Receiving Faxes...
Page 183: ...To specify multiple destinations repeat steps 3 and 4...
Page 188: ......
Page 199: ...LINKS Printing a Document...
Page 206: ...Gutter check box and specify the margin width in Booklet Gutter LINKS Printing a Document...
Page 210: ...LINKS Printing a Document Printing Borders Printing Dates and Page Numbers...
Page 212: ...LINKS Printing a Document NOTE For more information click Help on the printer driver screen...
Page 269: ...Configuring Scan Settings in ScanGear MF...
Page 287: ......
Page 332: ...LINKS Connecting to a Wireless LAN MF8580Cdw MF8280Cw Only...
Page 341: ...LINKS Setting IPv6 Addresses Viewing Network Settings Configuring WINS...
Page 353: ...LINKS Setting Up Print Server...
Page 372: ...LINKS Changing the Maximum Transmission Unit Setting a Wait Time for Connecting to a Network...
Page 378: ...LINKS Setting IPv4 Address Setting IPv6 Addresses Viewing Network Settings...
Page 413: ...LINKS Specifying IP Addresses for Firewall Rules...
Page 455: ......
Page 495: ...Yellow 17 Levels Magenta 17 Levels Cyan 17 Levels Black 17 Levels...
Page 656: ......
Page 669: ......
Page 677: ......
Page 687: ...5 Read the License Agreement and click Yes 6 Click Next...
Page 726: ...The icon is added to the printer folder...
Page 731: ......
Page 733: ......


