


Glossy Photo Cards FM-101
101
Printing Media
Glossy Photo Cards FM-101
This photo-size paper is intended for printing images that cover the entire surface of the
card, without a white border. When printing, use the original application software,
ZoomBrowser EX/PhotoRecord (for Windows) or ImageBrowser (for Macintosh).
■
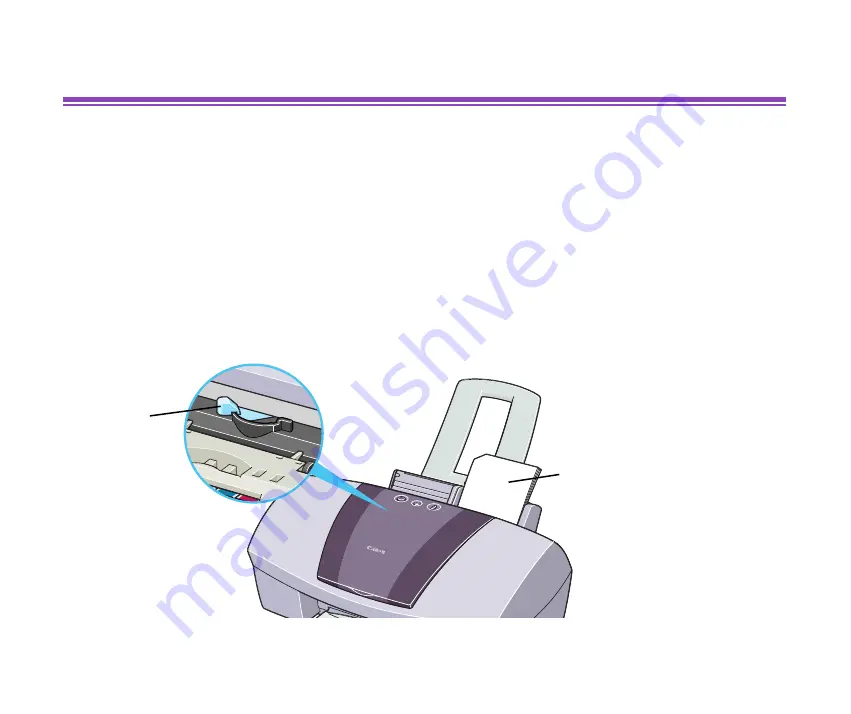
Loading
• Load the paper with the glossy side facing up.
• Set the Paper Thickness Lever to the left.
• A maximum of 20 sheets can be loaded at once.
• Do not use the loading support sheet provided with the package.
Paper
Thickness
Lever
Print Side
(Glossy Side)


