background image

10

Using the Scanner Buttons

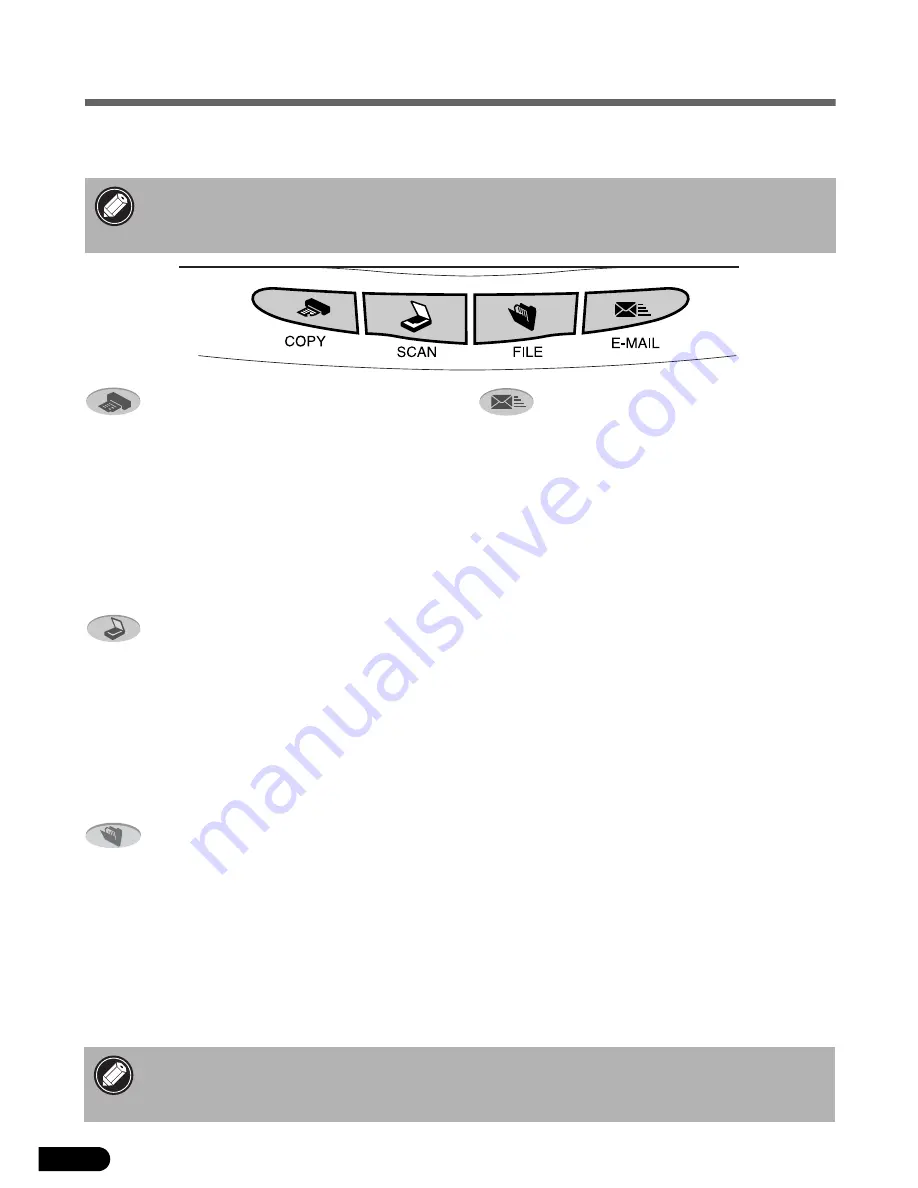
You can use the four convenient buttons on the front of the scanner to scan and perform related tasks easily 

with a single touch of the button. Place an item on the scanner before pressing a button.


• To use these buttons, ScanGear CS, CanoScan Toolbox, ArcSoft PhotoBase and Presto! 

PageManager (Windows) / Acrobat Reader (Macintosh) should be installed from the 
CanoScan Setup Utility CD-ROM.

 COPY Button

To print (copy) the scanned image with a printer:

1

Press the [COPY] button.

2

The scanner will scan the item.

3

The scanned image will print.

• The printer driver should be installed and the 

printer should be on-line to use this function.

 SCAN Button

To open the scanned image in the PhotoBase 

window:

1

Press the [SCAN] button.

2

The scanner will scan the item.

3

The scanned image will appear in the 

PhotoBase window.

 FILE Button

To save the scanned image as a PDF file:

1

Press the [FILE] button.

2

The scanner will scan the item.

3

The scanned image will be saved as a 

PDF document and appear in Presto! 
PageManager (Windows) or Adobe 
Acrobat Reader (Macintosh). 

• While scanning, you can change the default settings for scanning by clicking the 

[Cancel] button. For changing settings or arranging the scanner button assignments, 
refer to the CanoScan Toolbox section of the 

Scanning Guide

 (HTML format manual). 

 E-MAIL Button

To e-mail the scanned image as an attached file:

1

Press the [E-MAIL] button.

2

The scanner will scan the item.

3

The [E-mail software selection] dialog 

will appear. Select an option from the 

list and click [OK].

This step is required only for the first scan.

4

The e-mail software will start and the 

scanned image will be attached in a 

new message window.

5

Enter the receiver’s address and title, 

write a message, confirm the required 

settings, and send the message.

• The e-mail software, such as Outlook Express, 

Microsoft Outlook, Eudora or Netscape 
Messenger, should be installed and enabled. 
With certain e-mail programs, you should 
enable the MAPI function (for Windows).

Summary of Contents for CanoScan LiDe 50

Page 1: ...ge Contents Install the Software Windows Macintosh Unlock the Scanning Unit Connect the Scanner Try Scanning p 2 p 3 p 4 p 5 p 6 p 7 Using the Scanner Buttons p 10 Using the Scanner in the Upright Pos...

Page 2: ...nt does cause harmful interference to radio or television reception which can be determined by turning the equipment off and on the user is encouraged to try to correct the interference by one or more...

Page 3: ...tware and how to solve problems when they occur You can install this manual onto the hard disk together with the software programs When you install it the Scanning Guide icon will appear on the deskto...

Page 4: ...scanner edit and retouch them and apply special effects and enhancements ArcSoft PhotoBase 75 MB 5 MB Photo Album Program It allows you to create and edit image albums perform image searches and creat...

Page 5: ...allation procedure will start Follow the on screen message prompts and click Yes or Next to continue the installation 6 When the installation is complete click Yes The computer will restart 7 After Wi...

Page 6: ...You will install six software programs and the Scanning Guide HTML format manual 5 The installation procedure will start Follow the on screen message prompts and click Yes Next or Install to continue...

Page 7: ...unit before connecting the scanner to the computer If it is left locked a malfunction or other problem may occur When transporting the scanner always lock the scanning unit by pushing the lock switch...

Page 8: ...ng unit is unlocked P 5 Windows Macintosh Only use the USB interface cable provided with the scanner Use of other cables may lead to a malfunction The scanner does not have a power switch The power is...

Page 9: ...gning its top edge with the alignment mark and close the document cover Alignment Mark Top Bottom 2 Select Start Programs or All Programs ArcSoft PhotoStudio and PhotoStudio 5 PhotoStudio will start W...

Page 10: ...n the Select Source dialog displays select ScanGear CS 7 1 and click the OK button Macintosh 4 Select Type of original You can select Photo Magazine Newspaper or Document Photo Color 300 dpi Magazine...

Page 11: ...er where you wish to store the image file enter a file name select a file type JPG format is recommended and click Save 9 Click or close box in the PhotoStudio window to close it If the scanner does n...

Page 12: ...s the FILE button 2 The scanner will scan the item 3 The scanned image will be saved as a PDF document and appear in Presto PageManager Windows or Adobe Acrobat Reader Macintosh While scanning you can...

Page 13: ...11 Using the Scanner in the Upright Position Installing the Stand Positioning an Item Removing the Stand Removing the stand Press the hook...

Page 14: ...ion Guaranteed servicing for this equipment will expire five years after production ceases About the Computer Used Date of Purchase Dealer Tel Dealer Address Scanner Model CanoScan LiDE 50 Serial Numb...

Page 15: ...SB 1 1 equivalent Maximum Document Size A4 Letter 216 x 297 mm 8 5 x 11 7 in Scanner Buttons 4 buttons COPY SCAN FILE E MAIL Operating Range Temperature 5 C to 35 C 41 F to 95 F Humidity 10 to 90 RH w...

Page 16: ...835 68 85 Hotline 157 30 20 http www canon ch CANON ESPA A S A C Joaquin Costa No 41 28002 Madrid Spain Help Desk 906 301255 Tel 91 538 4500 Fax 91 411 4176 CANON DANMARK Vasek r 12 DK 2730 Herlev Den...

Reviews: